
http://www.callishibori.co.uk/index.htm
Here are some of my experiments some of which are more successful than others.


I re-stitched the brown circle around the edge and dyed it again with a turquoise MX dye
For the next sample I stitched another circle with a spiral and dyed it with MX Magenta.
I washed and dried the sample and re - stitched it round the edge to retain some of the Magenta colour. I then dyed it with Turquoise dye.


Next I used soy wax to draw a spiral retaining the Magenta and some of the turquoise colour. The wax acted as a resist to the Lemon Yellow dye that I painted on top. Before painting I mixed the dye and soda ash together. I let it dry completely then rinsed.

The colour in the photos isn’t exact but I do think I lost more Turquoise dye in the second rinsing. Also there is still some wax residue in the fabric, which I will have to remove.
The next samples were stitched on a piece of previously dyed fabric. I used Lemon Yellow procion dye. Again I stitched spirals.
I then dyed the stitched cloth with Magenta.
The next samples were stitched on a piece of previously dyed fabric. I used Lemon Yellow procion dye. Again I stitched spirals.
I then dyed the stitched cloth with Magenta.

Wanting to retain the red but also wanting to dye with Turquoise to get green circles I stitched in between the yellow spirals

I experimented with a couple more pieces but this time I folded the fabric before I stitched. They were dyed using the same colours as before. Magenta on Lemon Yellow then Turquoise.

On the next piece I stitched the centres of the circles and after drawing up the thread, I wound it tightly round the fabric to add more resist. This is a close up so slightly out of focus

When using folded paper to draw out my designs I drew over the lines with a dressmakers wheel and that way I could see how the patterns should look on the whole cloth. If you press hard enough it will mark through all the layers

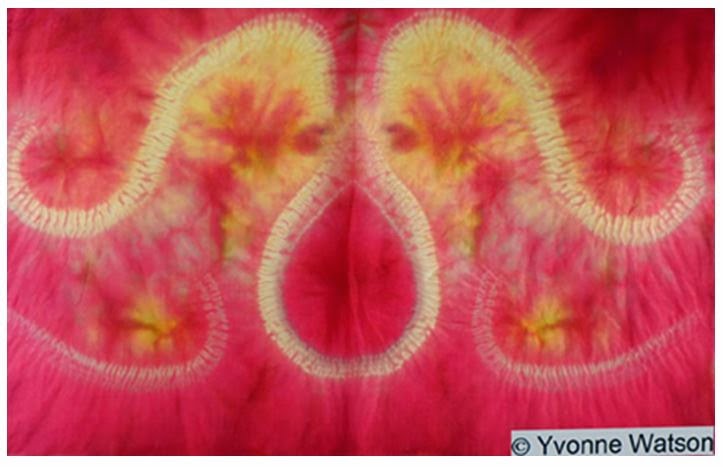
Here is a piece of silk that has been folded the stitched with wavy lines. Again dyed with Lemon Yellow and Magenta. I dipped some parts into yellow first before adding the mixture of Yellow and Magenta.
I’m adding the next image, which strictly speaking should have been part of my contribution to the straight stitching blog. I had folded the fabric stitched and dyed it but was not happy with the result. I took a photo of part of the fabric and put into Photoshop where I manipulated the image and came up with this, which I think, may have possibilities for development.

And finally I’m adding a link to a photograph of Jude Kingshott’s work. We meet at Committed to Cloth. She has been using Shibori on dyed fabric that she has then dipped in Indigo. Finally she adds stitch.
https://www.facebook.com/committedtocloth/photos/a.658916564199313.1073741828.658001234290846/715421451882157/?type=1&theater
Love the firework in the pieces!!
ReplyDeleteWonderful examples... I'm really inspired by all of them!
ReplyDeleteBeautiful curved lines, I like the circles with all the colours. Well, I think I like all of your work....
ReplyDeleteI do like how you tried several colors with great results. Thanks for sharing. Sheila
ReplyDeleteBrilliant idea for the dressmakers wheel to get an idea of the resulting line path.
ReplyDeleteSandy in the UK