A TECHNIQUE DRIVEN Blog dedicated to mastery of surface design techniques. First we dye, overdye, paint, stitch, resist, tie, fold, silk screen, stamp, thermofax, batik, bejewel, stretch, shrink, sprinkle, Smooch, fuse, slice, dice, AND then we set it on fire using a variety of heat tools.

Showing posts with label sugar resist. Show all posts

Tuesday, August 28, 2012

My take on Sugar resist Dyeing

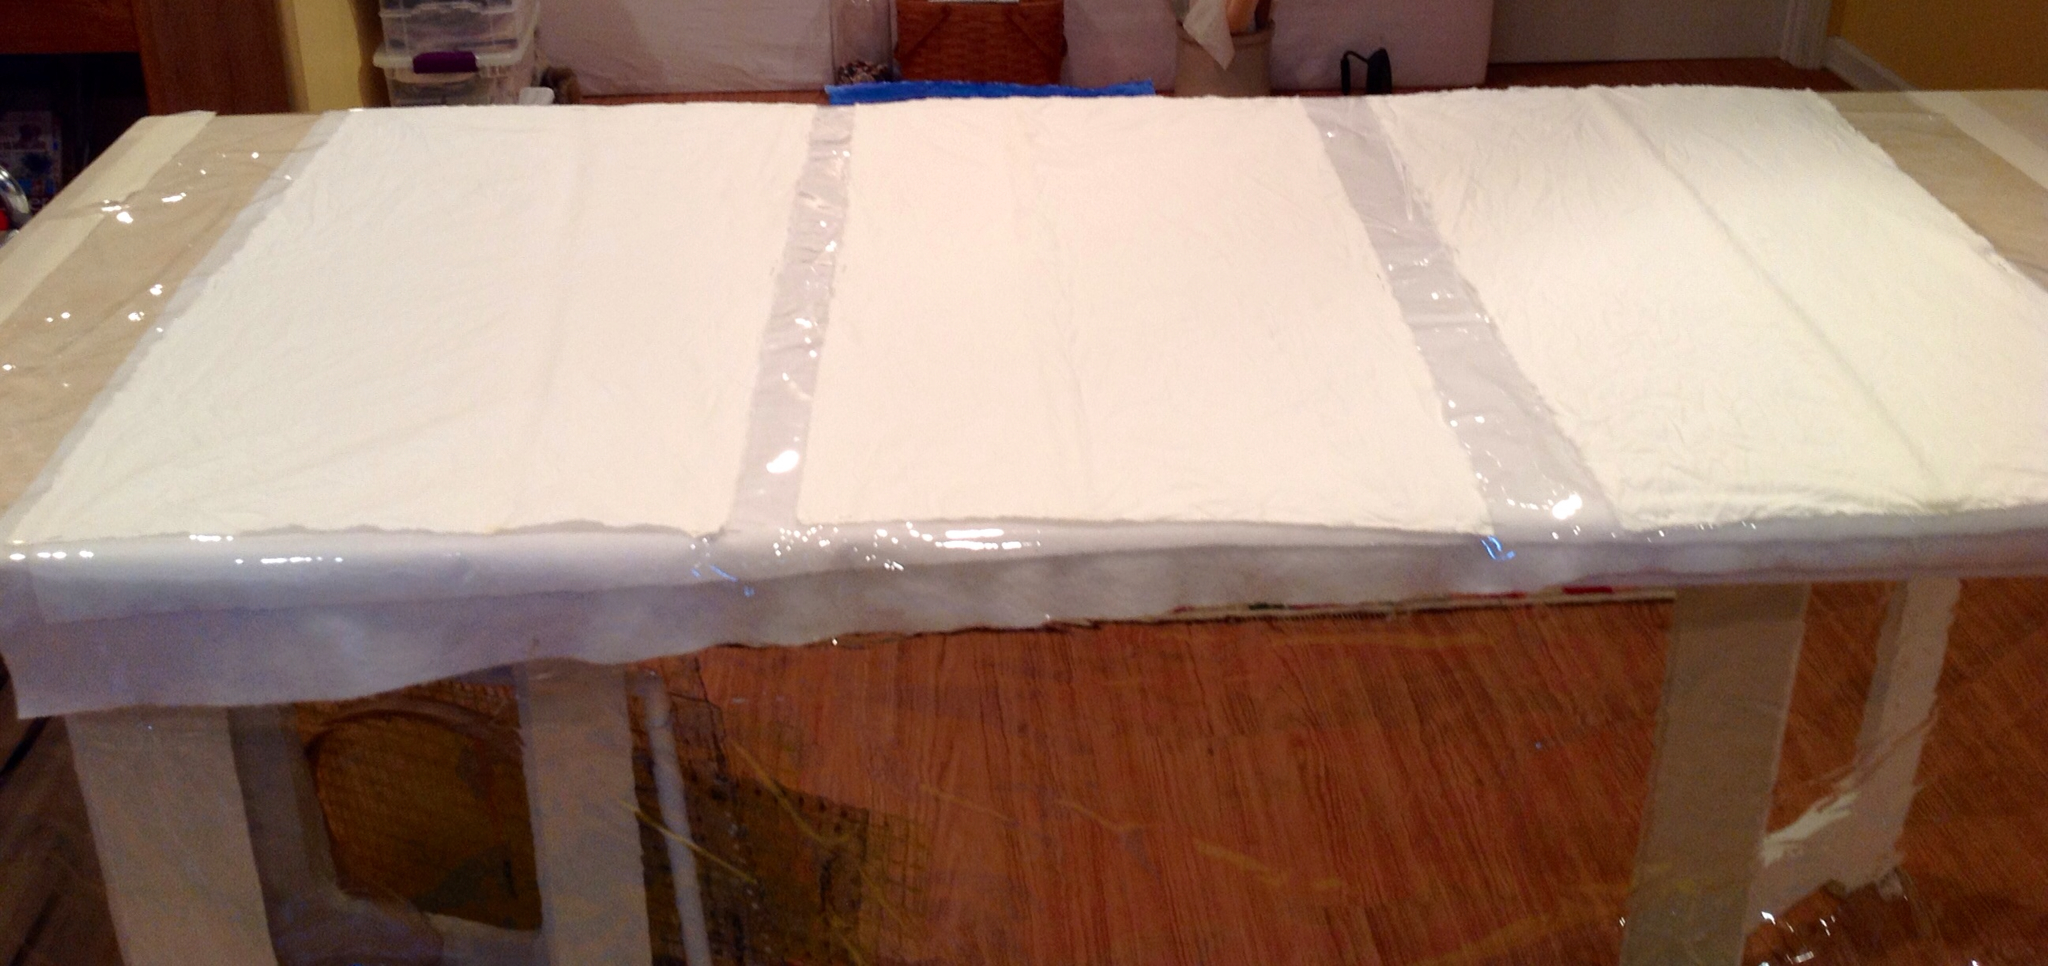
I finally had some time last week to give sugar resist a try, and I'm not disappointed in the results!  When I first made the sugar recipe, I thought it seemed pretty runny compared to other resists I have used.  I left it in the fridge for several days, and finally pulled it out on Friday to apply to two pieces of muslin I had pre-soaked in soda ash and air dried.  I stretched the fabric over a padded, plastic covered project board, pinned in place with t-pins.  Then I poured the sugar mixture into a squeeze bottle and applied to each piece of fabric.
I let the fabric rest for awhile, then hung to air dry.  I had a craft show this weekend, so wasn't able to add the dye until Monday.  Below is the fabric back on the project board, ready to be dyed.

I wanted to see what kind of results I would get with both thickened and un-thickened dyes.

I happened to have both already mixed in Aqua Marine and Bright Green, so I decided to use them for my experiment.  The un-thickened dyes are on the left, the thickened are on the right.  The color difference is due to the fact that I mix my thickened dyes darker than my regular dyes.  I used a foam brush to paint on the dyes in both cases.  Then I covered with a plastic bag and allowed to 'batch' for about 4 hours before I removed the fabric and hung to dry overnight.
This morning, I pre-soaked the fabric in warm water with synthrapol for about 20 minutes to dissolve the sugar resist, then washed in hot water and synthrapol.  Here are the pieces after they dried:
  I didn't know what to expect, and I'm very pleased with the outcome!  There are areas where the resist was more complete, but even in the areas where the resist bled out, there is still a softer resist, which gives the pieces more depth and visual interest in my opinion.  I would definitely use this method again, especially now that I have a better idea of how it resists the dyes!

Saturday, August 18, 2012

The big sugar experiment

My second attempt at sugar syrup resist dyeing was boring and another failure in my opinion.

Rather than give up, I decided to go big.  First I re-read the directions.  Perhaps my big problem is that I am not adding the soda ash solution till late.  So, I will soak and dry my material first.  Second, maybe my sugar solution is too weak. I debated making another sugar syrup but thought, gee, I have lots of forms of sugar syrups around the house so why re-invent the wheel??  So here goes the big sugar experiment.


First I took a yard of fabric and ripped it into 4 pieces.  I  labeled them for the type of syrup I will use-- sugar, corn syrup, pancake syrup, and molasses.  Then I soaked the 4 quarters in a soda ash solution and hung them to dry.  I wish it were a sunnier, drier day.  While I was waiting for the fabric to dry I mixed 3 dye colors-- basic blue, fire engine red, and fushia.

Here is the whisk that I used to make the prints.   I found it in an antique shop while on vacation.  I love hunting through antique shops for odd print tools. 


And here are the 4 types of syrups printed on the fabric.


Pancake Syrup

Sugar Syrup

Molasses

Corn Syrup

And here the 4 pieces washed, dried, and ironed.
Pancake Syrup

Sugar Syrup

Molasses

Corn Syrup

Lessons Learned 
  1. Using previously soda ash soaked fabric is important to get the benefit of the "first strike" of the dye.
  2. Any heavy sugar syrup will act as a resist and the dark color of molasses or dark corn syrup does not stain the fabric.
  3. The pancake syrup fabric looks different because I moved it and rolled it to batch. The other three pieces I left in place to batch.  They have a much more distinct pattern to them.  One is not necessarily better than the other but it will be good to remember that I can get the two different results.
Finally, results I can be satisfied with and a technique I could use again!!  Yeah!


Tuesday, August 14, 2012

Trying Sugar Syrup Resist--Quilter Beth

To get started with the sugar resist, I first covered my cutting table with a doubled layer of Eco-Felt to give it a little cushion and covered that with a big sheet of plastic. To that, I pinned three pieces of soda-ash-soaked fabric.

Next I made my sugar syrup according to Lisa's directions. While that was cooling, I mixed my dyes--Golden Yellow, Pumpkin Spice, Mixing Red, Terra Cotta, Basic Blue.

Then I played...

Piece 1--I brushed the syrup onto the fabric with a paint brush and a plastic barbecue brush to manipulate the syrup before placing the dyes on the piece with an eye dropper.

Syrup...
Wet (I used the blue, red, and yellow dyes on this one.)...
Rinsed, washed, ironed...
Piece 2--I spooned the syrup onto the fabric and pulled a hard plastic notched Tupperware barbecue grill cleaning tool through the syrup to make designs. I also dripped some syrup onto the fabric with the eye dropper. Then I used the eye dropper to drip the dyes onto the fabric.
Syrup...
Wet (I used the yellow, terra cotta, pumpkin spice, and red.)...
Rinsed, washed, ironed...
Piece 3--I put the syrup resist onto the fabric with a syrup soaked sponge, and I dripped some syrup onto the fabric with an eye dropper. Again, I used the eye dropper to apply the dyes.

Syrup...
Wet (I used the yellow, terra cotta, pumpkin spice, and red.)...
Rinsed, washed, ironed...
I have one more piece, but it isn't finished yet. I'll post it later. Once I finally got around to doing this, I really enjoyed it. I love the weird shapes that "magically" appear. I'm not so happy with my colors--my red (mixing red) is too fuschia, and I thought I'd get more green in the first piece when my blue hit the yellow. I'm signed up for a color class with Jane Dunnewold this fall. Maybe I'll make better choices after that. I'm going to try over dyeing some of the pieces and see what happens.