A TECHNIQUE DRIVEN Blog dedicated to mastery of surface design techniques. First we dye, overdye, paint, stitch, resist, tie, fold, silk screen, stamp, thermofax, batik, bejewel, stretch, shrink, sprinkle, Smooch, fuse, slice, dice, AND then we set it on fire using a variety of heat tools.

Showing posts with label screen printing. Show all posts

Thursday, April 21, 2016

Using Plants in Screen Printing


Deconstructed screen print made with dried American Beech leaves
In this post, I want to share a project I enjoyed recently – using plant parts and thickened fabric dye to screen print on fabric and paper. The plants were used in several ways:

  • as stencils to block the transfer of dye to the fabric
  • as materials to make a dried screen for some deconstructed screen printing
  • as direct prints using the plants that collected dye under the screen

I won’t go into detail here about the techniques of screen printing or of deconstructed screen printing – lots of great information elsewhere for that. Just to clarify though: screen printing is the process of using a sheer fabric (silk or synthetic) fixed in a convenient frame to distribute a medium (paint, ink, thickened dye, etc.) onto a substrate (fabric or paper, generally). Deconstructed screen printing uses the same materials but thickened dye is allowed to dry on the screen in patterns made by objects placed under the screen. The thickened dye is gradually dissolved during the printing process, then it can be washed completely off the screen with water when finished. Beth Berman has a very good tutorial on her blog. And Kerr Grabowski posted this video tutorial. I used thickened fiber reactive dyes for my entire process - screen printing, deconstructed screen printing, and direct printing. I soaked my cotton and linen fabrics with a soda ash solution and dried the fabric ahead of my printing session. I also sprayed the printed fabrics lightly with a soda ash solution before put them in plastic to "batch."

We'll start with basic screen printing. Below is a small screen with three fresh Alstroemeria sp. leaves laid under the screen. After the first swipe with the thickened dye, the thin leaves stick to the screen until rinsed or picked off the underside of the screen. That makes it very easy to make repeated prints, shown in the bottom left of the photo below. The fern print at top right was made by laying a fresh florist fern under a screen, printing with thickened green dye then swiped with yellow dye on a card without the screen. I love putting this additional layer of dye over a previously screen printed image to add a more random color layer. I let the original print set for several minutes, then it seems to resist the new dye layer that adheres to the white fabric left by the plant "stencil".
 Here is a series of prints showing the first screen print with the white stencil images and then some additional card-applied dye.

Multiple Alstroemeria leaf screen prints.
Alstroemeria leaf screen prints with added purple dye.
 BOTANICAL NOTE: The Alstroemeria leaves and petals I used for these prints are from the florist. Those sold in the florist trade are cultivars (meaning selected from wild plants and then propagated for desirable characteristics). One of their common names is Peruvian Lily. Great information and images at Wikipedia.

 Here are more plant parts used in my screen printing.
Alstroemeria petals

Alstroemeria petals under screen.
Multiple petals prints.


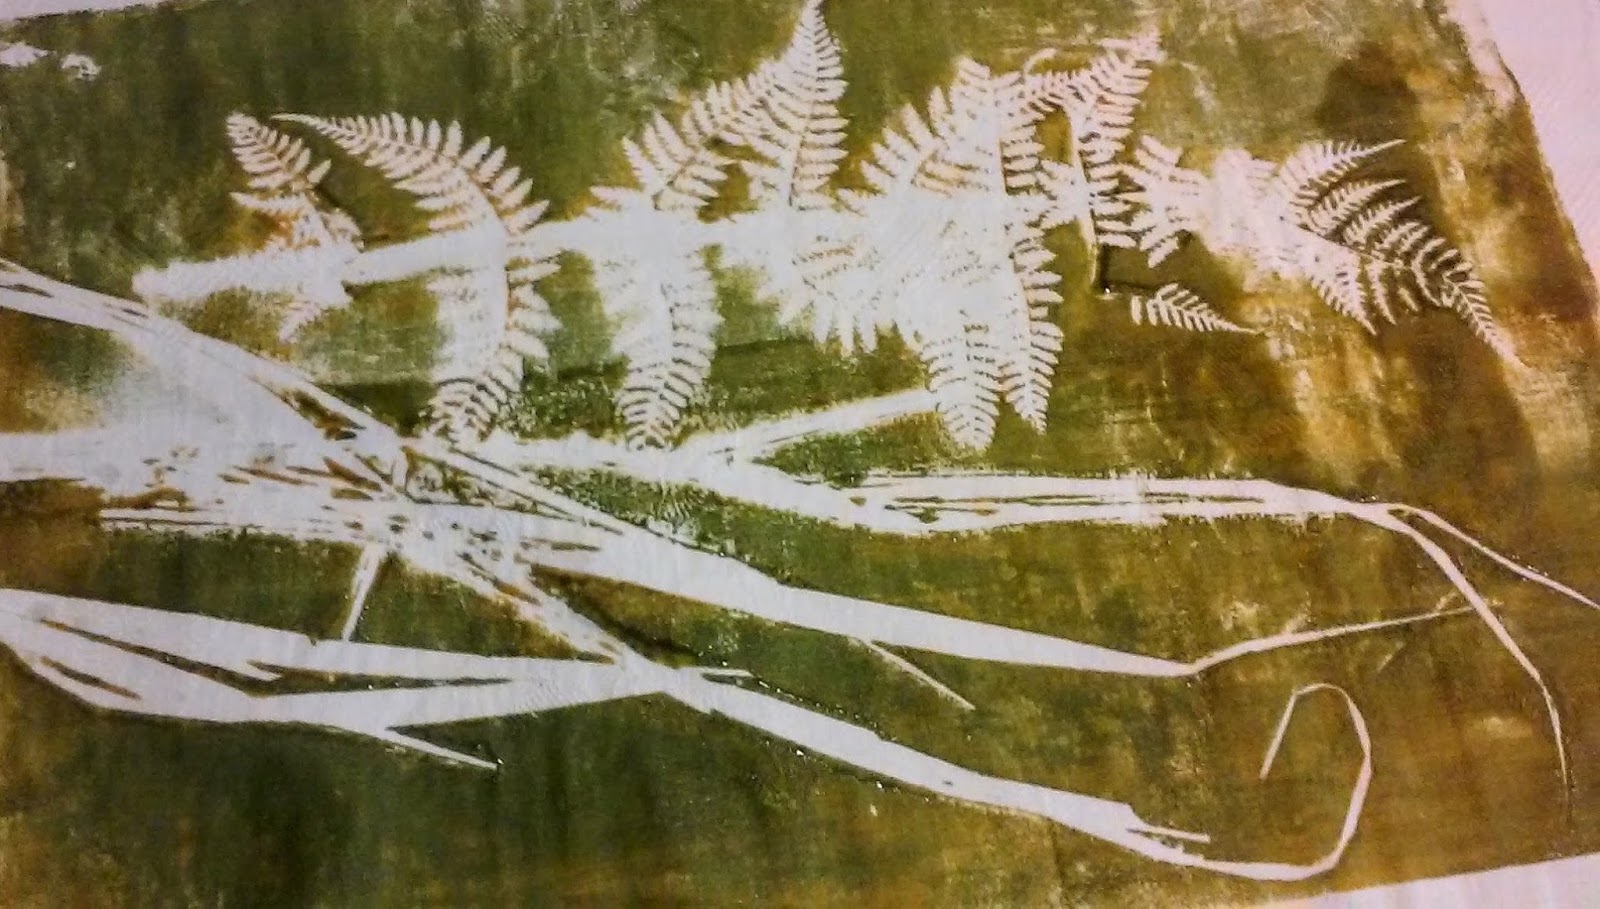
Grasses and fern on underside of screen.
Grasses and fern as stencils.

American Beech leaves as stencils.
Next, I let the screens dry with my thickened dye and plant material on them. I then used them with either clear print paste or with fairly pale tinted print paste as my printing mediums.
The Beech screen with dried dye, leaves removed.
Deconstructed print on paper from Beech screen with tinted print paste.

Deconstructed prints on fabric made with paperwhite narcissus, flowers left on screen in top print as stencils.
Back of grasses and fern dried screen, plants removed

Front of screen with tinted print paste ready to apply.
Detail from finished print on paper.


And here a couple of prints made with the dye-covered plant material first used under screens as stencils and then pressed onto substrates.
Balsam fir stem screen printed on right (with too much dye) and then printed with the residual thickened dye in center.
Alstroemeria stems with leaves directly printed on paper with the original thickened dye, then overprinted with lavender dye before stems were removed.
I find this process fairly addictive, as you can continue to use the original screens and plants in so many ways. Hope you enjoyed my fun day in the studio!

Friday, April 8, 2016

Let Me Count the Ways......

Alstromeria leaves used as a screen stencil with thickened fabric dye
Pattern made with Alstromeria screen

Flora on Fabric

  • Screen printing with plant parts as stencils (see the photos above)
  • Deconstructed Screen Printing with plants (see below)
  • Flower photos turned into fabric collage
  • Direct/Monoprinting with plants
  • Gelli plate printing(also below)
  • Botany textbook illustrations scanned and printed on fabric
  • Natural dyes from plants
  • Botany lab illustrations
  • Eco printing
  • Sun printing
  • Flower pounding
  • Plant drawings scanned and printed


To the left is an example of some deconstructed screen printing done with paperwhite narcissus flowers and leaves, after they were first used as stencils. The thickened dye dried while I was distracted by something else.  


Next time, I'd start in with some step-by-step instructions.


Gelli plate printing with bamboo leaves on paper


Friday, July 31, 2015

Screen Printing, glue screens

If you've stayed with me during the whole of the month, thank you. I hope that you've found something to inspire you to experiment with. For my last post I am going to look at using glue to create a design for screening. It's basically exactly the same as using soy wax but using cheap glue that is readily available. 

The best glue to use is a basic craft glue, the kind that children might use. This is the kind that I used


And this is my selection of tools for making the first screen.


The first thing is to put some glue into the tray. As you can see, you don't need much.


Dip one of your mark making tools into the glue ...


... and then lay it on the bottom of the screen to transfer the glue


Do this printing with several of your tools to make a composition that you are happy with.


Old credit cards can be good mark making tools.


Let the glue dry completely before using the screen to print with.

Dried screen, ready for printing.

Print your fabric as normal using thickened dye. This is the fabric partially printed.


And ready for batching.


After washout. And a reminder that I need to make a stronger solution of charcoal!


One thing that I did discover is that glue screens disintegrate quite quickly. I used the screen to do a second piece of silk and you can see that not much of the design was left.


After washout there really wasn't much there at all.


I had intended to do an interfacing screen with glue but the glue glooped all over the place and so I had to revert to a couple of old screens that I had made while I was in Linda Maynard's class. These were made in the same way as the soy wax ones. Put the glue onto the interfacing in whatever design you like and then, when the glue is dry, give the whole piece of interfacing at least two coats of household emulsion, allowing each coat to dry before painting the next. When everything is dry, wash the interfacing in hot water to remove the glue. It's a good idea to let it soak for about 10 minutes before you start rubbing.

This was made by writing freely on the interfacing with the glue.


And this was just using the glue bottle to take a line for a walk.


The writing has completely disintegrated and so the screen only printed a texture and the more geometric design had also become far less clear than when I first made it.


Not something that cannot be worked on further but a good lesson in how ephemeral the glue screens are compared to those made with soy wax.

Once again, thank you for staying with me. I've had fun doing the posts and it's made me far more aware of the need for taking process photos. I also have a good stash of newly printed fabric to work with.  I hope too that I've answered all the questions that came through in the comments. I have appreciated the supportive comments too and, although I haven't answered each one, I can assure you that I have read them. If you have any queries, feel free to email me. 


Wednesday, July 29, 2015

Screen Printing, vilene interfacing and fusible webbing.

This is a process that creates a very interesting background texture and, again, is very simple to do. I use Mistyfuse exclusively for my fusible webbing. If you don't know Mistyfuse, it is a lightweight fusible webbing that comes without backing paper. If you use a different variety then you will have to try it out and see how it works. Perhaps a note in the comments if you have success with different fusible.

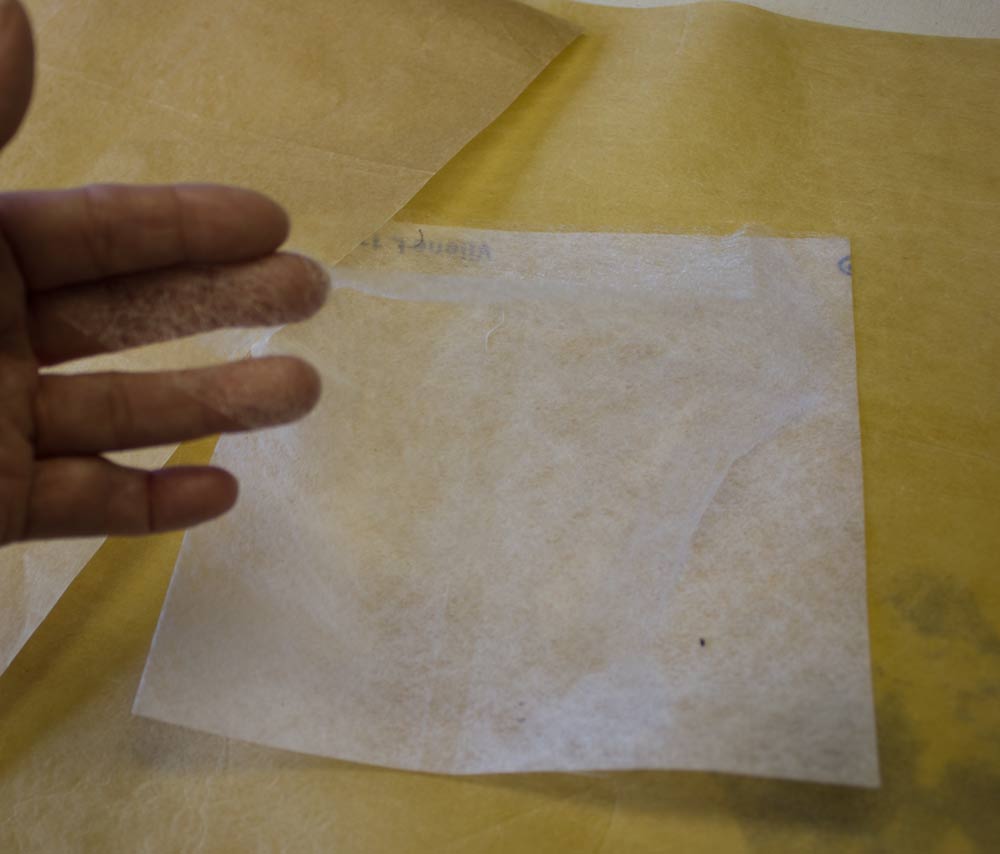
This is what Mistyfuse looks like.


You are going to need a piece of interfacing cut to size for the bottom of your screen, with a margin for taping, and up to 6 pieces of fusible webbing cut to the same size as your interfacing.

Put the interfacing onto a piece of baking parchment, place one piece of fusible web on top of the interfacing and another piece of baking parchment on top. Iron with a hot dry iron, making sure that the whole piece is fused. Allow the piece to cool slightly before removing the baking parchment. Don't be tempted to do without the bottom layer of baking parchment. The interfacing will allow some of the fusible to go through onto your ironing board.


Repeat the process again, adding the second piece of fusible on top of the first. Repeat again with a third piece of fusible. You will need at least 3 pieces of fusible and can use up to 6. Fusing one piece at a time ensures a really good bond, rather than just laying all the pieces of fusible on at once. The effect when printing will be different according to how many you use. I'm going to show the different effects that you get with 3, 5 and 6 layers of fusible.

When you have your piece ready paint the edges with either wax or acrylic paint to both soften the edges and also to give them more body. I actually added some soy wax after I had taped my piece to the bottom of my screen and then forgot to take a photo of it! This is the interfacing taped to the bottom of the screen, before I added the wax. I taped it with the fusible next to the screen.


Place your screen onto your fabric and choose your first colour. I prefer to start to work from the centre and then print randomly for this technique.


For the first and second pieces I used the interfacing with 3 layers of fusible. The first is on a silk cotton mix and the second on silk noil. For the first piece I began with Royal blue and then changed to Golden Yellow. As you can see, it gives quite a heavy coverage.


With the silk noil I continued to use the Golden Yellow and then switched back to the Royal Blue. Still quite  heavy coverage but the texture of the silk noil creates a softer look.


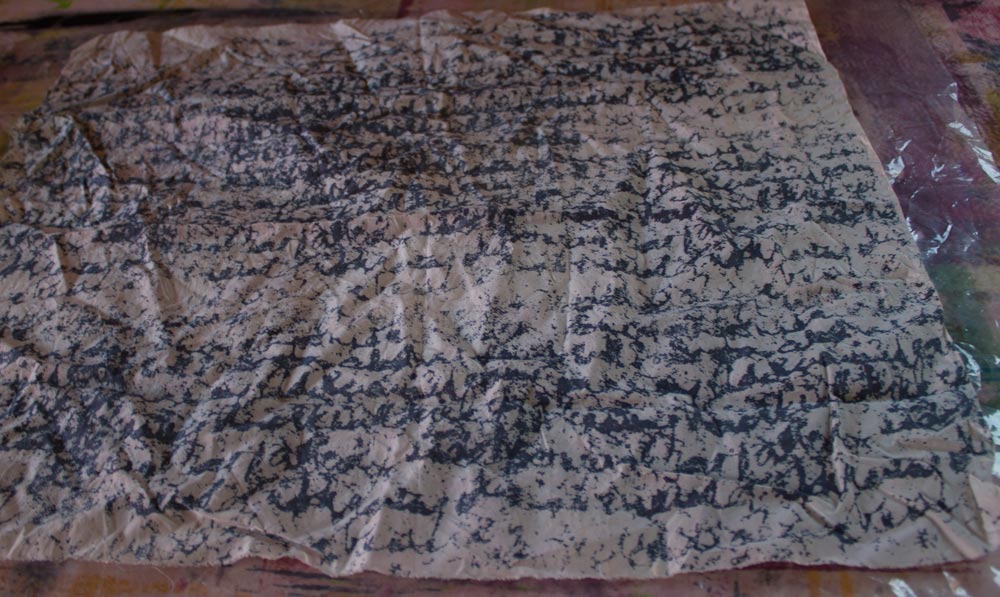
I repeated the above with 6 layers of fusible attached. The coverage is much more dappled.

Silk/cotton mix

 Close up 

Silk noil

Close up

I actually did the  5 layered screen first, before I decided to compare the results of the layers. I used charcoal and chestnut brown, firstly on a previously dyed piece of heavy silk habotai. As this was my first attempt I did get a bit heavy handed and so lost some of the texture.


I then used the same colours on a piece of undyed cotton, again a bit heavy handed in places.


Because I was disappointed with these two pieces I decided to see what selected areas looked like. By using a piece of mount board as a frame I was pleased to see that smaller areas turned out to be very interesting. They definitely have potential.


This technique has so much potential for creating interesting backgrounds and, like the other interfacing screen techniques that I have covered, just peel off the screen at the end of the printing and wash it out, in cold water, so that it's ready for another day. I can't say how long these particular screens will last for as it is the first time that I have used this technique having discovered it in Screen Printing by Leslie Morgan and Claire Benn. It is an excellent book that I can recommend.