A TECHNIQUE DRIVEN Blog dedicated to mastery of surface design techniques. First we dye, overdye, paint, stitch, resist, tie, fold, silk screen, stamp, thermofax, batik, bejewel, stretch, shrink, sprinkle, Smooch, fuse, slice, dice, AND then we set it on fire using a variety of heat tools.

Monday, November 30, 2015

Ice painting

This whole month I talked about snow and ice in combination with Procion MX dyes, but you can also use ice cubes in combination with paint. This time I painted a piece of fabric (approximately 0,5 yard) with a blue and pearl Lumiere paint. Placed this in a container and added some ice cubes.


By using ice cubes it is easy to place them at random as for this technique it is essential that not everywhere melting occurs. After the ice was melted and the fabric was ironed (from the back) it looked like this:


The light areas are the areas where ice melted. The paint there got mixed with the melting water.
Here is another example. You can see that with this fabric more ice cubes were used, resulting in a very pale fabric.


The fabric is very light, but in this detail photo you can see that it is very pretty:


This is my last blogpost about snow and ice dyeing. I hope you enjoyed them and that it gave you inspiration for the coming winter.

Friday, November 27, 2015

Dye cubes

Here is another way of using dye cubes. Left over dye concentrate was poured into ice cube containers and placed in the freezer. Two fq's of fabric were soda soaked.


One piece of fabric was placed flat in a container and dye cubes were placed at random on the fabric. There is a piece of cardboard in the container covered with plastic. This gives enough raise so that the fabric will not be in the melting dye.


 This is not my best picture, but you get the idea :-). The second piece of fabric was placed over it.


This was left batching till the next day. After rinsing, washing and ironing the fabric looks like this:


I had not marked which fabric was at the bottom and which at the top. My guess is that the top picture shows the fabric which was on top and that the bottom one was as the bottom. The colors blend a bit more on that one. 
Having seen these results, I make certain that whenever I have some dye concentrate as a left over, that I freeze it. With frozen dye it is difficult to see which color it is. If you want to keep track of that, I suggest that after freezing, you put the dye cubes in small ziplock baggies on which you can write which color is in it.. 

Wednesday, November 25, 2015

Another example of using soy wax

For today I am going to show you another example of using soy wax resist. Using this computer part, officially called a metal wire finger guard grill for a computer case fan as a stamp. I bought mine at Amazon.


It is metal, so it get hot when you put it into the soy wax. Be careful and use pliers to hold it. With this grill I stamped the whole fabric.


Placed it flat on a raised platform in a container, added snow to it and sprinkled the soda ash powder together with the Procion dye powder. I used Better Blue Green, Parakeet and Kingfisher Blue (all Dharma). Left it like that till the next day. After rinsing, washing and lots of ironing it turned out like this:


In both today's as well as the previous blogpost I used snow, but this could also have been done using ice dubes. As you have seen, soy wax works great in combination with snow and ice dyeing, but keep in mind that not all resist will work that well. Resists which dissolve in water like potato dextrin, sugar, baby food do not work. While the snow or ice melts, it dissolves the resist. You will get some pattern on your fabric, but not as clear defined as you might have wanted.

Monday, November 23, 2015

Soy wax

A lot of techniques which you use with regular dyeing, can also be used with snow and ice dyeing. In today's blogpost I will show you an example of using soy wax resist. Using an old brush I applied soy wax to the fabric.


I placed the fabric flat on a raised platform in a container. Put snow on top of it and sprinkled soda ash powder together with different dye powders on it. For this one I used Cardinal Red, Gunmetal Gray and Caribbean Blue. Left it like that till the next day. This is how the fabric looked after the snow had melted:


After rinsing, washing and ironing the fabric looks like this:


Keep in mind that for ironing soy wax out of fabric you need lots and lots of old newspapers.

Friday, November 20, 2015

Mandala done with dye cubes

Just as I described in the previous post I folded small quares of fabric (10"x10") in different ways and used binder clips to keep them like that.


I had poured left over dye concentrate from previous dye sessions in ice cube containers and placed these in my freezer. No idea exactly which colors it were, as I did that last year. I use these containers only  for dye and not for making regular ice cubes.


The folded fabric was soaked in soda ash and placed on plastic plates.


On each fabric several dye cubes were placed. I advise to put on gloves when you do this, as it is very messy :-).


The plates were left batching till the next day at room temperature. After rinsing, washing and ironing this is how the fabric turned out:


As you see you have more control of where which color shows up. Of course you can do this with bigger pieces of fabric. Keep in mind that the thicker the folded layers are, the more difficult it will be for the dye to penetrate the centre. I used plastic dinner plates, but if your fabric is bigger you will have to use bigger trays or containers.

Wednesday, November 18, 2015

Mandala

You can call this mandala dyeing or clamped shibori. I used small pieces of fabric 10"x10", but of course you can do this with bigger pieces as well. I folded the squares in different ways and used binder clips to keep them in these shapes:


Soaked them in soda ash and placed them on a raised platform in a bucket.


Put ice cubes on them and sprinkled dye powders. I used Plum, Deep Purple and Amethyst (all G&K)
and let them batch till the next day.


If you remain in the same area, it is best to cover the dyepowder with some more ice or put a lid on the container. You do not want to inhale the powder.

Next day the fabric was rinsed, washed and ironed and this is how they turned out:


I did not mark which fabric I folded in which way as I do not mind a surprise. In next blogpost I will show you how you can do this with dye cubes.

Monday, November 16, 2015

Silk

In all my blogpost of this month I talk about procion dye powder. This is because I have experience with it. On other blogs I have read that there are other fiber reactive dyepowders, but I have never used them. In the first post of this month I mentioned a couple of suppliers. I had no intention of posting a complete list, but mentioned only the ones I had experience with.

Most of the time I work with cotton, but today I am showing you a raw silk piece of fabric which I snow dyed. As it is silk I could not use soda ash, but I presoaked it in vinegar. It was 3,5 yard of silk, so I needed a number of bottles of vinegar. Can you imagine how the studio smelled?

After the soaking the fabric was crunched, placed in a container on a raised platform and covered with a layer of snow. Dye powder was sprinkled over it, approximately 0,5 cup each of Teal Blue, Brushed Steel and Better Blue Green (all Dharma). A thin layer of snow was added to cover the dye powder. Left like this till the next morning. After rinsing, washing and ironing this is how the fabric turned out:


I did not take any process pictures, You know the drill by now :-).

And two detail shots:


Don't know yet what I will do with this fabric, but 3,5 yard should be enough to make some kind of garment.


Friday, November 13, 2015

Parfait

Today I am showing you how to create a parfait or layered dyeing. For this I use a glass vase - easier for the pictures, but of course you can use a container or a bucket as well and 4 fq's of cotton fabric. The fabric was presoaked and labelled with small pieces of Tyvek marked 1 up to 4. First a small container was placed into the vase to create a raised platform.


The first piece of fabric was crunched and place on top of the raised platform.


This was covered with some snow.


Dye powder was sprinkled on it


And this was covered with a bit of snow.


This process was repeated till the vase was full.


The colors I used were:
1- Brazilnut (Dharma)
2- Marigold (Dharma)
3- Watermelon (ProChem)
4- Razzledazzle (Dharma)

The vase was left like this till the next morning. After rinsing, washing and ironing this is how the fabric turned out:

 fabric 1:

fabric 2: 


fabric 3:


fabric 4:


The above fabrics are created with snow. I repeated the whole process with ice cubes using the following dye powders:
1-Robin's Egg Blue (Dharma)
2- Better Blue Green (Dharma)
3- Tangerine (a pure color)
4- Dragon Fruit (Dharma).
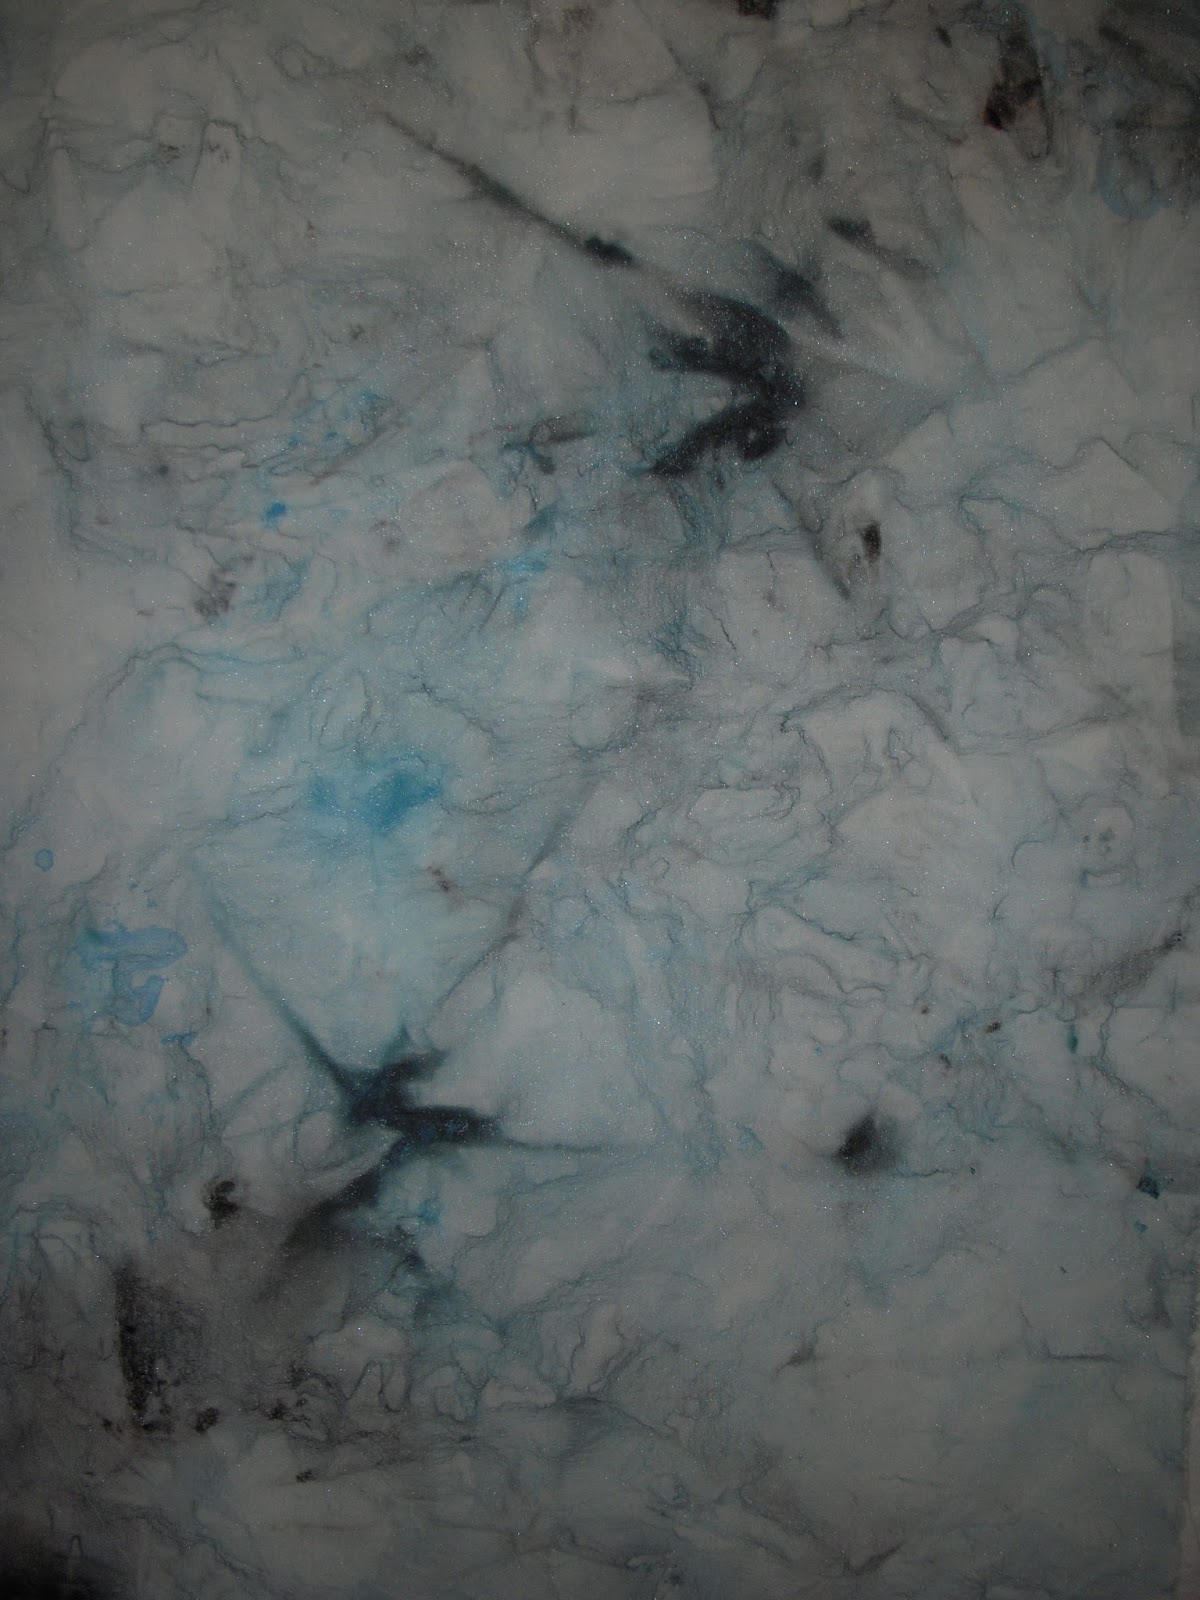
And here are the fabrics:

fabric 1:


fabric 2:


fabric 3:


fabric 4:


As you see this technique can be done both with snow or with ice. If I had not marked them, I would not have been able to say which medium I used.