A TECHNIQUE DRIVEN Blog dedicated to mastery of surface design techniques. First we dye, overdye, paint, stitch, resist, tie, fold, silk screen, stamp, thermofax, batik, bejewel, stretch, shrink, sprinkle, Smooch, fuse, slice, dice, AND then we set it on fire using a variety of heat tools.

Showing posts with label Ink. Show all posts

Monday, March 14, 2011

Diva's Weekly Challenge and Gel Pen Review

I have decided to accept the Diva's Weekly Challenge for a Zentangle drawing.  I thought it would be a great double exercise (use of ink on fabric and drawing class skills).  Here is a picture of the Zentangle I made on Saturday during the Play Date of the FIVE.  The challenge was to incorporate blue in the Zentangle.
This is a piece of cotton I shibori dyed in January with Cerulean Blue.  I had originally planned to draw zentangles only where the white was but the right hand side of the material had very little white and was looking lonely.  I went ahead and drew some zentangles there and will go back and put a little bleach in them to see if I can lighten the inside some. 

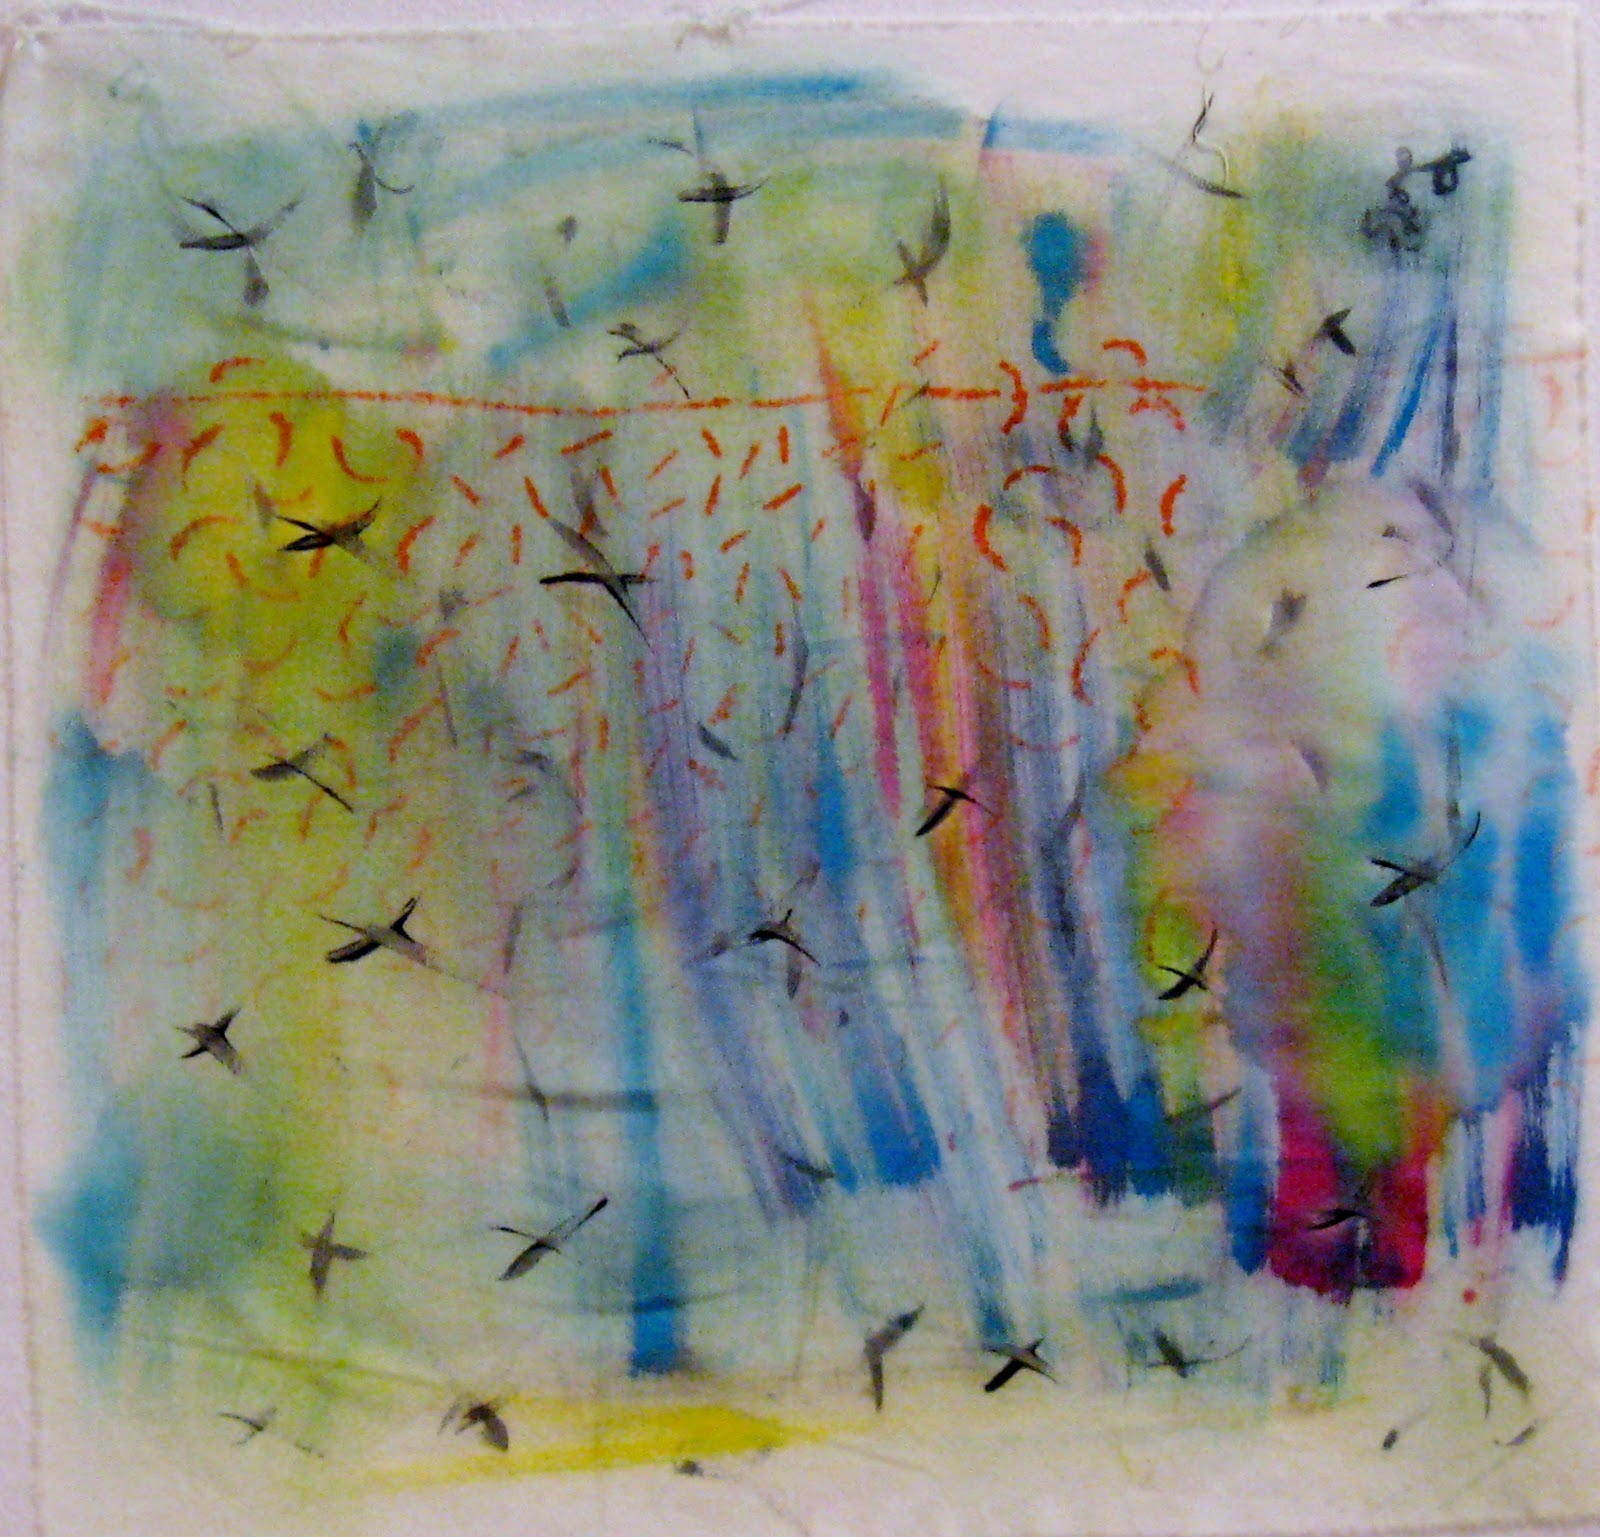
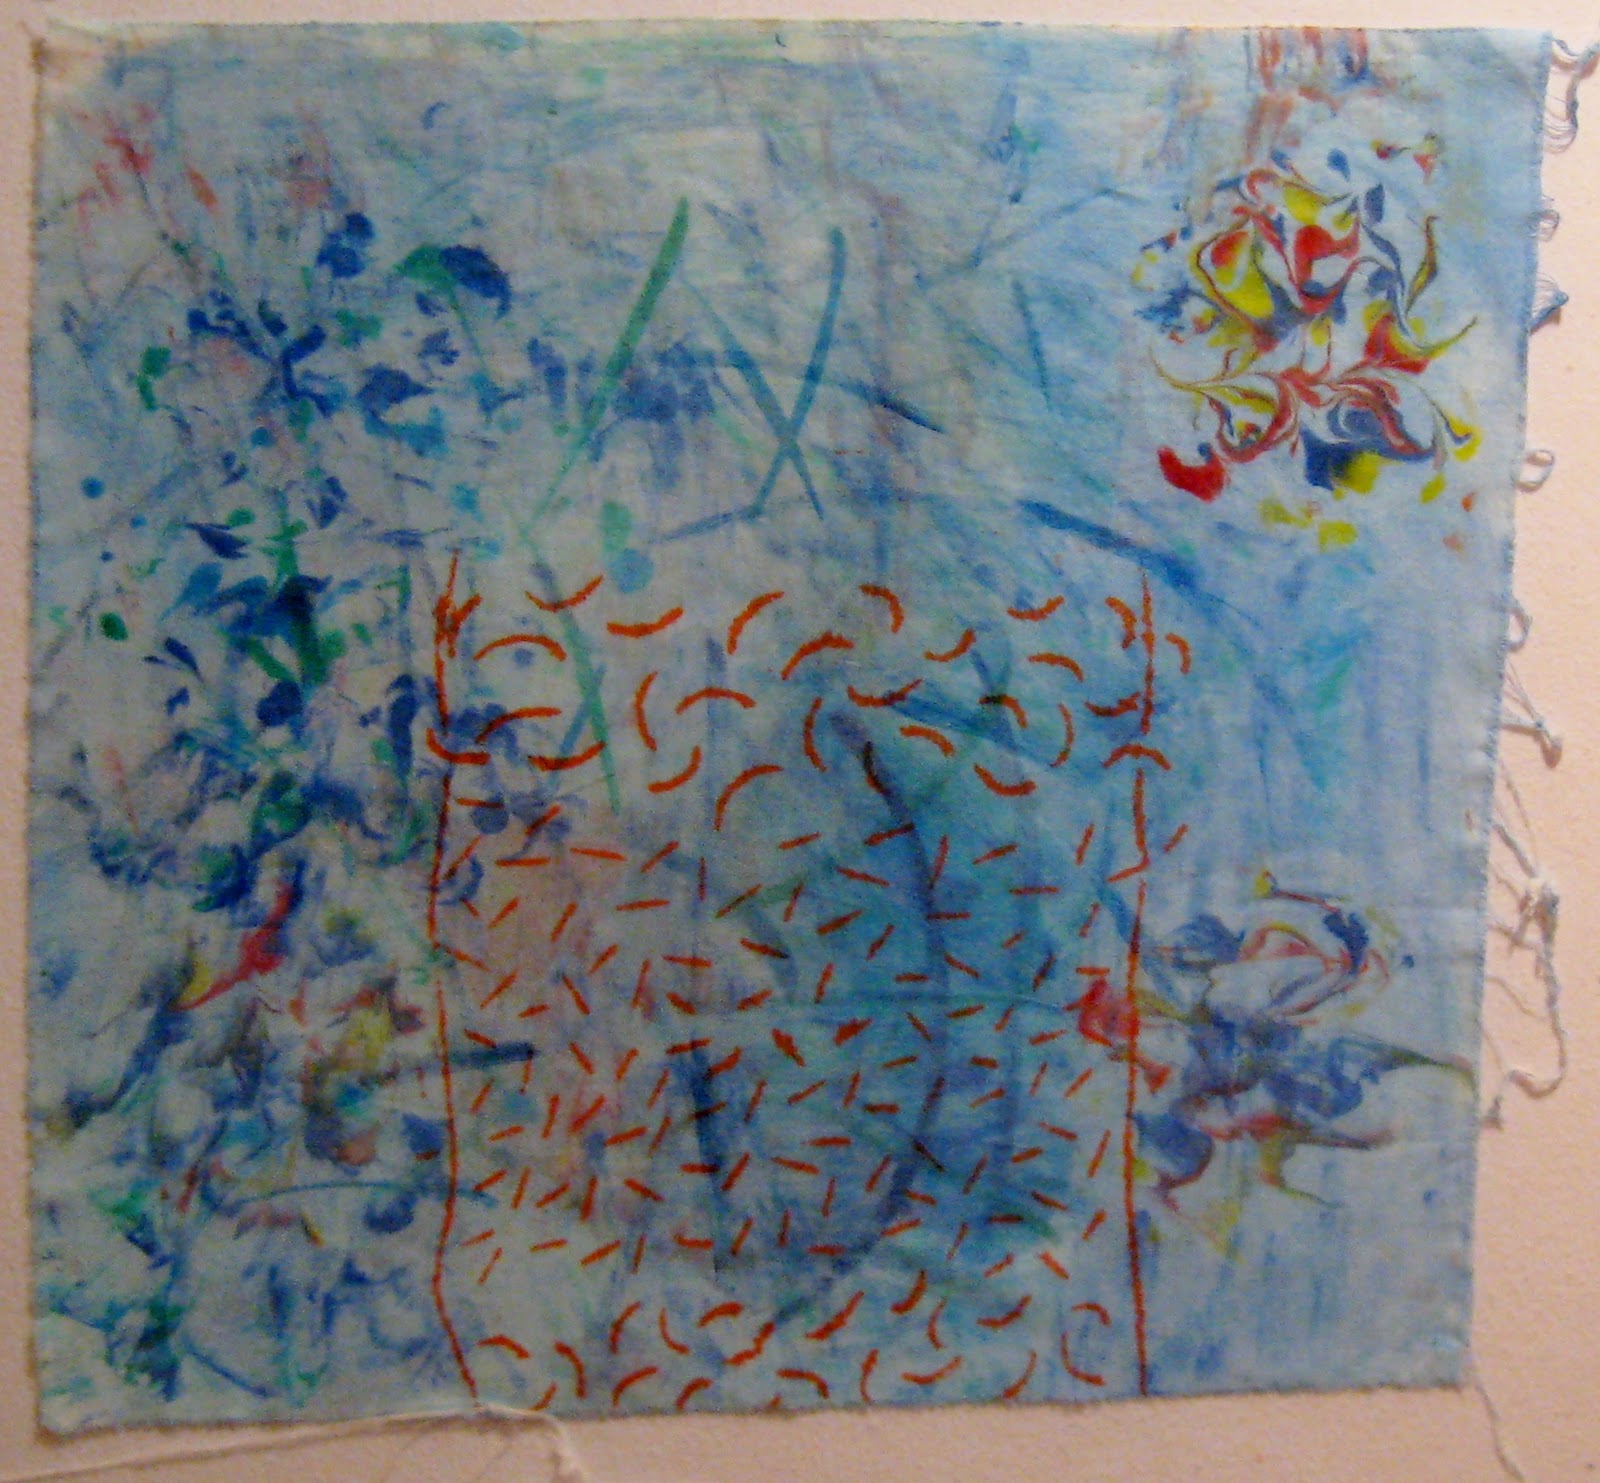
The reason I am posting the zentangle here is that I used the Pentel Gel Roller for Fabric pen to create the Zentangle and wanted to give a review of it as part of the ink month.  The pen and I have a love/not-so-much relationship.  It has a broad tip--1.0 mm.  That gives a wonderful line but tiny details are not achievable.  The black is very black and it does go on the fabric very smoothly.  I have not yet washed it so I can't comment on the permanence of the ink.  My biggest problem is that the pens do not last long.  This Zentangle of 8" by 14" used one complete pen's ink--I started with a fresh pen and it was ink-empty when I finished.  The pens aren't all that expensive-- between $2 and $3  I think--but the idea of having to use dozens of pens to finish a larger project seems a bit much. 

Rosalita had other gel pens which were not especially made for fabric that I tried when my pen ran out.  I would think that once you use them on fabric and paint them over with a textile medium they would also be reasonably permanent. (I have not tested that theory yet). They did not go on quite as smooth as the Pentel but were not bad. They covered well.  I couldn't get as strong of a black using them but then I had lots of other colors to choose from (the Pentel had 3 colors I think).  I didn't use one color long enough to know how fast they run out.  Neither did I price them to know if they are cheaper.  I do know that I could buy regular gel pens at Michael's or A.C. Moore or probably WalMart for that matter so they are more available and I would not have to pay for shipping or wait for delivery.

So, if I want to do more Zentangles on fabric will I use a regular gel pen or the special Pentel Gel Pen Roller for Fabric?  I liked the Pentel well enough that I will order some more but I will come up with a Plan B for any larger drawing on fabric projects.

Good news!  I just got an email that my acrylic artists inks have been shipped.  Hurrah!  I see more ink play in my future.

Tuesday, March 8, 2011

Trying Ink on Fabric--Quilter Beth

I received my inks and have played with them a little bit. I haven’t had the best of luck with the projects, though. This first picture is of a character I thought I might “paint” with the inks and aloe gel after I saw Karen Silver's dragon. I didn’t get good color—the black turned out way too gray. (It is more gray in person than in this picture.) I didn’t bother to use any other colors of ink on this piece. I also could not control the bleeding (wicking) of the ink beyond the lines. I thought I might need to add more aloe to control the bleeding; but when I did that, the color got more pastel. I will be finishing this piece with textile paints (which I find MUCH easier to work with).
This is a picture of a fabric softener dryer sheet onto which I brushed some inks. The sheet did not hold up well to the friction of the brush; it tended to beard.
Last, I thought I’d try making some background fabrics and fabrics onto which I could add some layers. I wasn’t real pleased with those either. On the first one, I used “Potion No. 9” which is a product that is supposed to allow the inks to blend (like watercolors). It is Tsukineko's ink blending solution. It can be used with any water-based ink. The product says it is supposed to encourage migration of the ink. I sprayed the “Potion” over the entire fabric and found it didn’t do much. I then concentrated on one area (right-hand side) and sprayed it a bit heavier, which worked a little better. I also tried spraying the piece after I sponged on the inks…again, with little success. I ended up using an entire travel-sized bottle on this one piece. (The orange is a previous layer that had been screened on in my Jane Dunnewold class and is made with tempera paint.)
On the other pieces, I watered the inks down a little and sponged them onto the fabric. I also experimented with the inks and shaving cream. You can see my little shaving cream experiments on the right-hand side of the bottom picture. I also tried painting small sections of each piece with ink and aloe gel; and in some places, I dipped the Fantastix applicators into the ink and brushed on some ink. I was just experimenting to see what would happen.

 I have some other ideas about things to try...now, if only I could find the time...

Mini-excursion into ink

 This was not the adventure I hoped for (my ink has not yet arrived) but it is a beginning worth posting I think.  I finally finished the Black, White and Red All Over quilt that I was making for my sister.   It is queen size and I didn't do the quilting on it.  Here it is spread out on the floor.  As you can see, it is a little of this and a little of that.
Now that the quilt is finished, and bound, it needed a label (this is the place I talk about the ink).  While my ink order has not arrived I did get my fabric pens.  So, using a piece of white cotton fabric ironed to freezer paper, I started drawing with my black and red fabric pens.  Here is the result.

It is a black, white and red zentangle which I think goes with the wonky front of the quilt.  I really wanted to give it a coat of ..what is the name of that stuff...clear stuff you paint to make the ink/paint/pencil bond to the fabric.  I hope you know what I mean.  But I couldn't find it.  So instead I ironed it really well using parchment paper.  I hope that keeps it from washing out.

Tuesday, February 22, 2011

Another use of Ink in surface design

I was checking out YouTube for anything having to do with surface design and inks.  I came across this video.

Friday, February 18, 2011

March Guest Blogger

In February Beth was lovely enough to give you a tutorial for batiking.  I, however, have never used inks. What to do????   Then Karen Silvers of  A Creative K left a comment on my post announcing inks for March saying she wanted to do MORE of them.  MORE?  To me that meant she has done some already.  Goody! 

I asked.  She accepted.  Karen Silvers will be a guest blogger on March 1 to show you what she has learned about inks and to show you some examples of what she has done.  Stay tuned!

Tuesday, February 15, 2011

March's Technique

As I was debating what technique to choose for March, I read a recent post by Terri Stegmiller that made up my mind.  In March we are going to try using  artists inks.  I have long wondered at the difference between inks, dyes, and paints.   So, here is everything I know about the inks and I hope that, with your help, I will learn much more during March.

First, here is a link to the product information for the type of inks that Terri Stegmiller used.  It includes a description of the inks, color charts, and a couple of PDF guides of projects on watercolor paper. There are of course other kinds of inks.  Judy Coates Perez uses these inks.

Suzan Engler did some tests with theliquid acrylic inks and wrote about it here.  I can see Rosalita trying this particular way of using the inks.

 Here is Terri Stegmiller's description of the inks and here is the tutorial and finished project from her that incorporated a zentangle technique with a gel pen.  It is another way to use the inks.

Here is a third way of using the inks and mixes them with aloe vera gel.  I had read of this method before from the Quilt Rat  with her outstanding doodles.  Quilting Arts also has instructions from Judy Coates Perez for gel ink painting. And here is another blog that tells you how to get the same type of results without using the gel.

Okay, I have told you  all that I almost know about using inks with fabric surface design.  I have my supplies ordered and look forward to experimenting. But first, I have some more shibori and batik techniques I want to attempt and show the you results--good or bad!