I want to thank all of our resident artists and all those they engaged as helpers to fill our blog with amazing surface design techniques this past year. We truly have been blessed by so many generous people giving their time to share their knowledge and talent. Thank you one and all!!
We have a great line-up of people and techniques coming your way for 2015! If you have a favorite surface designer you would like to see on the FIRE blog, please let us know and we will contact them.
From all of us at "And then we set it on fire", we thank you for being part of our surface design family.

A TECHNIQUE DRIVEN Blog dedicated to mastery of surface design techniques. First we dye, overdye, paint, stitch, resist, tie, fold, silk screen, stamp, thermofax, batik, bejewel, stretch, shrink, sprinkle, Smooch, fuse, slice, dice, AND then we set it on fire using a variety of heat tools.
Wednesday, December 31, 2014
Sunday, December 28, 2014
Oranges and Oranges
At Nienke's suggestion Beth used citrus fruit to make a deconstructed screen print. She has already written about it on the blog. Here is her set up and here are her results. She did it the day before our play date to see if it would work. She saved the fruit for me to try. Without seeing her process I also tried deconstructing the fruit. My process was very different. I dipped the fruit in thickened dye and stamped it on the screen, let the screen dry, and then deconstructed it with a thickened dye paste with soda ash. You'll see little circles between the fruit. There were thickened dye applied with a syringe to the screen at the same time I stamped the fruit. There was just so much space between the fruit.

 An overall picture. The top is a deconstruction of stamping on the screen with the edge of corrugated cardboard that I did at the same time.


Here is the set-up.
(Beth took the picture before I decided to add the tiny circles. You can see why I added the circles.)
Here are the results.
A first pull and below is a close up.
Below is a later print--maybe #4
Comparison
The benefit of having play dates with another artist is to see the different results.
1. I got much more distinct prints than Beth.
2. Beth got lots more prints from her method. I got maybe 4-5 before there was so little dye paste left to deconstruct that it was extremely boring.
Which of us got it right? Depends on the results you want. Nice to know for the next time I want to deconstruct.
Judith
Friday, December 26, 2014
Newer (Not Better) Deconstructed Screens
Beth has continued to watch and read deconstructed screen printing experiments by other artists. She will invite me over to play with her when she has seen an especially great experiment she wants to try. I am a willing student.
First was drawing straight lines on the screen with thickened dye. I had drawn much straighter lines on my first screens but when I got to these I was tired and just went for kinda straight. The first is navy blue dye. The next is orange dye with blue drops from where I stacked the blue screen on top of the orange screen to dry. When the orange screen was not drying fast enough, I propped it up so it would dry faster. Yep, then I got running. Yep, that is one screen with lots of serendipity.


Here are the results of the screens. Some are just one screen and some are two. For all of them I used a blue/green dye paste to release. I love the details on these prints.


I think the thing to note here is that my results were very different from Beth's. You'll need to go back to her posts to see what I mean. Our process is different. Overall she likes to have just a few prints with distinct marks from her deconstructed screens and she usually uses just plain print paste to release the dye. Each of her screens will make just 4 or 5 prints before she considers them exhausted. I, on the other hand, like to produce yardage, layer the screens, use colored dye paste to release, and I print a dozen or so from my screens before I consider it exhausted. I love the indistinct subtle marks for layering. Just a reminder that there is no right or wrong but just personal style.
Oh, I loved the results of this experiment and immediately turned it into a quilt for my great nephew, Nick. The quilt top can best been seen on my blog here.
First was drawing straight lines on the screen with thickened dye. I had drawn much straighter lines on my first screens but when I got to these I was tired and just went for kinda straight. The first is navy blue dye. The next is orange dye with blue drops from where I stacked the blue screen on top of the orange screen to dry. When the orange screen was not drying fast enough, I propped it up so it would dry faster. Yep, then I got running. Yep, that is one screen with lots of serendipity.
Here are the results of the screens. Some are just one screen and some are two. For all of them I used a blue/green dye paste to release. I love the details on these prints.
I think the thing to note here is that my results were very different from Beth's. You'll need to go back to her posts to see what I mean. Our process is different. Overall she likes to have just a few prints with distinct marks from her deconstructed screens and she usually uses just plain print paste to release the dye. Each of her screens will make just 4 or 5 prints before she considers them exhausted. I, on the other hand, like to produce yardage, layer the screens, use colored dye paste to release, and I print a dozen or so from my screens before I consider it exhausted. I love the indistinct subtle marks for layering. Just a reminder that there is no right or wrong but just personal style.
Oh, I loved the results of this experiment and immediately turned it into a quilt for my great nephew, Nick. The quilt top can best been seen on my blog here.
My Deconstructed Screen Printing History by Judith DeMilo Brown


I came across these 2 pieces of material when I was looking for pink or green fabric for my current project. It is from the first experiment that Beth and I tried. I am not sure of the date but it might have been four years ago. I was the "teacher," though I had never done it, and she was the willing student. I dyed the screens ahead of time and then we used the soda ash print paste to release the dyes. We didn't even have squeegees that fit the screen and instead scraped with an old credit card. You can see the lines created by the credit card. I am pretty sure I had previously died the fabric pink so the screen printing was just the green. I loved my results but Beth (who likes color, all color, all the time) was not impressed.


Beth kept experimenting and then invited me over for another lesson. She was the teacher this time. Here are some more prints from that session of deconstructed screen printing. This is maybe just from a couple of years ago. I finally got smart and started laying more than one screen.

I think this might have been the first print. Not much dye got deconstructed.

This is the same screen just turned and with a colored dye paste to release.
The next set is where I got smarter and layered two different screens.

First one

Then the other

Then both. You can tell both screens were getting to depleted but you can still see the effect of each of them.
The next post will be the deconstructed screen printing I have been doing lately. They are still experiments so I don't promise they get any better, just newer.
Wednesday, December 24, 2014
An Award Winning Deconstructed Screen Printed Quilt
On Thanksgiving weekend my husband and I went to the Art=Quilt=Art show at the Schweinfurth Museum in Auburn Maine. First let me tell you I think this is going to be a yearly pilgrimage. The quilt show was inspiring but then we got to see Auburn's Christmas Parade and saw a hilarious play at the Auburn Public Theatre. It was as near as perfect weekend as I can image.
Anyway, lets talk about the award winning quilt. When we entered the show we were told no cameras. I was disappointed but agreed to the restriction until I came across an award winning quilt. I then went back to the front desk and begged. They said I could take a picture but not post it till I had the permission of the artist. They even gave me the contact information. I contacted the artist, Ayn Hanna, as soon as I got home and she not only gave me permission but agreed to an interview for the Fire Blog.
Here is what she said about herself in reply to my original email. I had told her that I was a printmaker in addition to being a fiber artist.
I am a printmaker as well (earned my MFA at Colorado State University) and didn’t start working in textiles until several years after grad school. I’m now working to bring my printmaker aesthetic to the textile medium and I view the breakdown screen-printing process as a most perfect blend of drawing, painting and printing. I love it much as I love other printmaking processes - because the marks achievable in this process are not achievable any other way, and I enjoy working within mediums that are not 100% controllable by the artist.
First her quilt and then the interview.
And some detail pictures
Ayn's Intro
I am a printmaker and textile artist. My professional artist training include a BFA in Graphic Design and an MFA in Printmaking/Sculpture from Colorado State University, as well as experience as an Etching Master Printer. I have taught drawing and printmaking at the college level and currently offer workshops in eco dyeing and multiple screen-printing techniques on fabric.
I am honored to have my work selected for the Q=A=Q Show and even more so to have received an award. I appreciate being invited by Judith to have the opportunity to share more about my work and process with the Set it on Fire blog community.
1. There are many different ways to deconstruct silk screen (DSS). Can you tell us a bit about what method you use? As a printmaker, I love many printmaking processes, especially those in which I can achieve marks that really can’t be achieved through any other medium. I view the breakdown screen-printing process as the best combination of drawing, printing, and painting techniques. To create marks/images on a screen, I use a combination of direct drawing as well as low relief collaged shapes, sometimes creating simple color elements on single screens (which I then combine when printing them out on fabric) and other times creating more complex/complete multi-color images on a single screen. I generally will create multiple screens with the dried dye and then compose the foundation of a piece through combining the printing out of multiple screens on a single piece of fabric, alternating with drawing directly on the fabric as well.
2. What other types of surface design techniques do you use with your DSS fabrics when you make a quilt? I often will draw directly on the fabric with thickened dyes to enhance the printed image, sometimes will discharge areas of a piece, sometimes combine with layers of my hand-dyed fabrics in a reverse applique process. I use stitching to add another quality of line.
3. Where/who/how/when did you learn to DSS? I’ve learned most of the major printmaking techniques in college, while earning my MFA. As a professional printmaker, I use many resources, continue to do web research, study available educational materials, and experiment with new techniques in my studio, finding and using whatever best resonates with the direction I’m headed in with my new work.
4. Overall what do you think about DSS? e.g. "favorite because...." or "useful because..." or "generally hate it because...." I enjoy it because I find it the best way to combine drawing, painting, and printmaking on fabric, and because there is a certain lack of control with the process which allows for “happy accidents” and which requires some study and practice to achieve stellar results.
5. What type of mark do you hope to get from your DSS? I know that Beth and I hope for very different results when we DSS. I hope to achieve marks that just can’t be achieved through other mediums, a hand-drawn line which is then printed….there is a character to this all its own. I’ve had people respond to my work, curious how it was made/what it is made of and wondering if it is encaustic painting – this tells me that it has a new and different look and I think that’s a good thing.
6. When you DSS are there special tools/shapes/images/patterns/whatever you like to use? I use anything and everything that might give me an interesting mark. I draw using syringes with thickened dye.
7. If you have a favorite art quilt that you have made that incorporates DSS feel free to send a picture of it and tell us why you like it.
“Big City”, (fabric, dye, stitching, batting, mounted on stretcher frames). This was inspired by the buildings and fire escapes on the Lower East Side of New York City that I used to walk past on my way to work when I lived in the East Village several years ago.
The piece is 40 inches by 60 inches overall – inclusive of six 20 inch square pieces, so it’s modular and has a flexible configuration. This is a new direction for my work in that this is the first of my dye drawing textile artworks to be stretched around canvas-covered frames, in a sense “objectifying” them as art objects for the wall. I see these as a perfect blend of textile, painting, and art object all in one. This piece has been exhibited this year at the American Craft Council Baltimore show, the Fabric of Legacies show, and the SOFA Chicago show.
8. You could talk about the making of the quilt in the AQA show so those that can't see if up close and personal can get a better feel for the process and methods you used in it. I have 2 pieces from my LineScape series in the Q=A=Q show, “LineScape #14” and “LineScape #36 (Bridges)”. “LineScape #36”, (the piece that won an award) is a whole cloth dye drawing which I made by creating multiple dye drawings directly on screens, printing out multiple screens on the cloth, and then also drew directly on the piece with thickened dyes. I used stitching and couching to add line variety and bring the composition together.
Thank you, Ayn! I know that I am going to try some of your process in the near future.
Judith
Monday, December 22, 2014
Wash out of deconstructed screens
Judith came over after I finished washing and drying these. She did her own deconstructed screens which she will have on this blog on Wednesday.


Single pull of yellow dye on the screen and below is a single pull of green on the screen


Both sides of the ugly yellow fabric
Single pull of yellow dye on the screen and below is a single pull of green on the screen
Below are the multiple pulls on the screens
Friday, December 19, 2014
Trying the screens out
Here is the first pulls with colored dye with soda ash added.


I had so much thickened dye left, I went for a second layer.


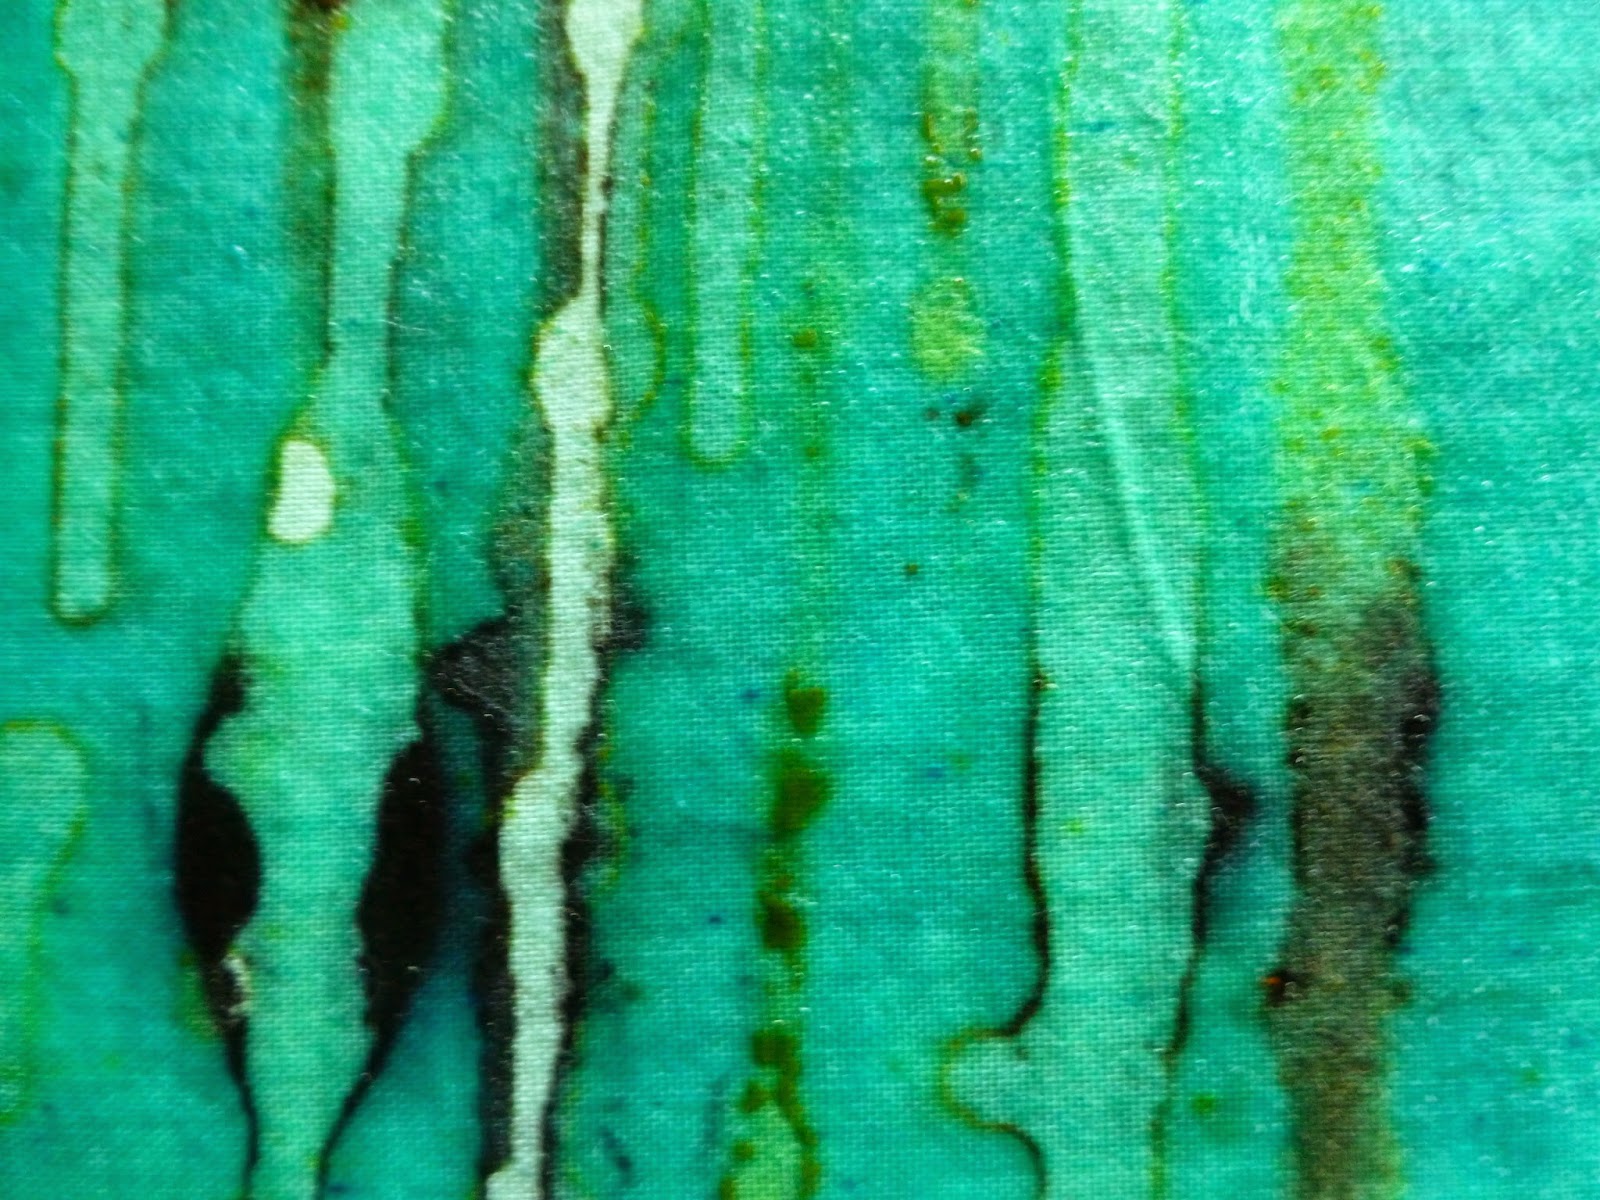
I pulled green and blue through the screen but look at those little bits of golden yellow!! I LOVE this.

Next post washed out, ironed and MORE!
Subscribe to:
Posts (Atom)