Today, the subject is deconstructed screen printing on handwoven fabric. If you need to know more about DSP or breakdown printing, as it is sometimes called, please refer to those terms in the right hand column of this blog under Labels or read through the December 2014 blogs by Beth and Judy.
This screen is turned upside down to allow the dye to dry on the screen - never let acrylic paint dry on your screen or it is a goner. But dye is always soluble in water or in release paste which is just water thickened with sodium alginate. The cloth has been pre-soaked in soda water solution (9 tbls to 1 gal of water) and allowed to dry naturally.
The cloth is stretched and pinned onto a print board which has some padding. I use doubled corrugated cardboard covered in batting, then covered in clear vinyl tablecloth protector. All of that is just duct taped on the back securely. Mine have lasted for years.
This handwoven cloth was double woven on the loom and slits were strategically planned. The soft sculpture was slid onto a clear tube for display. This didn't make the cut for a weaving competition, but I really enjoyed the whole process.
The frames below were canvas covered wooden stretchers and I removed the little rubber gasket that holds the canvas on the back. I tried using it to hold the "silk" screen fabric which is actually polyester, but it was too slippery. Screens have to be tight as drums in my opinion or it's too hard to lift them off the cloth after each pull. They stick and you can ruin your image trying to lift it off.
I painted them with a water wash-up type of polyurethane. Lower odor, easier cleanup. Three or four coats all around. Below is one with the dye on it ready to print. Notice that the face of it has a raised edge and the wood slopes toward the middle. That's okay on the front but the back where the screen is attached has to be absolutely flush to the printing surface.
For this one, I just taped the back and the edges to cover the edge of the screen fabric. No little gutter on the front. Since I don't wash these I don't worry about the water running under the edge from the front.
Here's an in-process shot of gluing the screen fabric onto the wooden frame. Sorry for the messiness of these process shots, I took them mostly to remind myself which glue I used. Several I tried were not reliable.
You can see the orange screen fabric taped down to the table. The frame (with the glue applied liberally edge to edge, but not messily, to the back) is being pressed down with bricks. I covered four bricks with fabric for my daughter's wedding since we weren't sure if it would rain or not. I had an arch covered with rushed fabric and twining ivy. Outside we could just poke the poles in the ground. But if we had moved the ceremony inside because of bad weather, I planned to use the bricks on the dance floor for the arch. As it turned out the bricks weren't used, her wedding day was perfect. The bricks have come in handy over the last fourteen years as clean weights for all kinds of projects.
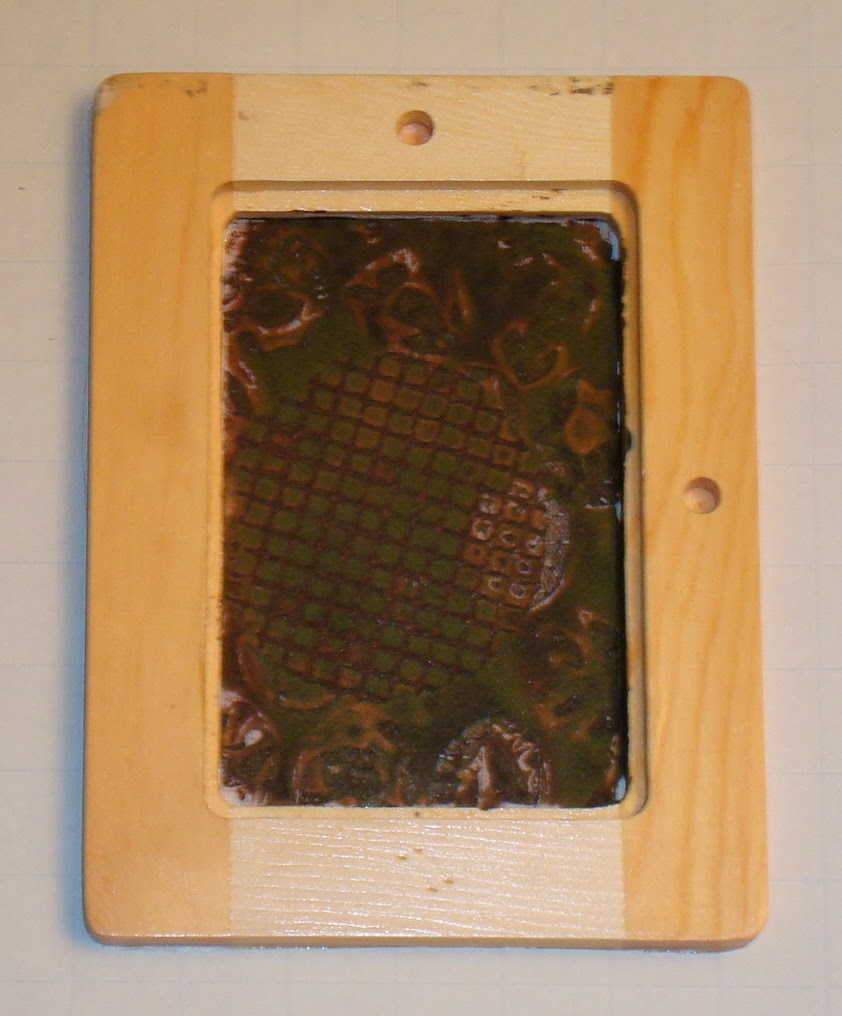
Here's another screen made from a one dollar paint-it-yourself picture frame from the hobby store. One side has a recess for the photo and backing. The holes are for a little peg that holds the fame upright on a desk. This side, of course, had to become the up side of the printing screen while the front of the photo frame became the back Clear? I hope so! Look, ma, no tape! For this one, I glued it perfectly and just used scissors to trim the excess. I love it - although it is one of my smaller screens. I never wash it.

Another one of my double-woven deconstructed screen prints, say that ten times fast! This is a detail, I love the way the weave adds texture to the color of the dye. I put a tape measure on the cloth and placed a commercial cotton next to it. It's a sample from a eco/contact print that just happened to be handy. Looking at the thread counts - in my handwoven, it's about 16 ends per inch compared to at least 200 for quilter's cotton. It's a difference in resolution, a lot like reducing the pixels in a photo blurs the photo somewhat.
Too bad I didn't print from that screen on some commercial cotton for a better comparison but at the time, I had no idea I would be rambling so much about the process here on the Fire blog. Since this is deconstructed screen printing, that screen is exhausted and no way I can reproduce the exact image again unless I print the photo image onto fabric with my Epson printer. Now that would make an interesting composition - combining the handwoven with the digital print.
The double woven cloth is still pinned on the print board. I have yet to dye the other side - there's a piece of plastic between the two layers - so it's still virgin cloth on the reverse. Waiting for inspiration on what will go with this. That's my story and I'm sticking to it. But the digital print / handwoven mash-up is sounding like a good way to go. I may even do some selective unweaving of the cloth to go with the deconstructed printing. Deconstructed Deconstruction would be a perfect title.
Here's the screen before printing.
And several screens I've made that have only minimal taping.
Thanks for following along this month. Hope you'll try making a screen for deconstructed screen printing.
Diane - yarngoddess


