A TECHNIQUE DRIVEN Blog dedicated to mastery of surface design techniques. First we dye, overdye, paint, stitch, resist, tie, fold, silk screen, stamp, thermofax, batik, bejewel, stretch, shrink, sprinkle, Smooch, fuse, slice, dice, AND then we set it on fire using a variety of heat tools.

Friday, January 30, 2015

no loose strings


My first venture into string dyeing was to tie it real tight or clamp it tightly as I did with the little kites shown in the post on Monday.  The next time I ran some tests I tied more loosely and the purple dye really flowed out of the string as in the samples on Wednesday.  I got excited by that! 
So... when the gang got together, we went with the loosely tied approach BUT they used mostly blue yarn.  The pot was boiling blue water so we thought we had lots of winners. The snippets above only faintly marked the silk and cotton scarf.  Maybe the silk was partly to blame?  More experiments, please.
Here's that scarf after washing and ironing.  The maker is happy with it but it is subtle.
Another sampler tried the arashi shibori on a jar technique and she wrapped tightly but look at all that color even before we opened the package.
 She's pretty happy with the marks on the cloth.


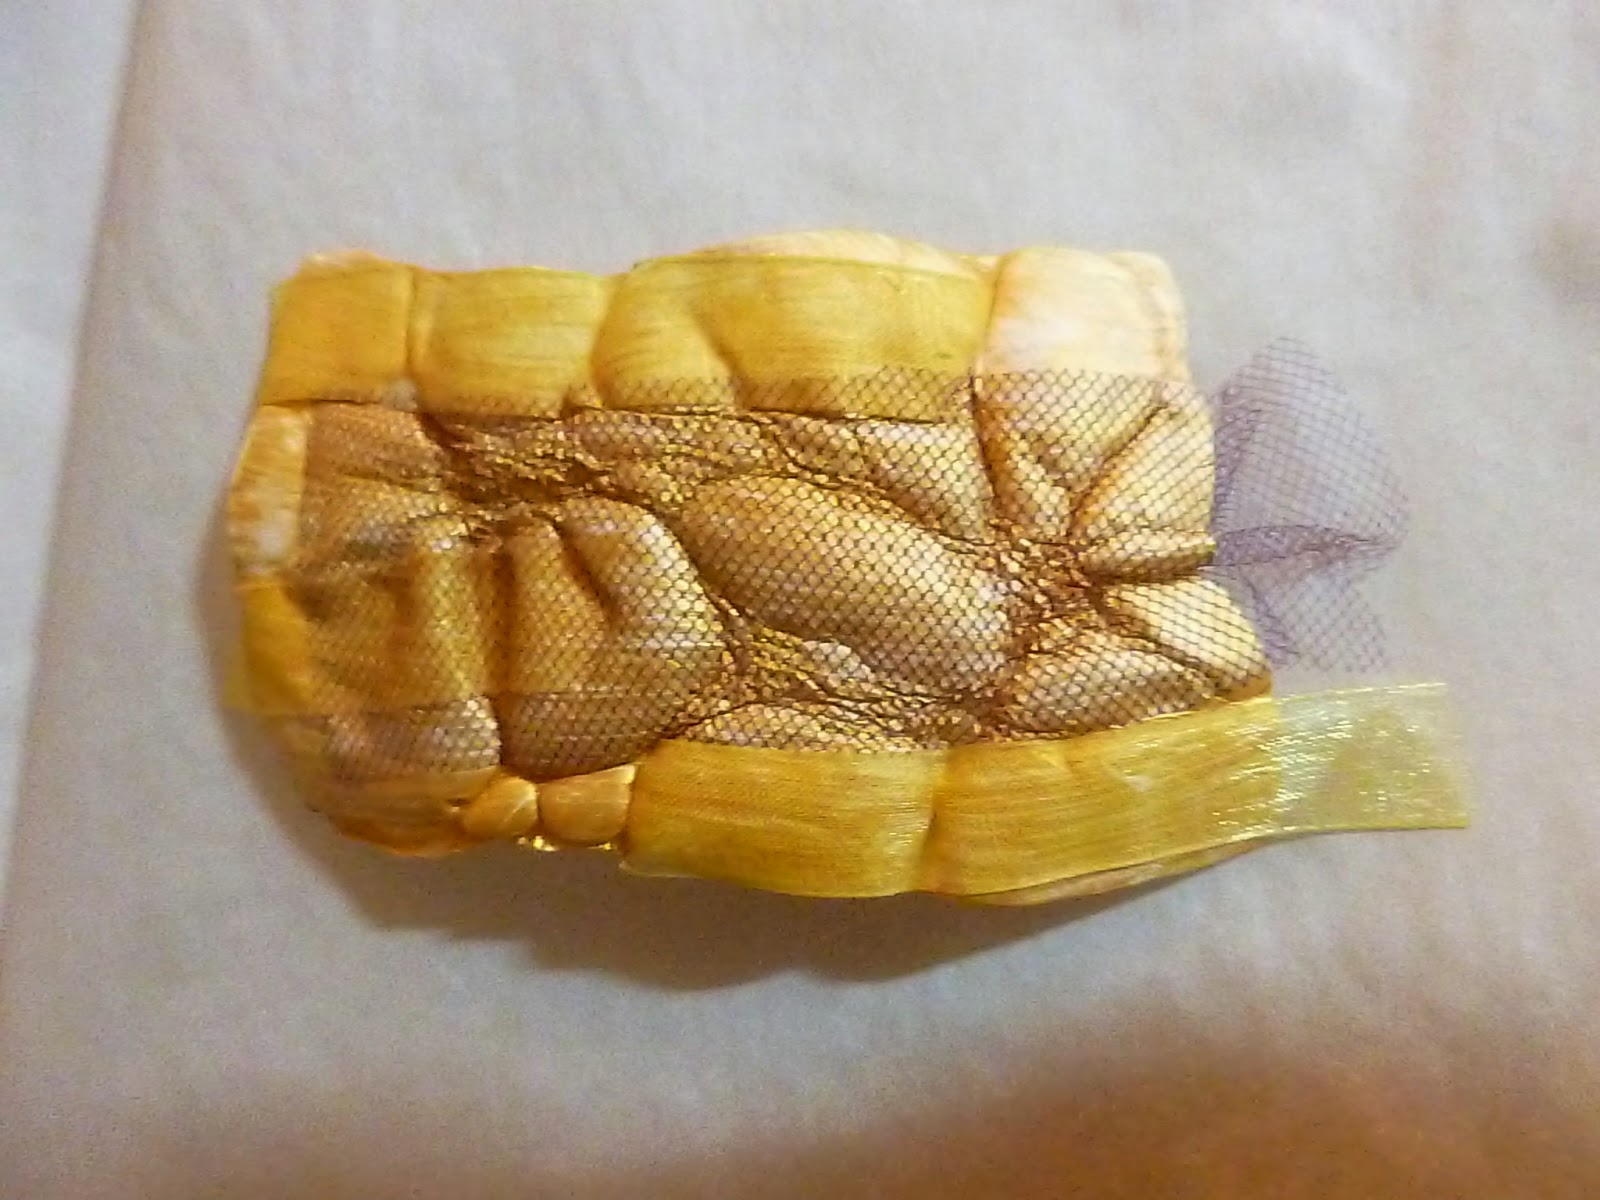
The rest of the bundles looked like this before we opened them.

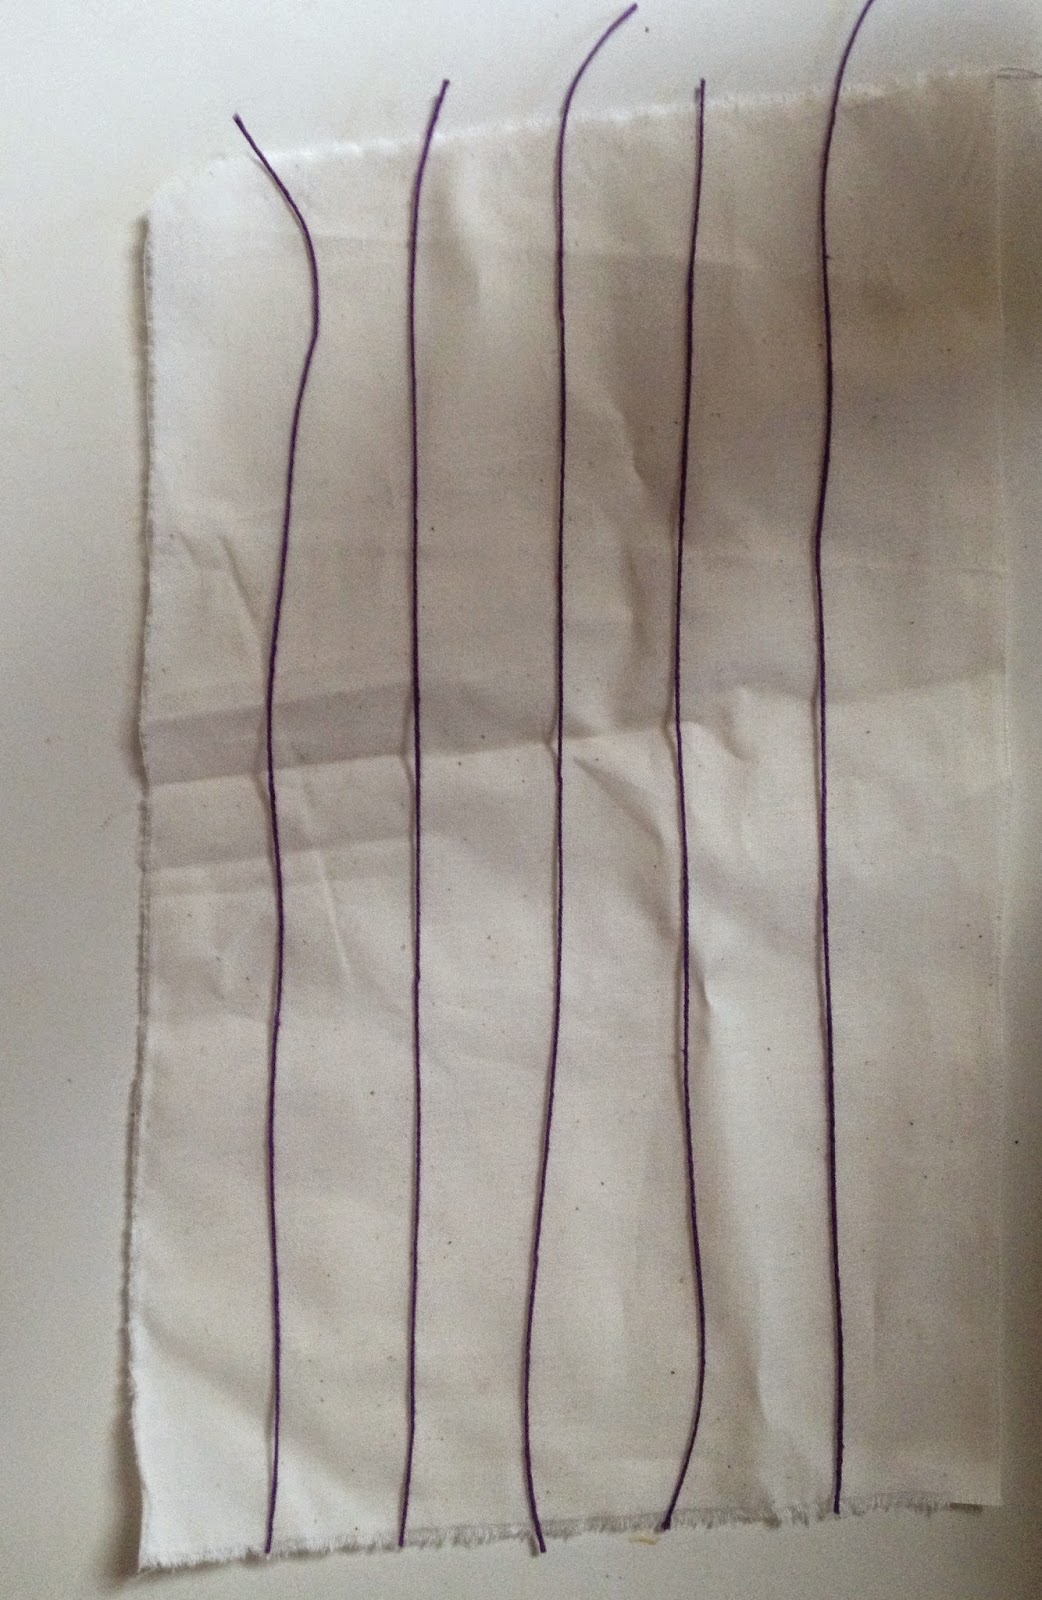
The cloth below was the one in the middle with the red rubber band wrapped fairly tight around a dowel.  She laid strings on the cloth and folded it accordion style from corner to corner.  She used both the blue and the purple strings.


This cloth with the distinct folds was the darkest one in the bundles photo.  The beginning and ending are nice but the middle was only lightly marked.

The last silk and cotton scarf was the long one wrapped into a U shape.  I can't remember how she wrapped this... but those marks look like magic writing.

So I promised to mail out eight samples of the strings that dyed cloth after being boiled for 30 minutes. Over on my personal blog, there are over 30 comments to date and, as of noon Central time on January 30, I going to pick the eight names and contact them via email for their physical addresses. Thank you for following my tutorial and your interest in knowing more. Many commenters have asked for advice on buying yarn that will work so I've ordered some new cotton warp to test what happens with fresh stock. I'll post an update! I'm taking a small risk because I can always weave it up if it doesn't bleed good enough for dyeing.

Wednesday, January 28, 2015

no strings attached

Still stringing you along.  But today, I give you the complete directions with one photo.
You boil the tied up fabric for 30 minutes in a dye-dedicated pan.  Let it cool and voila! Done.

Here are some examples of how to tie and the results I got.  As usual, your mileage may vary.
 Lengths of the string laid out. Then accordion folded, folded in half lengthwise and tied in three places (the horizontal marks on the left side).  I should be better at this kind of folding since I played the accordion as a child.  You can be as precise as you want in folding - I'm not sure I care about that anymore.


I scrunched this up loosely with my fingers and then tied it with five strings. The purple color flowed nicely out of the string and the tightly bound areas stayed light. 
 Then I got ambitious and did an arashi shibori on a jar that fit easily into my pot.  A wine bottle would have given me more space for a longer piece of cloth but I buy my wine by the box.  :)

There's that pesky poinsettia cloth in the background again; I was trying to give you more than plain white background and I'm probably just confusing you.  The important stuff is just  the jar, the white cloth and the purple string. 
To get an artsy arashi, you start with the corner of a long piece and wrap and scrunch, wrap and scrunch till you run out of cloth or space on the jar. I ran out of space.  You can use a piece of plastic electrician's tape to hold the string and the cloth to make it easier to begin and end the wraping.  That kind of tape holds up well to the boiling and if you need to mark names on things you are dyeing, you can write on it with a Sharpie. 
 The top right corner is where I started, all careful and organized wrapping.  The wrinkles started to happen and I decided to throw careful to the wind and just get on with it.  Turns out I like the part near the hacked off end much better than the beginning.

Come back Friday for more tips and disasters with string dyeing and don't forget to comment on my personal blog for a chance on a bundle of guar-on-teed bleeding string.


Monday, January 26, 2015

stringing you along

Diane here.  I spent a year recently making quilted birthday hotpads for friends and family. Here's one of my best....the free motion quilting follows the lines of dye.


When Beth asked me to be a resident artist, I thought it sounded like a great idea; I started packing my suitcases and checking flight schedules ... and then she mentioned posting photos and writing blog posts... well, okay, I'm all over that.  Blogging in my jammies and posting photos about stuff I love to do?  Count me in.  I've been a follower of the Fire blog for a while now.  Just between you and me, I think I'm on the list of contributors so I don't post so many questions.  :)

My plan for this week is to string you along with a simple, easy as buying a slice of pie, dyeing tutorial.  Show you the good stuff, briefly point to what can go wrong, and then inform you that I have no idea where you can buy the stuff you need.  But wait... I will give you an opportunity over on my blog this week to win your own little bundle of "secret string," so don't go away mad.


A few years ago, my daughter and I began playing around experimenting with eco-dyeing, contact printing - whatever you want to call it - when you roll up fabric with leaves, wrap it tightly with string, then boil it for hours, wait weeks before opening the roll and hope you get an image of the leaves.  Well, in the beginning we didn't!  But boy oh boy, did we get marks from that string!  One thing led to another and I found a few tubes of cotton string (in my vast stash of yarn and with a little help from my friends) that dye cloth when you simply boil it.

Ignore the fabric in the photo above - that was a sample of contact printed poinsettia leaves and it washed out completely.  Just toss out those holiday plants and move on.


One last photos of a project I've done with the string-that-dyes.  Bookmarks with a kite image made from weaving the yarn on a 2" square Weave-it loom.  The background is a photo of a watercolor of mine that I printed on the cloth after boiling the fabric with the string.

Come back Wednesday and Friday for some process photos and lots more samples.  Go to my blog for a chance to receive several yards of the string so you can try it at home.  Then you'll be on the lookout for more string that might bleed onto your cloth! This is weaving yarn with a bad rep.  No one wants to weave a plaid fabric only to have the dark yarn bleed onto the lights. And did you know there is artists tissue paper that is made to bleed onto fabric? The quilt forums are full of discussions about how do you remove dye that has bled from one fabric to the others.  Maybe we should try marking fabric with some of that bleeding fabric.

What if ...


Sunday, January 25, 2015

Tapping into the Magic of Fire and Smoke to Make Marks

Given the title of this article and the name of our blog, I was intrigued when the email from Cloth Paper and Scissors hit my inbox.  It is an interesting article but I will warn you that the artist is talking about paper.  But, as we all know, fiber artists steal paper techniques all the time!

The article reminded me of one of the prettiest fabrics I have made.  I got apple peels from an orchard that was making cider. I put them in a pot along with a little water and some white fabric.  Well, I did not pay close enough attention till the apple peels were burned to the bottom of the pan. But the smoke from the peels left a wonderful variegated light grey smoke on the now off white fabric.  I think it was the only piece of fabric I ever took to a Nancy Crow workshop that she liked.  LOL


Judith

Friday, January 23, 2015

Sculptural Tyvek

I found a lovely bead on Pinterest and thought "Oh that would look wonderful in Tyvek.  So I tried.

My first attempt was wrapping some Tyvek around some sea-worn snail shells.  I used the same multi-colored glued on odd bits piece of Tyvek I showed in my last post. Here are the results from several different views since it is 3-D.


 Then I added some specialty yarn.


I haven't decided whether I am going to add beads.  What do you think?

Here is a shell with barnacles attached wrapped in Tyvek.


And here is a last sculptural attempt. Sticks and stone and a little bit of clay.


These are first attempts but by no means last ones!

Judith


Wednesday, January 21, 2015

I hope you are not tired of TyveK

Beth has posted her pictures from our Tyvek play date.  Now it is my turn.  As always we both started out with the same idea but ended up with different results.

First Play Date
Beth had received in the mail a piece of Tyvek that was painted, shrunk, and covered with lace.  Yes, covered with lace!  It was beautiful!

We tried to make one like it.  First we just laid the lace on top of the painted Tyvek and ironed it.  Once shrunk this is what it looked like.


But the lace did not shrink and stick to the Tyvek as we had hoped.  Feel free to notice that I forgot to iron the Tyvek on the back.  When you iron it on the front all the lovely bubbles are on the back.


Then we painted the Tyvek and while the paint was still wet we attempted to attach the lace by pressing it into the wet paint.  When the paint dried we shrunk the Tyvek with the iron.  This is what we got.


But again the lace did not shrink and stick to the Tyvek.


On our last and successful attempt we used mat medium to glue the lace onto the painted Tyvek.  We let it dry.  Here is what we started with.


 This is what we got after it was shrunk  Yeah!  It stuck!


Second Play Date
For our second play date I came prepared with Tyvek that was painted a variety of colors and had a variety of  organzas, laces, ribbons, threads, and glitter Mod Podged to the surface.  I couldn't find my mat medium that day and since then have also used 1/2 and 1/2 white glue.  They all work.  It is hard to tell but the Tyvek pieces are about 10 inches by 14 inches.


 I cut them up to about artist card size.


Here is me shrinking a piece.


And here is what I got.  Do notice the writing on the Tyvek.  I used a postal envelope and you can see the writing peeking through the paint.  Just looks like a design unless you are really really close like this picture.


The lovely purple on this last piece was a piece of organza that I had printed on my gelli plate.  It has those wonderful squiggly lines on it in the upper left-hand corner. You can't tell that I didn't paint the lines right on the Tyvek.

I plan to use these lovely pieces to make brooches.  Here I am modeling a potential brooch.  Doesn't it look fabulous on my paint shirt?  We won't talk about how I look.
 

And here is one that I have Smooched a little, sewed a few beads on, backed with felt and attached a pin. I've worn it to church a couple of times now.


Next--Tyvek in a much more sculptural technique.
Judith