
Today we will be looking at more from one of our guest artists this month, Wil. I can hardly wait to show you the finished piece she did. It will be posted tomorrow.
So we'll get right to today's tutorials!! Take it away, Wil!!
All Kinds of Stuff

Some bleached mulberry
bark, cheesecloth, pearl cotton, Tyvek, zapped lutrador and some strips of
white fabric. This I arranged on a cut out paper circle till I had a pleasing
composition. With the pearl cotton thread I stitched everything together. When
this was done I trimmed it till it had an exact circle shape. While stitching
it, the shape had disappeared a bit J.


So we'll get right to today's tutorials!! Take it away, Wil!!
All Kinds of Stuff
I had a look at the material I have in my studio and
picked out the following:
At this stage I could
have stopped, but because I want all my circles to be blue I had to add some
color to it. Dyeing with Procion was not an option as some of the materials I
used were synthetic, so I opted for ink and paint and this is how it turned
out:
No doubt that you will
have other materials at hand, but that is perfectly okay. This is one of those
techniques in which everything goes.
Thanks Wil! I did this technique is a quilt and they were actually circles as well. This one was inspired by a VERY hot streak during the summer. I chose raw silk for the background and the snowballs were done with the technique shown above. It is titled: "I Miss Snow"
Now for the next section from Wil............
Folding
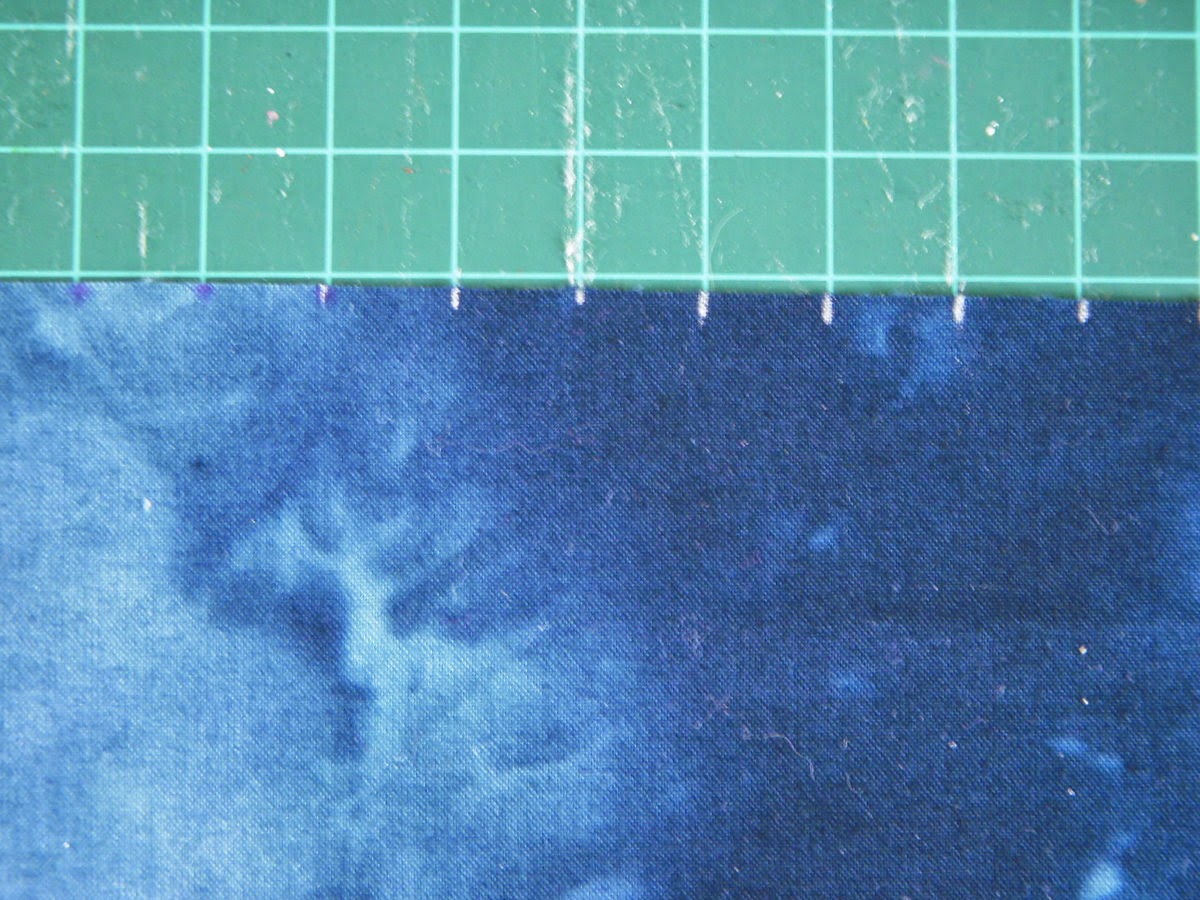
Another way of
creating texture is by folding the fabric. I started with a rectangular piece
of fabric and placed a mark at every inch:
The marks are a
guideline where I have to fold the fabric. Notice that all the folds go into
the same direction.
To make certain that
they stay in this position I pinned the strip onto a felt covered piece of
foam. Beneath the fabric is a strip of fusible webbing so that after the
ironing the fabric stays where I want it to stay.
Next step is to press
down the fabric with a hot iron. The folds get a nice crisp line.
After the ironing the
pins can be removed and the piece can be lifted of the felt covered foam and is
ready for the stitching. As you see in this picture I stitched a straight line
close to the edge of the fabric.
For the next stitching
line I turned my fabric around and started stitching from the other side. This
way the folds were forced to stand up and move over to the other side.
The same process was
repeated again for the next stitching line.
And a final stitched
line close to the edge of the fabric.
As my strip of fabric
was rather narrow, I stopped after these four lines, but if you are working
with a wider piece of fabric you can continue with these lines. In my experience
2” between the stitching lines is the closest you can do.
On this sample I
placed a circle cut out of paper, pinned this and stitched close to the edge.
On purpose I stitched
the circle with a white thread, so that it would show up in the picture. As the samples will be stitched onto a
background, the white thread of the circle will be covered.
And we are done for today!
I have already received some wonderful examples from a couple of you that will be posted on Free For All Friday! Still room for lots more so send in your own examples.
Kelly@KellyLHendrickson.com
Hope you are being inspired to try some of these techniques in your own work. See you tomorrow!
Love this...the pleats look awesome!
ReplyDeleteI can't tell you how inspiring these pieces and techniques are. I especially love the "I miss snow" piece.
ReplyDelete