
Ready for another packed day of stitching and fabric manipulation?? OK! Here we go!
I'm grateful to Wil for all her contribution to this week. She had just done this piece with all these different techniques and it fit so well with this topic. Let's see what she has for today!


Gathering


I'm grateful to Wil for all her contribution to this week. She had just done this piece with all these different techniques and it fit so well with this topic. Let's see what she has for today!
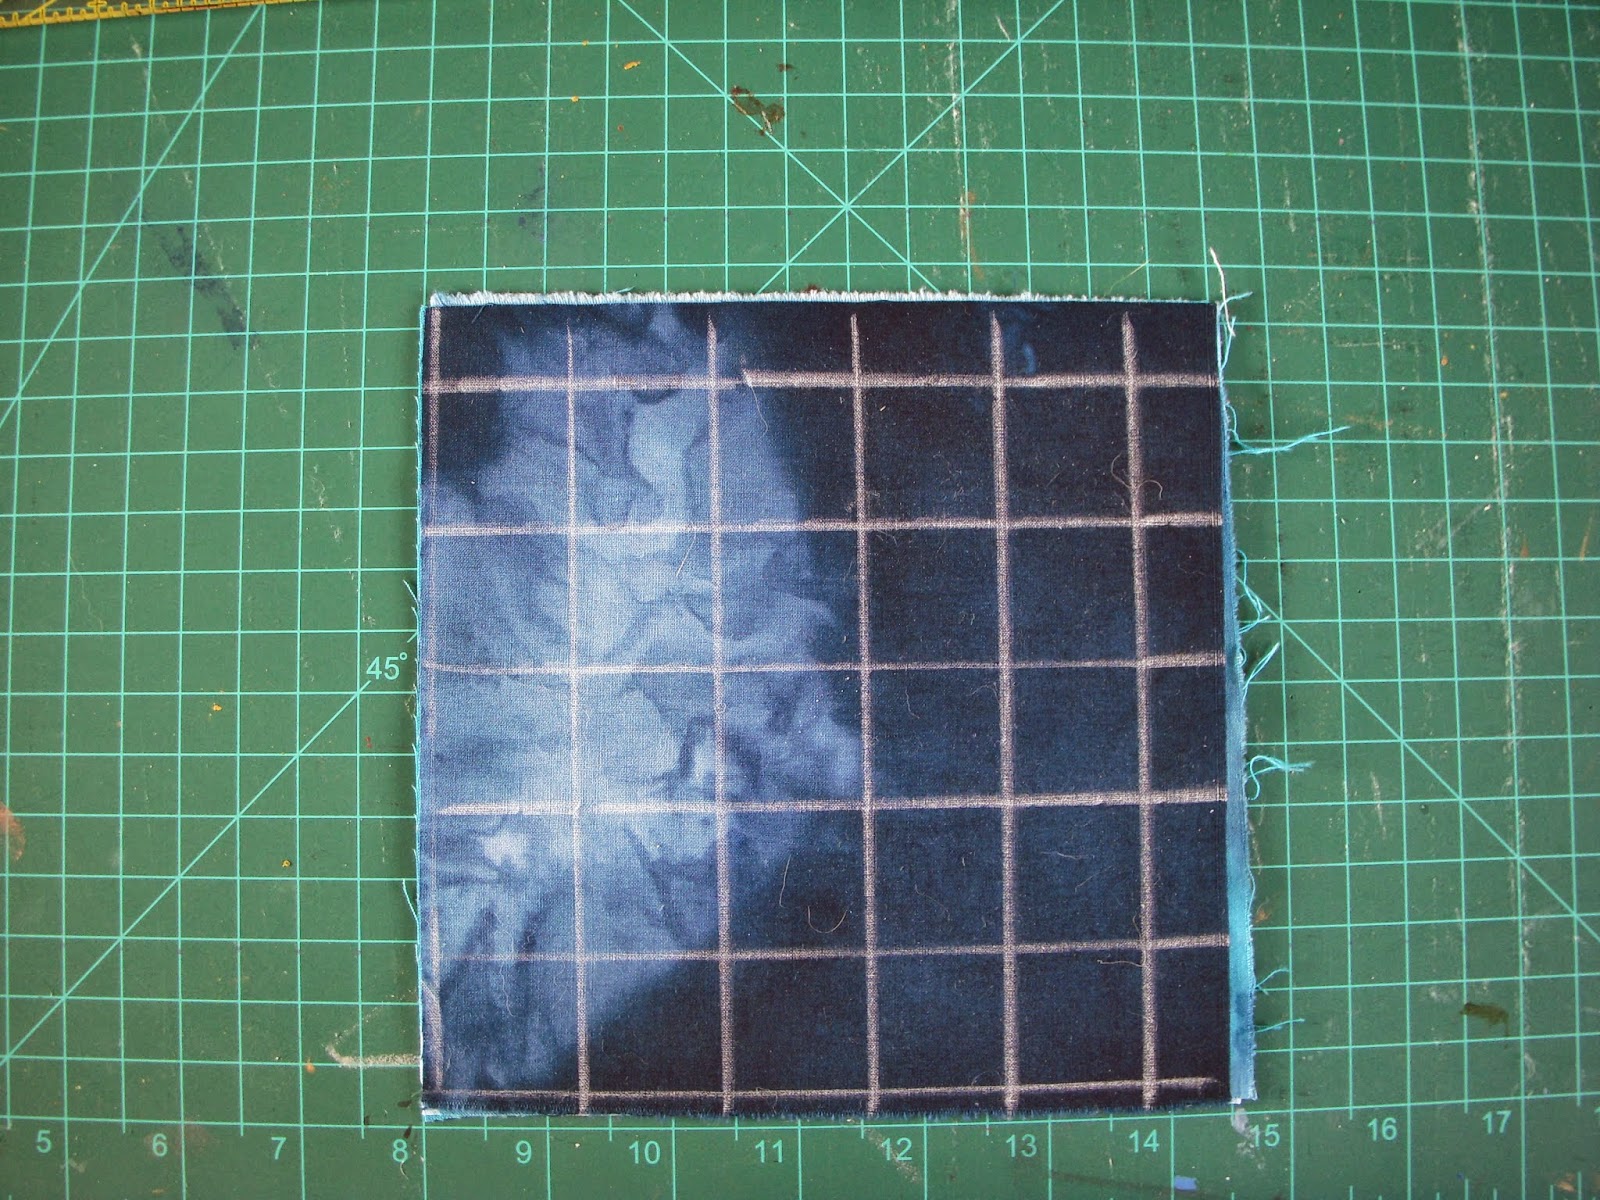
Blooming
This is a technique I
learned during one of my City & Guild courses. For this sample I used 4
different colored pieces of fabric. In my case they are all blue, but you are
as free in your color choices as you want. More than 4 layers will make it too
thick to handle.
The 4 layers of fabric are placed on top of each other and
with a chalk pen I marked a grid on the top layer. This grid is my guide for the stitching lines.
After the stitching I
trimmed the square and then the fun part can start J. I placed a seam ripper carefully through the
top layer and cut the fabric diagonally staying within the stitched lines of
the square.
The safest way of
doing this, is by doing it layer by layer. You do not want the bottom layer to
be cut open.
As you see in the next
picture, the underlaying fabric becomes visible.
It is up to you if you
want to cut open every square or if you want to leave some of the squares
closed. I decided to open them all. To make the fabric stand up a bit more you
can roughen it with your hand or with a brush.
Gathering is a kind of smocking. You can do this either at
random or in a marked grid. I made a sample of each variation. For the first
one I handstitched the gathering lines at random using a strong thread. If I
remember correctly – I forgot to write it down, I used Dual Duty thread.
After the whole piece has been done – a perfect job while
watching TV – I gathered the threads leading to this result:
As with all my samples
I placed it onto paper backed fusible webbing and traced a circle on it.
Stitched around the circle and cut it out. This is how it looked after I
zigzagged the circle onto the quilt. That the gathering threads are visible is
okay with me. Actually it adds a bit to the texture of the circle.
(Kelly's note: I love the more organic feel of the hand stitching which still shows on the final product!
One last one for today which involves what is for me a new product! Another great way to produce a textured grid.)
Texture magic
Shrinking of fabric is
another way to create texture. C. June Barnes has written an excellent book on
this subject: Stitching to Dye in Quilt
Art (ISBN 978-0-7134-9070-1). To say it
very simple, you combine different fabrics on top of each other. Some of them
shrink more than the others do when exposed to heat and the result is texture.
For this sample I
worked with Texture Magic
On top of the Texture
Magic I placed a piece of batting and a piece of fabric.
Stitched a grid on it
with a distance between the lines of 1”.
After this was done I
used my steamer iron to start the shrinking process and this is how the final
result turned out:
Texture Magic shrinks
approximately 30% in all directions. As all my samples are turned into circles,
this one too. I pinned a paper circle on it, stitched around it and cut the
circle out of the fabric.
So that's it for today! Wil has one more very cool technique for tomorrow and then the completed quilt.
Plus tomorrow is FREE FOR ALL FRIDAY!! Be sure to e-mail me your photos!!
Kelly@KellyLHendrickson.com
These are really great! I use the gathering technique sometimes for a neat pattern to dye, but have not tried the others... thanks for the tutorials!
ReplyDeleteThat Texture Magic is very interesting. I wonder if the pattern is always the same.
ReplyDeleteEileen, the pattern depends on the size of your stitches.
ReplyDeleteWil - Thank you for such inspiring texture. I love the gathered pieces and the chenille squares (blooms). It's been a great week thanks to you.!!
ReplyDeleteBeth, it was a pleasure :-)
ReplyDeleteI've never seen the Texture Magic done with a layer of batting. It made a very distinct pattern. Try it with only the fabric and the Tex magic, more shrinkage, Try a large stippling or wavy lines too. All your textures are wonderful, can't wait to try them.
ReplyDelete