
This is the new set up for my padded printing table. I used to use 2 30" wide tables which left little room to walk around the table especially when Judith and I are working at opposite ends of the table.


Padding printing table 4' X 8'.

I wanted the "color" of my print paste to be light. This is the first time I have used colored print paste so I am very excited to see how it looks. Judith did this with great success over the summer.

First screen

First pull with MX turquoise

Three prints starting on the right

Close-up

This is the foam core screen I made. It is a VERY cheap way to at least try deconstructed screen printing. It was maybe $2. to make this screen. I have already used it once before and washed it. The Gorilla tape is waterproff.

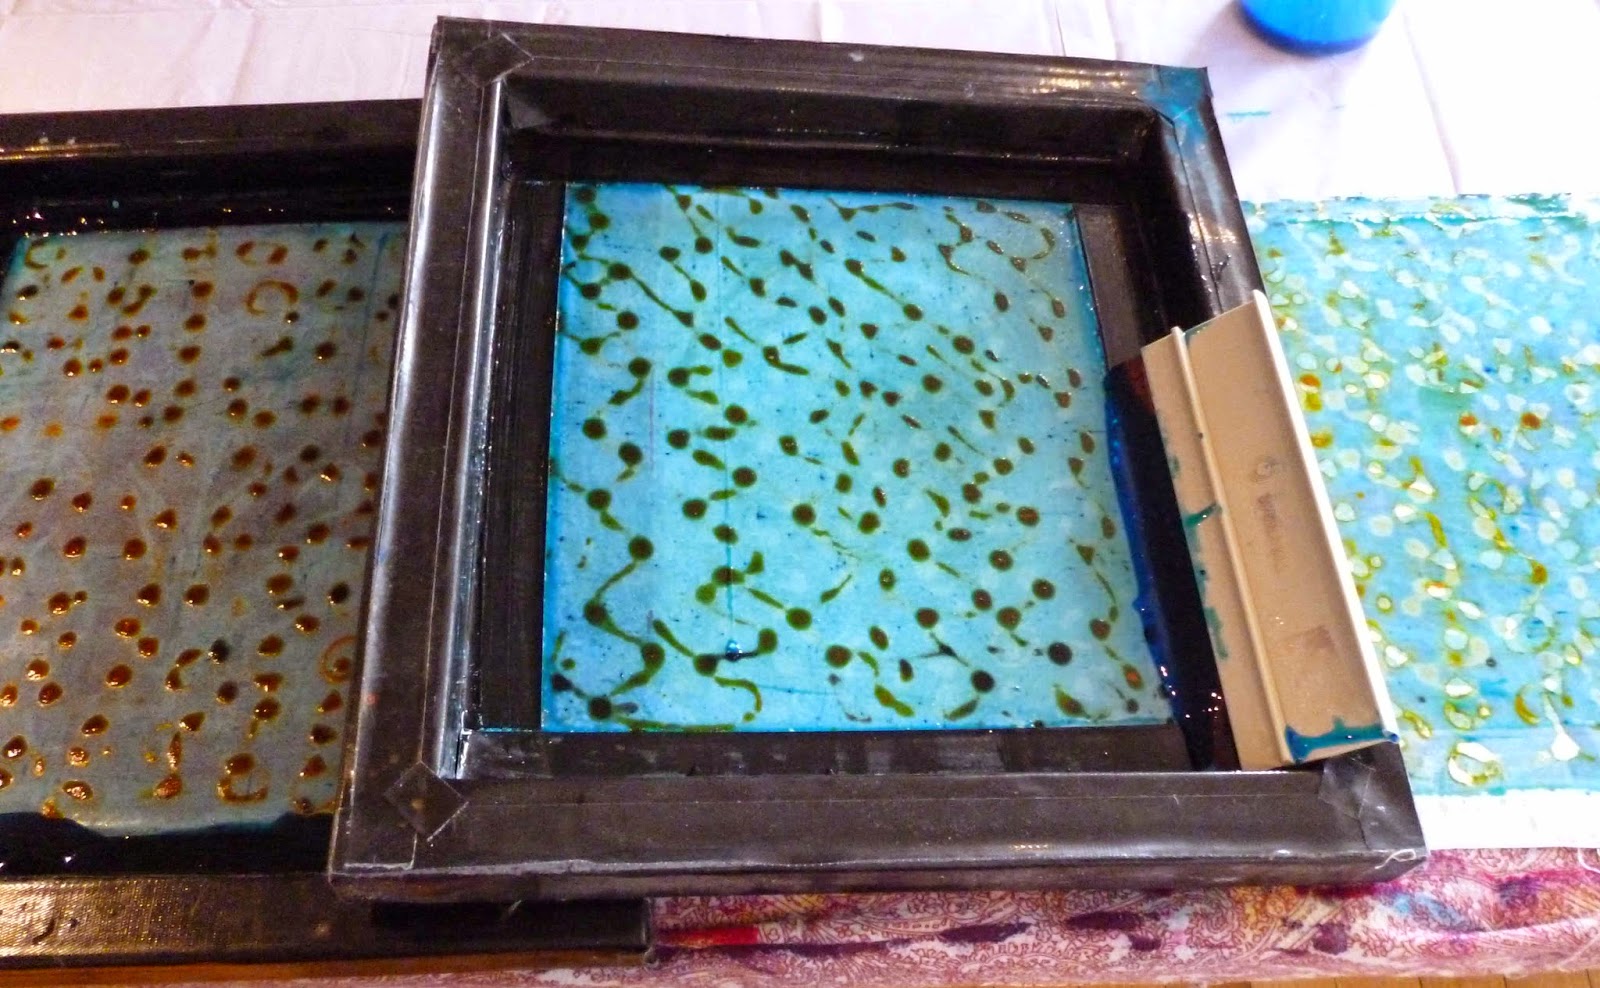
The dried dye is deep navy and I used a very light mixture of lemon yellow. It ended up kind of olive which I like much better than lemon yellow (smile)

First and second screen prints

detail

detail

This is the padding on the table with a failed piece of dyed cotton covering it to catch the drips. Lots of drips.

This is like the screen Judith made in deep navy.

Pulled with lemon yellow - detail

3 prints lined up.

Next screen with circles in dye.

Three prints and a detail below.


I found a 6" strip of white and since I had more dye......
Now I am just fooling around, pulling prints then using another screen on top of the prints and pulling another print.

Double take detail

Many prints from all 3 screens one on top of the other. Interesting!


This was a rag I used to wipe print paste off my squeegee.

The drop cloth - literally!!

In a beaker and below with soda ash solution added to it. This failed print was SO ugly and even these cool drips haven't been able to pull it out of the "ugly" category. As Judith says, "It needs more layers"

These are rice bags that I put in the microwave oven for 3 minutes then make a sandwich with one on top and one on bottom of the plastic wrapped cloth


Then I cover with a towel. I waited a few hours then popped them into the washer. Think I go transfer them to the dryer....

Looking forward to seeing the results Beth.
ReplyDeleteI agree with Yvonne, looks really nice already.
ReplyDeleteDefinitely something I want to try some day.....
ReplyDeleteJo
Love these! I forget how you line up your prints to make them come out looking seamless like that... is there a secret to it or just practice?
ReplyDeleteAfter making a few screens following your directions, I finally got
ReplyDeleteto printing yesterday. I found that the thick areas of dye (maybe
too extensive) never started to 'deconstruct' before all the rest
of the dye was gone. I had a 'what if' moment and tried screening
clean print paste onto the fabric before laying down the screen
to deconstruct. This resulted in a very blurry print, so if this
'What if" has occurred to you, I'd avoid that. I'm waiting for my
fabric to "batch" in my cold house. Anyone got advice on how
long I should wait?
I love all of this! I'm itching to get to the public print studio. (No running water at my studio in the wnter. Gorgeous snow though :-) For batching, I am experimenting with putting the carefully bagged fabric between the sheets in my bed during the day with my electric blanket turned up. (Another advantage of living in a cold place.)
ReplyDeletethese look great! Can't wait to see them all washed up
ReplyDeleteThe rice bags are the BEST for batching and can be used for years. As far as the dye not deconstructing, you don't want to start with dye that is too thick. I'd rather get 3 good prints than a batch that have missed the mark. The dye on the foam core screen was THIN and the outcome was awesome! I considered that screen a "throw-away" since it was just the last dregs of the thickened dye but the prints were a great (pleasant) surprise.
ReplyDeleteEXCELLENT!
ReplyDeleteThose rice bags are a great idea. I use an electric heating pad which works well too.
ReplyDeleteI like the continuous way you printed the cloth. Great results. Were these washed yet?
This has been a wonderful series. It's been years since I have done it and I am looking forward to doing more seeing your great samples here. Thanks for all the great info.
ReplyDelete