
Elle has been Colouring!!!!
I met Elle by reading her blog. We have never met in person but we have corresponded back a forth via our blogs.
What I know about Elle is she is always learning ... and eager to learn. She also is a loving grandma, likes to decorate, always has a project or to on the go and generous. So I asked her if she would play along and help me out this month. Just like any other busy person she said Yes! And I am so thankful she did.
I hope you enjoy Elle's post. You can find her blog at http://ellendacoop.blogspot.ca/ it is a great read and she is a fun person....

There seems
to be some artistic genes in my mother's gene pool. She, herself, didn't draw
or paint although I have this red parrot. The parrot is actually painted on the
glass, perhaps with the outline traced. The gold background is a paper.
I do have a very vivid memory of my mum using pencil crayons on colour by number pages. The pictures looked just like the paint by number kits and were pretty involved. I also remember her putting crayon pictures between wax paper and ironing them onto fabric.
Crayons aren't just for the kindergarten crowd. There are some serious artists using crayons as their preferred medium, adding them as highlights or even using the simple wax crayon as a final layer to watercolours, gouache or acrylics. This makes sense when you realize what wax crayons are.
"Oil pastels and wax crayons are serious media in the arts and not only a toy for children. Oil pastels and wax crayons are names for basically the same type of medium. However wax crayon is usually the label for a cheaper qualities and children toys. This misconception probably is the reason why these media are not as popular as soft pastels or traditional oil color in the art world. There is a difference in the quality of the pigments and the binders that are used in the production of artists grades and more simple grades. Oil pastels and wax crayons are a very versatile and exciting media that allow creating unique artwork. Many illustrators use them in their mixed media work for special effects. Only if you want to create artwork for permanent display I would commend not to use less light fast,cheaper,wax crayons." quoted from here
The options for colouring on Lutrador are pretty extensive.
 Lutradur is transparent, even the heavier weight.
Using a permanent marker I can choose which side and I don't need to worry about
mirror imaging if there is no writing.
Lutradur is transparent, even the heavier weight.
Using a permanent marker I can choose which side and I don't need to worry about
mirror imaging if there is no writing.
I used an old newspaper article featuring a Ruby Kim block of the week that my grandmother and my mother had saved. Not wanting to mark on the old newsprint I photocopied it, outlined the lines with a black marker and then placed it under Lutradur and copied the lines.
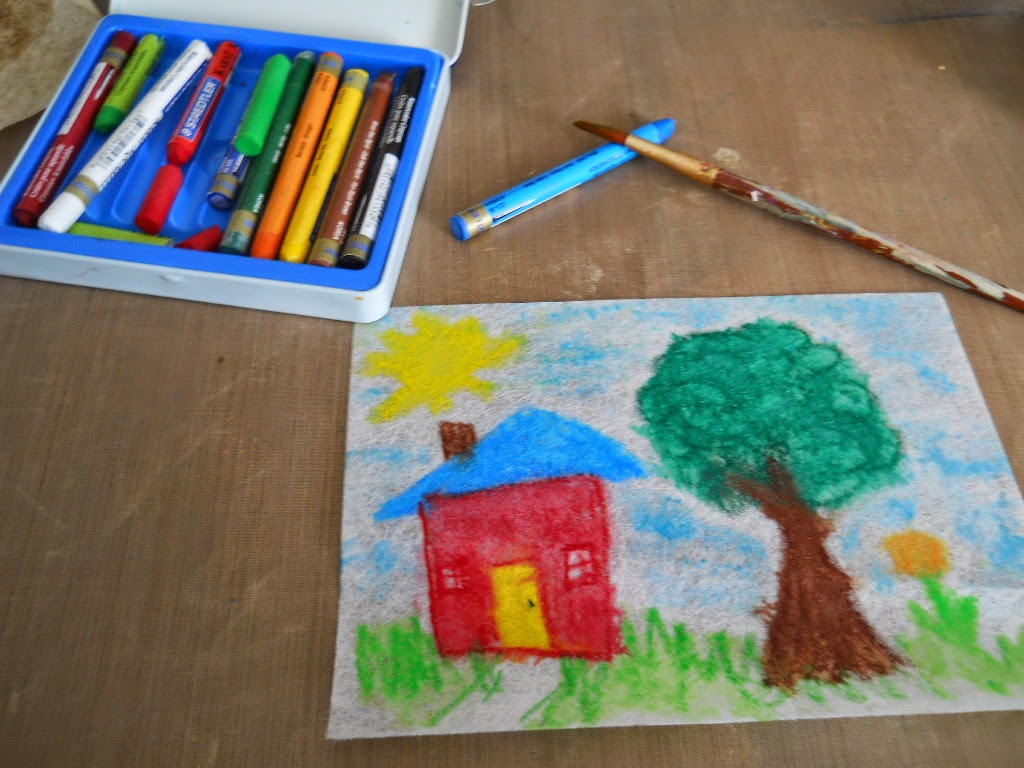
 I used the original crayon colours that were in
my crayon box way back when. The sky is one layer of blue and I heat set it
face down on printer paper with my iron.
I used the original crayon colours that were in
my crayon box way back when. The sky is one layer of blue and I heat set it
face down on printer paper with my iron.
 The green is two layers, each heat set. The bark
is three layers as are the apples. An interesting bonus is positioning the
lutradur on the printer paper so that the image continues to be ironed in the
same place.
The green is two layers, each heat set. The bark
is three layers as are the apples. An interesting bonus is positioning the
lutradur on the printer paper so that the image continues to be ironed in the
same place.
 I had done some water soluble crayons but a 12
x12 background only has so much room. :O
I had done some water soluble crayons but a 12
x12 background only has so much room. :O
Then I was ready to try melting wax crayons.
 I was surprised that different brands of crayons
melt differently and the large child's crayon was really hard to melt and
dripped the slowest. Controlling the drips takes some practice. In hindsight I
can see that a non porous surface would produce better shaped dots if high round
dots were desired.
I was surprised that different brands of crayons
melt differently and the large child's crayon was really hard to melt and
dripped the slowest. Controlling the drips takes some practice. In hindsight I
can see that a non porous surface would produce better shaped dots if high round
dots were desired.
 Then I put the heat gun to the Lutradur with the
wax drips. The Lutradur melted without reheating the drips unduly. That was a
Then I put the heat gun to the Lutradur with the
wax drips. The Lutradur melted without reheating the drips unduly. That was a
cool hot technique!
 I prepared a background on white scrapbook paper,
using gesso, paper images, gel medium and acrylics.
I prepared a background on white scrapbook paper,
using gesso, paper images, gel medium and acrylics.
 I began to arrange my story. I am relatively
new to mixed media and I must admit I was a trifle boggled by how this would all
work out. The mind is an amazing creative tool. As I began with the first
thing- a commitment to explore crayons and lutradur and a few memories;
thoughts began to suggest themselves and I pursued hotly! lol The idea to
frame my crayon drawing brought to mind the crayon box colours. My image is a
bit big so do I need all of it on the page? How then should I treat the edge?
How can I colour things to represent past, present and future? Gosh, I hate
covering goodness up! lol Layers! I need to see covering up as necessary for
layers. Some tulle should dull the colours a bit and some stitching should add
some pizazz. And then there are those great splatters that pull everything
together.
I began to arrange my story. I am relatively
new to mixed media and I must admit I was a trifle boggled by how this would all
work out. The mind is an amazing creative tool. As I began with the first
thing- a commitment to explore crayons and lutradur and a few memories;
thoughts began to suggest themselves and I pursued hotly! lol The idea to
frame my crayon drawing brought to mind the crayon box colours. My image is a
bit big so do I need all of it on the page? How then should I treat the edge?
How can I colour things to represent past, present and future? Gosh, I hate
covering goodness up! lol Layers! I need to see covering up as necessary for
layers. Some tulle should dull the colours a bit and some stitching should add
some pizazz. And then there are those great splatters that pull everything
together.
I need to spend more time developing layers and achieving depth. In the end I didn't use the tulle. The lovely concise wax dots got melted when I ironed from the back in preparation for putting the back scrapbook paper on for strength and to hide any stitches, brads, etc. :( So I covered it with another try on mulberry paper. Not as good but... This was a good page to start with because I expect my pages to improve as I go along just as colouring inside the lines improves with the doing!
Some things that didn't make the time crunch:
-melting wax crayons between wax paper to make skins which are cut into shapes
-melting wax crayons and using a tjanting tool
-buffing wax crayon work, especially metallic crayons
-dripping melting crayons from the top of the page
-notching crayons and scraping them across paper
-using a texture plate
-using crayons as a resist with paint, even faux batik
-crayons used to antique brown paper bags
-etching

I'm so glad I asked if I could could color!!!
Thank you Elle what a great post! Elle is going to come every week around Thursday to tell us what she has been up to with Lutradur.
Whats up next... Paint Glorious Paint.
Jo
I met Elle by reading her blog. We have never met in person but we have corresponded back a forth via our blogs.
What I know about Elle is she is always learning ... and eager to learn. She also is a loving grandma, likes to decorate, always has a project or to on the go and generous. So I asked her if she would play along and help me out this month. Just like any other busy person she said Yes! And I am so thankful she did.
I hope you enjoy Elle's post. You can find her blog at http://ellendacoop.blogspot.ca/ it is a great read and she is a fun person....
Mother, may I colour...
I do have a very vivid memory of my mum using pencil crayons on colour by number pages. The pictures looked just like the paint by number kits and were pretty involved. I also remember her putting crayon pictures between wax paper and ironing them onto fabric.
Crayons aren't just for the kindergarten crowd. There are some serious artists using crayons as their preferred medium, adding them as highlights or even using the simple wax crayon as a final layer to watercolours, gouache or acrylics. This makes sense when you realize what wax crayons are.
"Oil pastels and wax crayons are serious media in the arts and not only a toy for children. Oil pastels and wax crayons are names for basically the same type of medium. However wax crayon is usually the label for a cheaper qualities and children toys. This misconception probably is the reason why these media are not as popular as soft pastels or traditional oil color in the art world. There is a difference in the quality of the pigments and the binders that are used in the production of artists grades and more simple grades. Oil pastels and wax crayons are a very versatile and exciting media that allow creating unique artwork. Many illustrators use them in their mixed media work for special effects. Only if you want to create artwork for permanent display I would commend not to use less light fast,cheaper,wax crayons." quoted from here
The options for colouring on Lutrador are pretty extensive.
I used an old newspaper article featuring a Ruby Kim block of the week that my grandmother and my mother had saved. Not wanting to mark on the old newsprint I photocopied it, outlined the lines with a black marker and then placed it under Lutradur and copied the lines.
Then I was ready to try melting wax crayons.
I need to spend more time developing layers and achieving depth. In the end I didn't use the tulle. The lovely concise wax dots got melted when I ironed from the back in preparation for putting the back scrapbook paper on for strength and to hide any stitches, brads, etc. :( So I covered it with another try on mulberry paper. Not as good but... This was a good page to start with because I expect my pages to improve as I go along just as colouring inside the lines improves with the doing!
Some things that didn't make the time crunch:
-melting wax crayons between wax paper to make skins which are cut into shapes
-melting wax crayons and using a tjanting tool
-buffing wax crayon work, especially metallic crayons
-dripping melting crayons from the top of the page
-notching crayons and scraping them across paper
-using a texture plate
-using crayons as a resist with paint, even faux batik
-crayons used to antique brown paper bags
-etching
I'm so glad I asked if I could could color!!!
Whats up next... Paint Glorious Paint.
Jo
Hi Jo! this was a great post and your finished project catches the eye and draws you in to take a closer look.
ReplyDeleteWhat a wonderful post! I absolutely love your final composition! Can't wait to see what you come up with next week!
ReplyDelete(sorry, this is a bit long)
ReplyDeleteAnother thing to try. take a pencil sharpener and sharpen a few crayons (in your colour palette) directly onto fabric.
Arrange shavings in a pleasing manner. Don't over do this because too much will melt in blobs.
Place another piece of fabric on top and using something to protect iron and ironing surface, iron to melt crayon shavings.
Lift and add more as and where needed. The surprise is that the most colour will go onto top fabric. So, you may want to turn sandwich over and press from other side for subsequent arrangements of shavings.
The resulting fabric can be further worked into by drawing with crayons and pressing again. You can enhance with stitch or with beads, etc.
This idea was a result of a childhood experience of us sharpening crayons for some unfathomable reason into a pillowcase. Our aunt was staying with us and at that point washing needed to be done at a launderette...which she and our mother transported the clothing in pillowcases! Her lingerie all came back with not so wonderful little crayon flecks all over. Glad it wasn't her best clothes. Eventually faded after months!
So, remembering that, I did the above experiment. The fabric was used in work juried into a show and then had a commission on the back of that.
Sandy in the UK
Thanks, Jo and all. This is gonna be an amazing month! :)
ReplyDeleteThank you for taking us along on your experimentation. This was a really interesting read. Looking forward to your next post!
ReplyDeleteElle
ReplyDeleteYou did an awesome job sharing and posting. I love the project so far.
Today was Elle's Day all the way and look for her next Thursday or Friday... no pressure Elle.
Jo your host for the month.