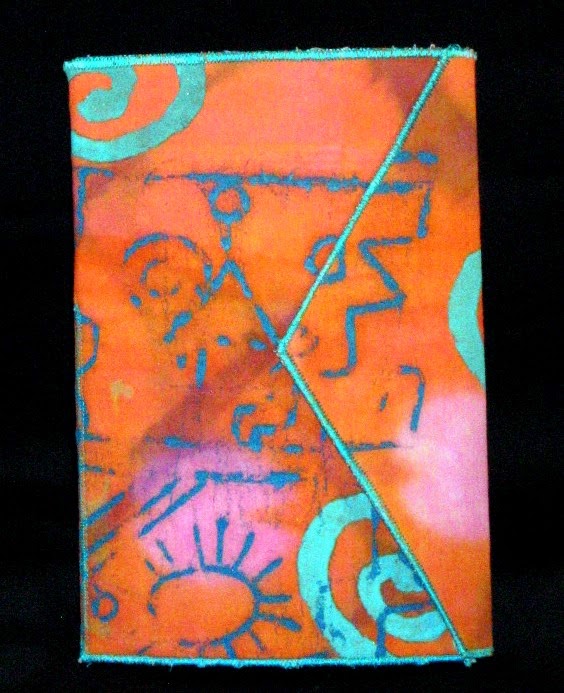
This month, the topic will be “Round Robin, Solo
Style”! If you have never participated
in a round robin, typically you have a group of people participating, and each
one starts with a piece of fabric, uses a surface design treatment to start it
off, then sends (or passes if you are close enough) to the next person, who
does the same, each adding something to each of the fabrics until they have
gone full circle. Well, in this
instance, I am playing round robin solo style.
I will start with a piece of fabric and use multiple techniques to
create the finished fabric, and I have two
others joining me later in the month… each of us will be doing our own
fabrics and sharing the results with you.
Laura McGrath and Beth Berman will be joining in, but I hope to hear
from you as well, should you choose to give this a try! So break out the supplies and put on your
creative hats, we’re ready to go!
Step 1 - Preparing
I have given some thought to what I hope to accomplish in
these posts, and to start with, I thought I would talk a little about
techniques and supplies.
I have created a list of surface design techniques to give
me ideas:
Fabric Dyeing
Batik
Stamping
Screen Printing
Monoprinting
Stenciling
Foiling
Discharge dyeing
Breakdown printing
Clamp-dyeing
Masking
Spray dyeing
I might not use all of these techniques, but I plan to use
several, depending on what the fabric tells me as I go along.
Supplies– I have accumulated a lot over the time I have been
playing with surface design techniques – I think I will display them as I go,
but here is a partial list for those of you who want to follow along:
Cotton fabric – I generally use bleached muslin, but that is
because I do a lot of dyeing. For those
of you who don’t dye fabric, I’m sure you can use other fabrics for your
project, as long as they are compatible with whatever mediums you plan to use.
Soy Wax for batik, and a wax pot. I have a thermostatically controlled deep
fryer I bought at Wal-Mart, but there are a number of products you can buy from
fiber arts suppliers that will do the job.
Fabric dyes – I use Procion MX dyes, along with soda ash
mixer to activate the dyes. To launder,
I use synthrapol textile detergent. I
buy my supplies at Dharma Trading Co. in Calif., but I know That Pro Chemical
and Dye offers dyeing supplies, and I’m hoping that those of you in Europe,
Australia and other non- U.S.A. locations have resources for dyeing supplies.
Stamping – I make a lot of my own stamps, and will talk a
little about what I have used. I
recently purchased a gelli-art plate and hope to use that in my stamping or
monoprinting.
Screen printing – again, I have some basic skills in making
screens, but also highly recommend thermofax screens and can recommend some
resources for ready made or custom screens.
I will touch on the other techniques as I get to them.
Other supplies – a project board is helpful –I made one of a
ceiling tile, batting, fabric and staples, then covered it with a plastic trash
bag held on with duct tape… had it for almost 7 years now, and it’s still going
strong!
Rubber or latex gloves – I use the heavy duty ones, but
light weight disposable ones will work also.
Misc - T-pins, duct tape, masking tape, spring clamps, plastic
trays or paper plates, sponge brushes and/or rollers, brayers, plastic spoons…
all will be helpful. I
will try to remember to list additional tools or supplies as I go along, but
feel free to make up your own list as you may be using techniques not covered
here that require different supplies.
Okay, time to get started!
My next post will cover the first couple of “Rounds”.


THIS is going to be fun!!!!
ReplyDeleteJust like this, and I am very curious to see what you will be doing.
ReplyDeletelooks like fun
ReplyDeleteThis will be fun!!!
ReplyDeleteI really am hoping!:)
ReplyDeleteThis is so interesting!!! I need to make some 'fabric' for a project...think I might work with you!!!!
ReplyDelete