A TECHNIQUE DRIVEN Blog dedicated to mastery of surface design techniques. First we dye, overdye, paint, stitch, resist, tie, fold, silk screen, stamp, thermofax, batik, bejewel, stretch, shrink, sprinkle, Smooch, fuse, slice, dice, AND then we set it on fire using a variety of heat tools.

Tuesday, May 31, 2011

This is What I'm Giving Away--Quilter Beth

This is what I'm giving away! (I included two things since the top piece isn't a full fat quarter.) The first piece has had a couple of surface design techniques used on it. First I tried shibori, then it was snow dyed. For the second piece I used a bleach discharge solution. The solution was sprayed on the fabric upon which I had put keys and string.


Congratulations LouBird! I'll be putting this in the mail this week. Thanks for following our blog.

My contributions


Here are the two pieces I am giving away. Each is a snow dye made with my "magic water", a full half yard with hand dyed thread. One goes to the grand prize winner and the other to one of the runners up.

Sunday, May 29, 2011

Give-Away Winner!

I ran the number through my personal number generator (my husband) and came up with 2 as the winner. That means that LouBird is the winner of 6 fat quarters of And Then We Set It on Fire artist designed fabric.   Kit, Karen S., Quilt Rat, VivJM, Elle, and Dottie all get consolation prizes of 1 fat quarter each. Please send an email to quiltordye@ftml.net with your mailing address so we can send you the prizes. 

Jdemilo

Tuesday, May 24, 2011

Technique for June--Screen Printing

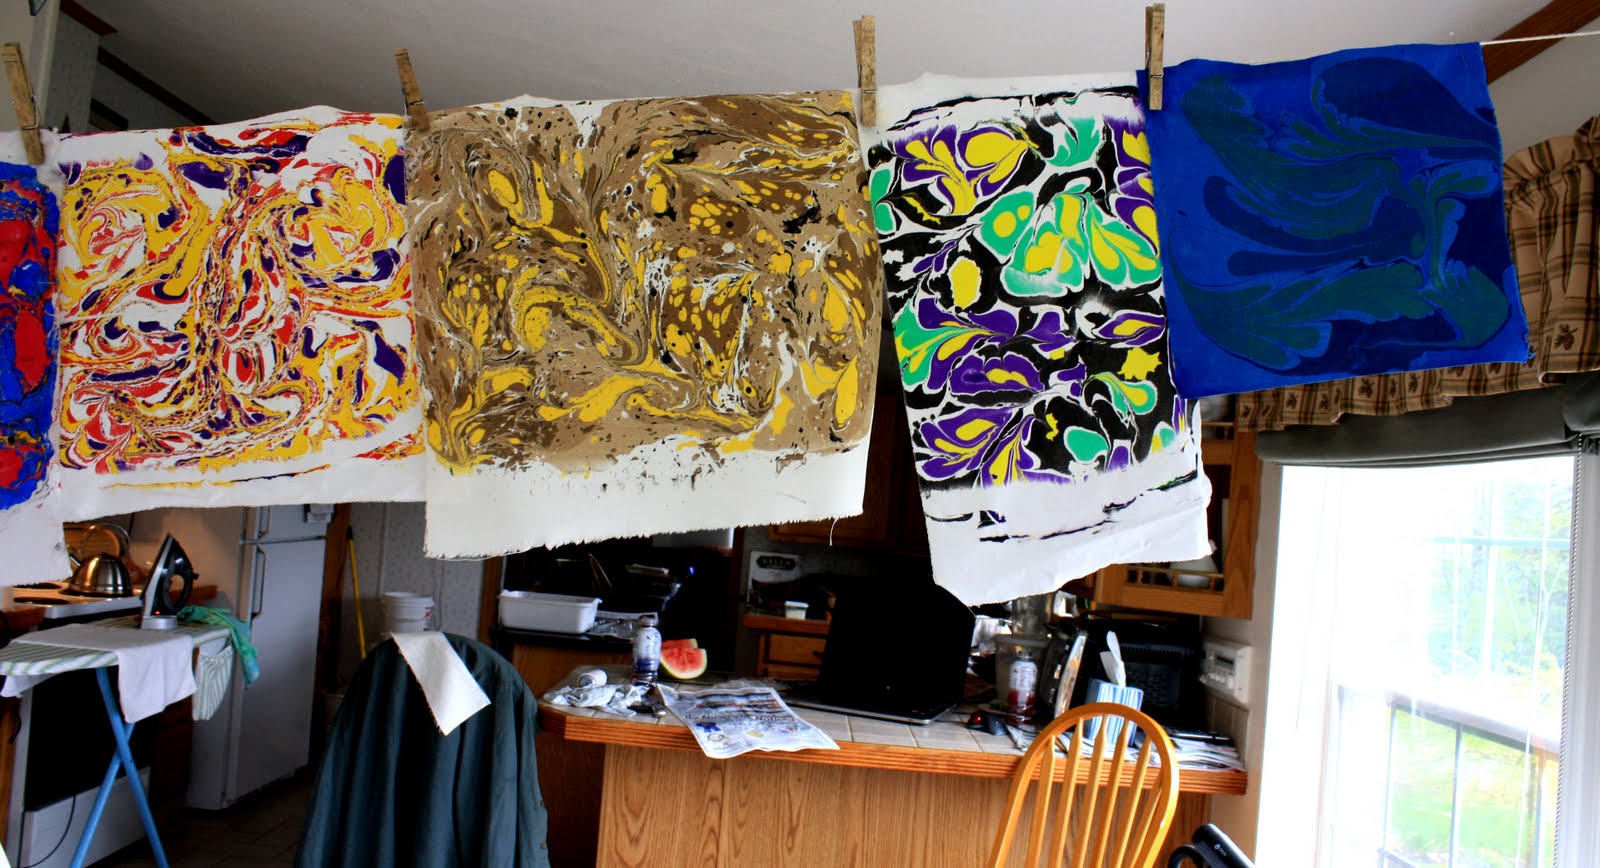
The technique for June is screen printing. I don't know about you all, but I'd like to add some further layers to some of the great fabric I've created the past few months.

I've listed some supplies you will need (many have been used for some of the other techniques we have done these past few months). I've also listed some sources of information about screen printing. I hope you find the information helpful.

SUPPLIES:

FRAME AND SCREEN
If you already have screens made (and don't want new ones) use those. If you have a drawing or picture that you think might make a nice screen, send it off and have a Thermofax screen made. (Lynn Krawczyk will make one for you. Contact her at her Etsy Shop http://www.etsy.com/shop/FibraArtysta. You can find other people that make them for a fee also.) You can get a Thermofax screen without a lot of cost. You can buy a pre-stretched screen from places like Dick Blick or most art supply stores and make your own prints using materials such as flour paste, interfacing, masking tape, freezer paper, blue gel school glue, adhesive shelf liner, leaves, feathers, mesh, newsprint, etc. You will need duct tape to seal the edges of the frame and create a well around the edge of the frame.

THICKENED DYES AND/OR TEXTILE PAINTS
You can use textile paints or thickened dyes with these screens. The big caveat is that if you use textile paints you must clean the screen as soon as you are finished. If you don't, the dried paint can ruin the screen. You have a bit more time to get the job done with thickened dyes. It makes the cleaning go a bit faster to use a soft brush (like a brush you might use to clean your nails) or a sponge. Also, textile paints change the hand if the fabric.

If you choose to use thickened dye, you will need--Procion Dyes, sodium alginate, urea, and soda ash. Be sure to soak your fabric in soda ash solution and air dry before printing. (There is a product called "Superclear" that sounds like it would be easier to use than sodium alginate. I think it is more expensive, though. I'm definitely checking it out. If you choose to use that, you won't need the urea either. It is available from Dharma Trading Co.--http://www.dharmatrading.com/html/eng/2052-AA.shtml.)

OTHER "EQUIPMENT"
Squeegee--approximately the size of your image. (You can pick these up at the art supply store. Some people buy them at an auto supply store or automotive department. If you use a small screen, you can use a credit card as a squeegee.)

Printing surface--I use a double layer of felt covered with scrap fabric. It is best to be able to pin your fabric (that you intend to print onto) to this surface.

Miscellaneous--drop cloth, containers for mixing dye and alginate, plastic spoons, rubber gloves, apron, dust mask (to use when dealing with dyes), pins, scissors, cutting mat, Exacto knife, rags,  brush or sponge and dishwashing soap for cleaning screen.

RESOURCES
You can find lots and lots of tutorials and blog entries about screen printing on line. Here are just a few.

Thermofax screen printing YouTube videos...

"Regular" screen printing YouTube video (this video is short but does show technique)

A good on-line screen printing tutorial can be found here--http://www.harmonyhanddyes.com/InstructScreenprinting.html. I copied it into word, deleted the tables and have copied it to keep as a reference.

There are lots of books that discuss the process, but there are two I particularly like. For a simple guide, Rayna Gillman's "Create Your Own Hand-Printed Cloth" is a good one. It is available through Amazon. The other, if you are lucky enough to have it or can find one, is Jane Dunnewold's "Improvisational Screen Printing" (now out of print). It is a wonderful book.
If you are more of a visual learner, Jane Dunnewold has a DVD called "Improvisational Screen Printing." It is available through her website--http://www.artclothstudios.com/ (in the "store" there). The DVD is also available through the Dharma Trading Company and ProChem websites.

While I was doing my search for information on screen printing, I found that Lynn Krawczyk has an article about screen printing in the December 2010/January 2011 issue of "Quilting Arts." You might find that interesting too.

I hope you will give this a try. I'm sure we'll see some fabulous results from you all.
Quilter Beth          

Monday, May 23, 2011

101 Followers Give Away!

We made it!  We not only have 100 followers, we have 101!  Woooo Hoooo!!

Okay let's talk about the contest to win  6 fat quarters of fabric, one designed by each of the 6 artists.  All you need to do is to leave a comment on this post by Friday, May 27th, at midnight.  In your comment let us know what surface design techniques you would like to see us try. Saturday we'll use a random number generator to select the winner and announce him/her on the blog.  We look forward to hearing from you!

100th Follower Give-Away

Have you noticed that we now have 96 followers?  We are stoked!  So, to celebrate, when we reach 100 followers we will have a Give-Away.  Each of the six artists will contribute a fat quarter of artist designed fabric for the prize.  I was kinda thinking of sharing some of my fabulous marbled ink blobs but I also have some really nice parfait dyes or batiks or...LOL, it will be something nice.

So, please help us reach our 100th follower.  Share our site with your surface design friends.  Feel free to post our blog logo on your blog. If you visit us occasionally, you could become a full time follower for free! The second we have 100 followers, I will post the details of the Give-Away.

Jdemilo

Sunday, May 22, 2011

Next!

Saturday FIVE exchanged fabric in their personal round robin.    Here is a picture of Charlene's material--I think it is a snow dye-- with gold thermofax screen prints from Beth--see the detail. 


Okay, I need some help.  What do you think should be next?

My Marvelous Marbling Moments

Saturday was a play date with FIVE.  Since Rosalita and Kathy had both had great success with their marbling, I asked if the play date could be them showing the rest of us how to marble. Everyone agreed. Rosalita prepared the Carrageenan and presoaked the material in alum.  I brought my FW Acrylic Inks to try.  Success!

I don't personally care for the highly swirled marbling but loved Rosalita's flowers and blobs so I was going for those results.  Here are my two flowery attempts.  The pink flower is not bad but I don't care for the green leaves.


Then I moved on to the blobs.  On the first one I tried to lay the fabric down by myself.  That was a mistake.  You can see lines where I hesitated when laying the fabric down on the carrageenan and inks.

But I love the blobs!  I think pieces of that fabric will be quilted and turned into mini works of art.  So I made more blobs.  I love my blobs below. It makes me think of green eggs and ham.

 Unfortunately, I just have the one to show to you today.  The rest were still wet and I left them at Rosalita's to dry.  But I got really good at making blobs and started making them into better compositions. Can't wait to show  you.

Okay, so lessons learned for the day.
  1. FW Acrylic Inks work well.  Rosalita especially thought the black was superior to the airbrush black paint she was using.
  2. I loved working with the white ink to create rings inside other colors and white on white.  You can see the rings in the green eggs and ham picture and you can see the white on white I got in the outer edge of the pink flowers.
  3. While Rosalita needed to use the surfactant with the paint, I did not need it for the inks to disperse well.
  4. Cargeena is tempermental.  First thing in the morning it was working great. After lunch two of the three trays were sinking the ink  (see the results of sinking rather than dispersing ink below).  We let it sit for another 1/2 hour or so, skimmed the surface again, and tried again, and it worked fine. ?????
5.  While I have  never considered marbling, I tried it for the blog.  I now want to do more!  True marblers may hate my blobs because I am not swirling them, but I like them.   I will keep happily blobbing along.

Tuesday, May 17, 2011

Surface Design Round Robin

I am so excited!  We have 8 players for our surface design round robin.  They are connected into two groups.  One of the groups has 4 people whose names or nicknames all end in 'i'.  That was a sidetrack.  Anyway, we have started!

The 8 fabrics (maximum size is 1 yard and a suggested size is a fat half) should be getting their first layer in the next couple of weeks and  so they can arrive at the next destination by May 31.   Until we have something exciting to show, take a look at this art cloth round robin reveal.

Monday, May 16, 2011

Marble Crazy

Hi All,

Sorry I am so late posting my marbling play day with Kathy Molatch. We had a great day and learned a little more about marbling. However, we also learned we need to know a lot more.

As Kathy mentioned, I mixed the Carageenan without putting Calgon in it. My water is hard and really needed the water softener. We mixed it in later but I don’t think it did as well as it would have if I had put the Calgon in from the get go.

Here is a start on what I want to accomplish. The problem is the paint did not stay where I wanted it.


I sort of like this one but still not quite what I want.

At the end, we got a little funky. I am a what-if kind of gal. So………..


This was not as great. I used transparent purple first and then it was hard to work the opaque paint afterwards.


Here is a picture of my days marbling.


I had a great day and hopefully will find some more time soon to try again.


Repost: Adventures with Carageenan

Apparently, Blogger ate a few posts, including this one.  So here's a reposting for anyone interested.
************************************
Yesterday I went to Rosalita's house where we spent the whole day playing with carageenan and Marbling Paints.  It was too much fun!

One of the variables that we encountered once again was working with hard water.  Since I had both containers of Calgon at my studio, Rosalita had mixed up the carageenan with just water, no softener.  We used that for a bit just to see if we could get away without adding softener.  Nope.  Definitely needed the water to be soft, so we added about a teaspoon to each tray and mixed it in after the fact.  

We did find that the paints seemed to behave differently depending on where they were dropped in the tray, particularly with the white plastic tub which also had a sloping bottom.  More testing will be done with different trays to see if the bottom is truly a factor.


Another variable in our marbling is that I used transparent paints, and Rosalita used opaque paints.  The opaques seemed to work a bit better, though the transparent paints were also vibrant on the white fabric.  Where the difference really showed up was on the dark fabrics.  I did mix opaques into my transparent paints, particularly opaque white, as you can see on the dark navy fabrics.  The effect of the light colors on the dark fabrics is quite pleasing.

Here's the setup.  I worked in the white tub to the left, and Rosalita worked in the foil roasting pan toward the back.  (At the bottom right is all the electrical tape that Dharma Trading Co. used to wrap the tops of the marbling paints for shipping...too bad I couldn't think of a good use for it, although it might make good resist lines when marbling.)
This small container of carageenan was our test batch.  Everything seemed okay when we dropped green paint into it.
The following 2 photos show fabrics (in this case, washed Kona cotton) which are colored rather than the white previously used.  I was a bit alarmed by the dried alum, then realized that it was probably the same on the white but we just couldn't see it.
True blue

Dark navy


Although a bit hard to see, this is the first drop of black paint in the upper right.  It dispersed rapidly.

Subsequent drops of black paint.

I added red, then metallic gold, then white and lastly some yellow.
 It turns out that, beautiful and alluring though they are, metallics weren't working well.  They tended to sink, then left a granular surface on the carageenan that affected later layers of paint.  As you can see, the colors (white and yellow) laid in after the gold have jagged, pointy edges rather than being nice and round.

Here I've used a wooden skewer to swirl the paints.  The metallic gold made the other colors have ragged edges, not the smooth swirling that I was looking for.


A new try.  You can see the paints from last time that sank to the bottom.

Red, yellow were added here, then a bit of spattering with white and some purple dots laid into the yellow areas.

More red, then red dots laid into the red.  By this time, I realized that I didn't like the white.
Here I've started swirling, again with a single wooden skewer.
This is the final swirled paint  (after adding black paint) just before laying down the fabric.
It's a bit late at night, and Blogger is giving me trouble with uploading and adding more photos, so I'll continue in another post later.

Thursday, May 12, 2011

Adventures with Carageenan, Part 2

Good morning!  These are photos of finished pieces at the end of the day.


More finished pieces.  Looking at these photos, I realized that not only did Rosalita choose opaque, she also gravitates toward the warm side of the color spectrum.  I'm on the cool side with my transparent paints.

This is one of my pieces done on dark navy.  The dark, almost black background really made the colors pop.

A view of my finished pieces.

This marbling session really taught me a lot.  I can't wait to get into this in my studio, which I'll be doing this weekend.  I hope that some of you out there in fiber land get the opportunity to try this technique and post some results.

Wednesday, May 11, 2011

One last chance for the Surface Design Round Robin

I had planned to organize the surface design round robin during my workshop week with Nancy Crow.  Boy, was that a mistake!  Not the workshop!  I loved the workshop and learned tons but I was at her barn from 7 am to 10 pm working. Nothing else got done but the workshop.   More about that later.  Back to the round robin.

I am just now getting the round robin organized.  If you need a refresher on the rules, read here.  I have contacted everyone who said they were interested.  If you are a latecomer, you have till Friday morning, May 13 to send me your email address.  The more the merrier!

Posting for Parfait Dyeing

Kit Lang sent us her results.  Aren't they spectacular?  If anyone else tried any of the techniques we have shown and wants to show us their results, please do respond in the comments and I'll post the results.

Monday, May 9, 2011

More Methocel Images and Info

Hi from freezing Downeast Maine.  Don't know what happened to Spring, but this is definitely not summer!

In the course of reading and using the methocel, Rosalita and I have been educating ourselves about chemistry.  One of the things we learned is:  never use flavored, er, scented, ammonia.  Apparently, this makes a huge difference in the surface tension of the methocel and the ability of the paints to float.  We did use water softener to compensate for my hard water, but the Lemon Ammonia was a mistake.  

Here are the images I promised:

Purple Setacolor was sinking fast, so it was quickly swirled and no other colors were used on this piece.
Primarily Tsukineko inks, with a bit of Setacolor.  The Peony Purple ink floated beautifully, despite the poor quality of our methocel base.  Here again, not many colors were added as they started sinking.  The swirling was done with a single wooden skewer.  The action of making the swirls is a wonderful, Zen-like activity.  :-)
I was curious as to just how well the alum (which is a drying agent) kept the paints and inks adhered to the fabric.  This is actually a small sample using untreated PFD fabric.  It's easy to see that the purple ink ran when the fabric was pulled.
This lively piece is mostly Tsukineko ink with Setacolor Platinum for the silvery circles.  Here again, the metallic did not adhere to the fabric (drat), leaving a grey rather than silver image.  The yellow was laid down after the purple, squishing the purple into the thinner jagged images.  Then Gold and Platinum were dropped in, with Mint Green dropped into the small gold spots.  Skewers dipped in Purple drew the tadpole shapes.
I call this one "Wild Tangerine Having a Hectic Day".  lol  Tsukineko inks are used.  Orange and yellow worked well.  The green was some Setacolor, with tiny blue and purple areas being squished by the warmer colors laid in later.  All were swirled with the wooden skewer, then more drops of color were added.
We fell in love with Gold!  And Peony Purple!  This piece came out the best of all the methocel fabrics we did. 
Needless to say, there are many variables that came into play during our marbling session.  We felt free to use any of the paints we had on hand.  We thinned with both the Versatex Dispersant and with Synthrapol (more on this when we use carrageenan).  It was a lot of fun, though somewhat frustrating because of the effects the lemon ammonia had on the surface of the methocel.  

Tomorrow is marbling with carrageenan!  woohoo!  Look for the results on Wednesday!

Friday, May 6, 2011

Another Supply Source

I've just run across another site for ordering marbling supplies.  These folks also carry various sizes of marbling combs for doing traditional patterns.  


If you haven't ordered carageenan yet, they have a very good price of $35/pound.  

This is Galen Berry's website, and he has a fantastic gallery of over 100 marbling pattern images...so very beautiful!  Here's the link for Galen's marbling images (there are page after page of large-sized images of all sorts of different marbling technique results) and here's the link for his home page http://marbleart.us/index.htm

Experiments Using Methocel

Hi Everyone, 
Here are some recent experiments with using Methocel as a base for marbling.  Rosalita and I spent a day doing  "what if" things, trying Tsukineko inks, Setacolor, and Jacquard marbling colors.
We used the Mini Marbling Kit from Jacquard for our experiments, Versatex surfactant, and "Creative Marbling on Fabric" and "Marbling" as references.
This is our laboratory setup.  lol
I mixed the Methocel (4 Tbsp) in 1 gallon of warm water in the large bucket.  Since I had this wonderful hand blender, that's what I used to do the blending, together with 1 Tbsp of Ammonia....I had no regular, so had to use Lemon Ammonia.  As you can see, the hand blender resulted in a large amount of foam which had to be scraped off the surface of the Methocel before it could be used.  Using a whisk would probably result in far less foam.
Using Jacquard Lumiere paints, we started to lay colors on the surface of the Methocel.  These were thinned a tiny bit with surfactant.  However, as you can see, the paints were just too thick/heavy and started to sink to the bottom rather than spread nicely on the top.  This was our first lesson.  We then added some Jacquard Marbling paint (white and red), but we hadn't thinned these enough either, apparently.  Hmmm.  
Somewhat disappointed, but undeterred, we continued to add drops of paints, then swirled the colors using a wooden skewer.  The pattern developed nicely, but the paints were sinking.  Our conclusion is that the Methocel mixture was too thin.
This is the treated fabric laid on the surface of the paint.
Here is the fabric just after pulling up from the surface of the Methocel.  We'd forgotten to drag it across the edge of the tub, so there was still a major amount of paint and Methocel which dripped down the fabric.  This rinsed off.
This is the dried print.  We found that the last, black paint retained its vividness the best, most of the previous paint having started to sink.  Also, the metallics in the Lumiere flaked off.  
After using newspaper to scrape off the surface of the Methocel, we decided to try using Tsukineko inks.  These we found had differing consistencies and thus different abilities to float.  The more transparent the ink, the better floating and dispersing qualities it had.  White just sank.  We were getting quite a body of paint and ink under the surface of the Methocel at this point, some of which (particularly the metallics which broke apart) came to the surface.  It looked a little like a tidal pool with algae and rocks.  
Here I am using the outdoor 'facilities' to rinse off the Methocel.  This allowed me to keep it from going into the septic system, however, the water is cold!
Tomorrow, I'll post pics of the dried and ironed pieces which we finished.  This coming week will focus on using the carageenan as a base....hopefully with far more satisfying results.  Since we were experimenting, perhaps we should be happy with the learning experience!