A TECHNIQUE DRIVEN Blog dedicated to mastery of surface design techniques. First we dye, overdye, paint, stitch, resist, tie, fold, silk screen, stamp, thermofax, batik, bejewel, stretch, shrink, sprinkle, Smooch, fuse, slice, dice, AND then we set it on fire using a variety of heat tools.

Wednesday, November 11, 2015

Rubber bands

Rubber bands can be used in different ways. In earlier blogposts I showed them to you in combination with yoghurt cups or with pinches of fabric. Here is another way of using them:


 The fabric was soaked in soda ash before I wrapped the rubber bands around it.


Each rubber band will leave a mark on the dyed fabric. This 'snake' was placed in a container on a raised platform and covered with snow.


I did not measure how much dye powder I used for this one, but the colors I used were Aquamarine, Dark Green and Black (all Dharma). When I work with dyepowder, I prefer to cover the powder with a thin layer of snow. This was left to batch till the next morning.


The fabric was rinsed, washed and ironed and now looks like this:


Instead of using the rubber bands to create a 'snake', you can also use them this way:


The soda soaked fabric was crunched into a ball and rubber bands were wrapped around it. This ball was placed in a container on a raised platform and ice cubes were placed on top. Dye powder was added and some more ice cubes. Sorry, but I forgot to write down which dye powders I used.


After rinsing, washing and ironing the fabric looks like this:


This is a 0,5 yard piece of cotton. Depending on how you crunch this, certain areas will be closer to the outside of the ball than others. This will effect the way the colors show. Areas which are crunched tight, will be lighter than areas where the fabric is more loose.

Monday, November 9, 2015

Hills and valleys

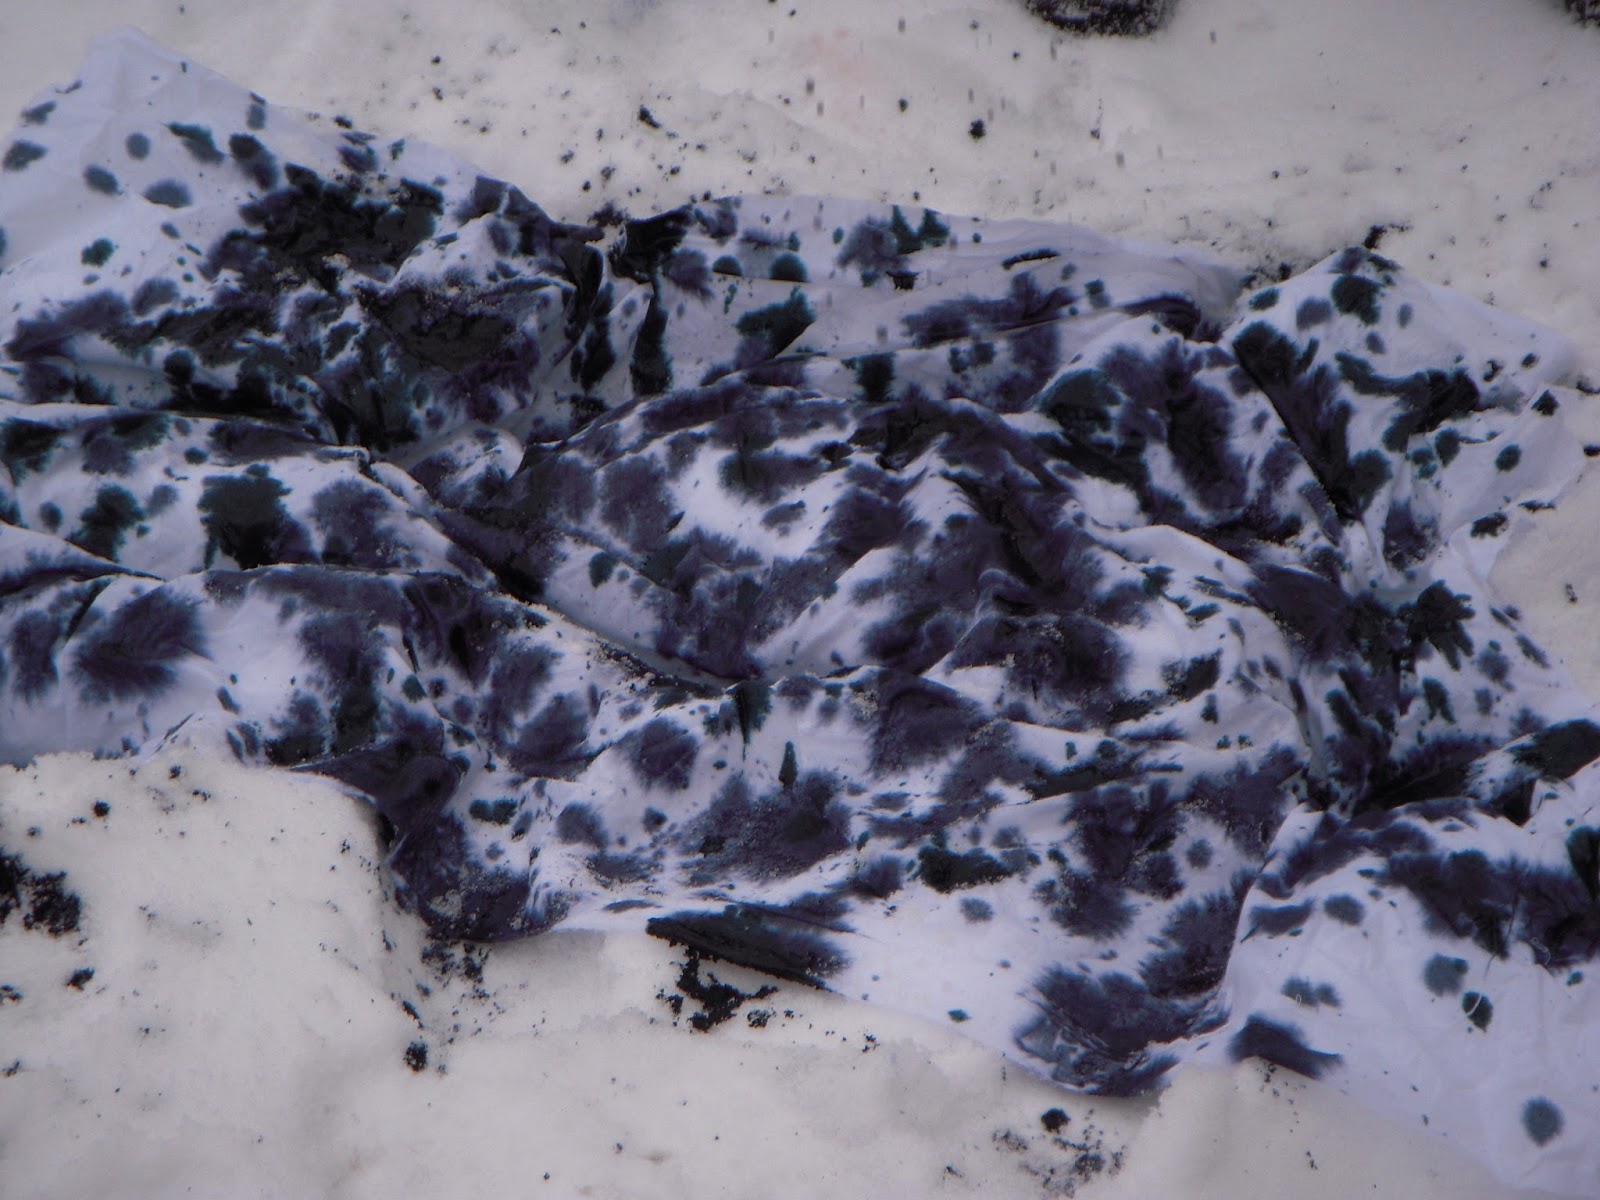
Most of the snow and ice dyeing I do indoors, but this fabric was done outside. There was a nice thick layer of snow (8 to 10 inches) in the yard and a soda soaked piece of fabric was placed on it. A little helper walked over the fabric creating hills and valleys.


Dye concentrate was poured over the fabric. No idea which colors as it was left over from a previous play day.


This was left outside for at least 4 hours before it was taken indoors where it batched till the next morning. After rinsing, washing and ironing this is how the fabric now looks:


Friday, November 6, 2015

Is there a difference in result depending on using snow or ice?

Is there a difference in result depending whether you use snow or ice? To answer this question I dyed two 0,5 yard pieces of cotton fabric, one with snow and one with ice. The fabric was soda soaked and rubber bands were tied around pinches of fabric. Each fabric was put into a separate container. On one fabric snow was packed, on the other ice cubes. Approximately 0,25 cup of Chocolate Brown (Dharma) dye powder was sprinkled on each pile. The containers were left in the studio till the next day. This is how they looked after the snow/ice had melted.


I forgot to take pictures before, sorry. The fabric was marked with a black Sharpie in a corner of each fabric. Unfortunately the dye covered the marks completely. Lesson learned. If you want to be able to read your marks after dyeing, use a small piece of Tyvek instead of writing directly onto the fabric.
The next step was to remove the rubber bands and to rinse, wash and iron the fabric.


The top one is my favorite, but is it dyed with snow or with ice? The lighter areas in the second piece are probably caused because the rubber bands were wrapped more tightly there. In both fabrics, the brown dye powder separated nicely in the component colors.

Wednesday, November 4, 2015

Time to start dyeing

When I am at home, the kitchen is my dye studio. This does not really give me space to dye big pieces of fabric. So I took advantage of being able to use my friend's big studio.
This is a 3-yard piece of cotton fabric which I had soda soaked. In a big container I place several smal containers to raise a platform.


Lots of yoghurt cups were tied into the fabric with rubber bands:


A layer of snow was piled on top of this:


And about a cup of dye powder was sprinkled on it. I used Red Turkey (ProChem) and Charcoal Grey (Dharma).

Covered this with a thin layer of snow.


And placed the container on the studio floor to batch. This is what we found when we entered the studio the next morning:

Apparently the container was not watertight. Luckily nothing in the studio was damaged and the cotton used to wipe up the mess turned into some nice pieces :-). This is how the fabric looked when the melted snow was gone:


Time to remove the rubber bands and to rinse, wash and iron the fabric. Here is how the fabric turned out:


It was so big that I had to take 2 pictures to show the whole fabric. I sandwiched it and am now in the - time consuming - process of quilting it.


Monday, November 2, 2015

Intro to snow and ice dyeing

Hi, I am Wil Opio Oguta and this month I am going to talk about snow and ice dyeing. Here in the Northern hemisphere winter is approaching and depending where you live, this might give you (a lot of) snow. Or if you live in the Netherlands like me, you hope for snow. We do not get snow every winter so I decided to plan my annual trip to the US in February of this year. Minnesota guarantees snow in that month :-). Don't worry if you live in an area where you do not have snow as you can have lots of fun with dye and ice cubes. Or you can buy an ice cone machine.

The first time I heard of snow dyeing was during the winter of 2007/2008. At that time there was not much information available on the net or in books, so it was a lot of try and error. Not always leading to the result I hoped for, but during the years I came up with a number of techniques which give good results. I want to thank the artists who shared their methods on their blogs. Here are some links:
http://www.carolreatondesigns.blogspot.com/
http://www.bloombakecreate.com/
http://verfvirus.blogspot.com/

For this type of dyeing you need:
- fabric: All cellulose fabric can be dyed this way. Most of the time I work with cotton. I buy pfd (prepared for dyeing) by the bolt.
- soda ash (or vinegar if you dye silk)
- Procion MX dye powder
- dust mask
- utensils like: plastic spoons, colander, containers, things which can be used as a raised platform. Keep in mind that these items cannot be used for food anymore. Mark them and store them separately.
- gloves and apron to protect your hands and clothes.

Let's talk a bit more about the dye powder. As you know you can buy either the pure colors - which have the MX code mentioned, see list here: http://www.pburch.net/dyeing/FAQ/pureMXcolors.shtml - or you can buy mixed colors. Here are a few links where you can buy Procion MX dyes:
http://www.dharmatrading.com/
http://www.prochemicalanddye.com/
http://www.maiwa.com/
http://www.patchworkshop.de/
And of course you can mix your own colors. Here are some links to give you ideas how to do this:
http://www.pburch.net/dyeing/FAQ/maiwa_mxing_guide.shtml
http://tinyurl.com/q3qhoer

Normally when you dye with a pure or mixed color, you get this color on your fabric. Chilling the dye powder by mixing them with snow or ice causes the dye to separate into their component colors. The dyes strike the fabric at different rates creating different colors on your fabric.

There are different ways to mix the snow with the dyes. You can mix the concentrate into snow in a large mixing bowl to get more controlled results. A quarter of a cup of dye mixed with 20 cups of snow will give a strong color to a yard of fabric. If the snow you are using is fluffly, you will need more snow. For pastels you need less dye concentrate. Keep in mind that the snow will dilute the dye, so creating very dark colors is difficult.
An alternative method is to apply the dye directly to the snow. Put snow on top of your fabric - roughly 3 inch or more and pour - or use a squeeze bottle - dye concentrate directly on the snow. Instead of using dye concentrate you can also sprinkle the dye powder directly onto the snow or ice. Don't forget to wear a mask when you are working with dye powder!

Why the raised platform or the colander? If your fabric is submerged in the melting snow/ice, the pattern which is created is duller than when the snow/ice drains away from your fabric. Here are pictures to show you the difference. The first picture shows you a denim coat which was left submerged in melting ice. I used 4 different blues and as you see, they blended a lot.


The next picture shows a cotton fabric which was dyed on a raised platform. You see that the color definition is much stronger here.


When you are finished with your snow/ice and dye, put your container away till the next day. You can cover it with plastic so that the fabric does not dry out.

This was a long post with lots of theory. Next blogpost we start dyeing. See you then.


Friday, October 30, 2015

To Art Quilting and Beyond - Week 4/Part 5

I can hardly believe it is over! I hope you all enjoyed this month as much as I did planning, making and posting it. Have to admit I did learn a few things about me and my art quilting. And especially about hand stitching and quilting. Somehow I think hand-stitching a binding will never seem like that much work again! Sounds like a piece of cake at the moment!

So here is the finale. The last act. The end....or is it? Perhaps it is the beginning of a new direction to enjoy from time to time. Something to stir the creative juices if they ever become stale.

After the final layout, I felt like it still needed something to give it a bit more interest. I have a HUGE piece of netting that has sparkly circles embedded into it. So I cut out circles to keep with one of the connecting themes and I think it really sets off some of the "snowflakes"  And I also have a piece of organza with blue shiny circles on it.  I cut out a few and put those on this piece as well.

Winter Garden

So here are all four seasons together.

So now you know that even when disaster strikes, power is out and zombies are roaming the land, there is art to be made! 

It's been a fun month for me! Thank you all for your kind, encouraging and insightful comments.

We had our first little bit of snow today so I'm really looking forward to Wil's Snow and Ice Dyeing coming up for November!!


Thursday, October 29, 2015

To Art Quilting and Beyond - Week 4/Part 4

Are you ready????

Grab your nearest security blankey or teddy bear.....

So many scary movies this week.  I don't watch them because I keep yelling at the TV screen "Don't split up you guys! Are you crazy?"  So I'm not allowed to watch them any more.

But for this particular art quilt project, I'm saying (not yelling thankfully) DO split up!! This is a slasher presentation after all. But I guarantee no blood or monsters. Not even zombies.

Yep...we're going to cut up quilts. I know some of you have done this before but it seemed appropriate for this week and Halloween stuff to hack and slash.

First off is "A Tale of Two Crooked Houses"  (that sounds scary right?)

But it isn't. The crooked house is actual a photo I took at a local nursery years ago. Unfortunately it is no longer there but at least I still have my photo! This little shed/house has found its way into a couple of other pieces of art in my studio. I've sketched it and used it in ATCs several times. And now YOU get to see it!

Here is the original photo. Is this not totally adorable???


This particular time it is the subject in a project on contrast.

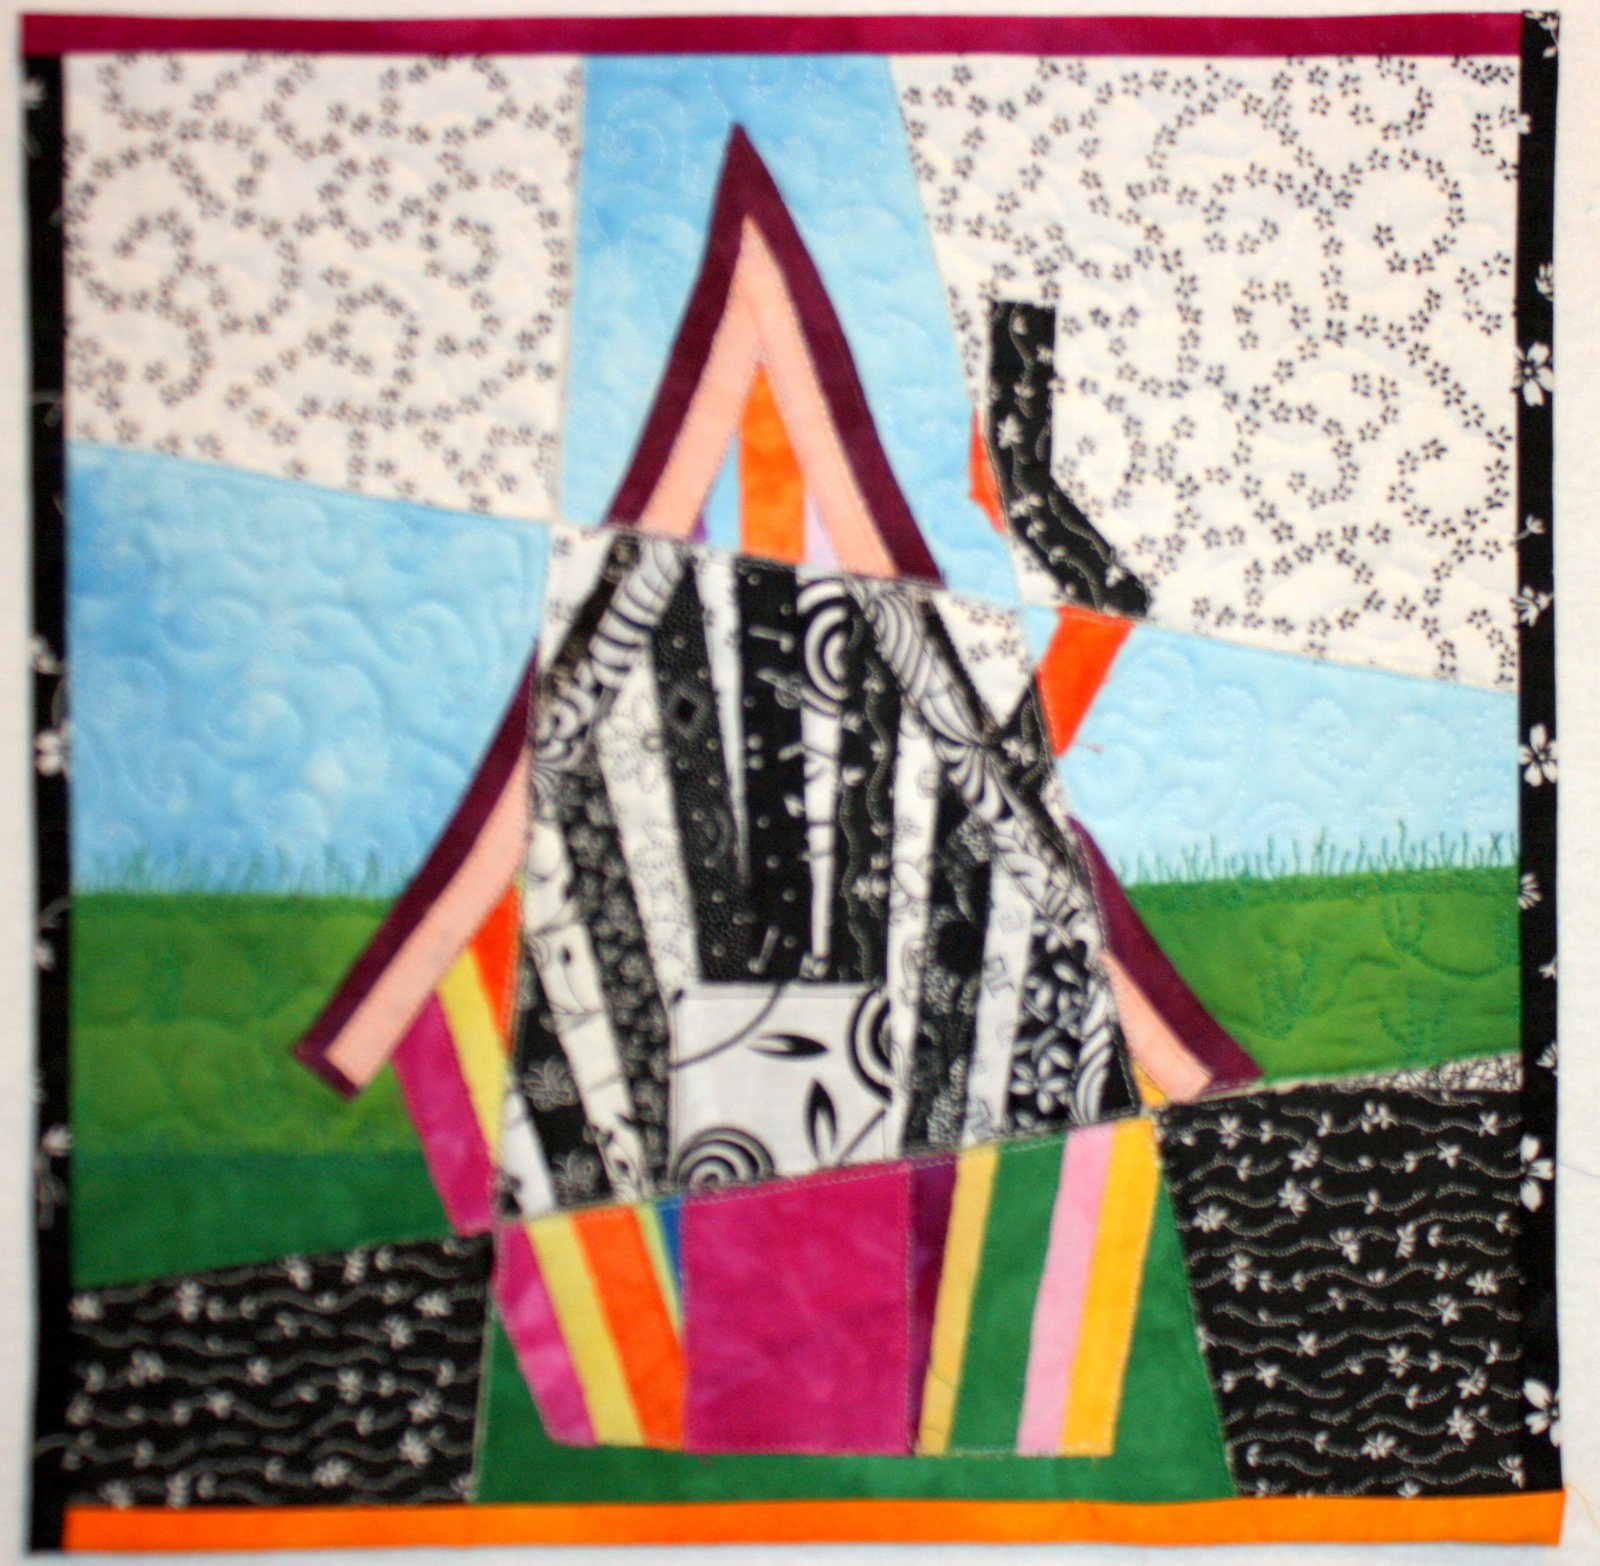
I did one small quilt in color and one in black and white.


Then out came the rotary cutter and .....OH THE QUILT-ANITY!!!!

I cut them both up in the same shapes and then, in true Frankenstein fashion, sewed them back together!


To date I've only done the binding on the one and since moving have yet to come across the second one or I would have bound it for this presentation.  I did color binding on the top and bottom and b/w binding on the left and right sides. It is still one of my favorite projects results. It's a little cutie-patootie!

Next up is "A Tale of Two Friends - and a Shared Addiction"

Once upon a time long long ago, a van of art quilters was traveling across South Dakota after a retreat. After a night in the hotel, Starbucks was the first order of business for all of us....except one.  "I don't drink coffee" say she. But we did finally convince her to just have a small espresso. And that was the beginning of the end it seems. 

Wil and I have become more like family than just friends over the past 8 years since that retreat. And now she is just as addicted as the rest of us! Maybe even more. I don't even have my own expresso machine! LOL!!

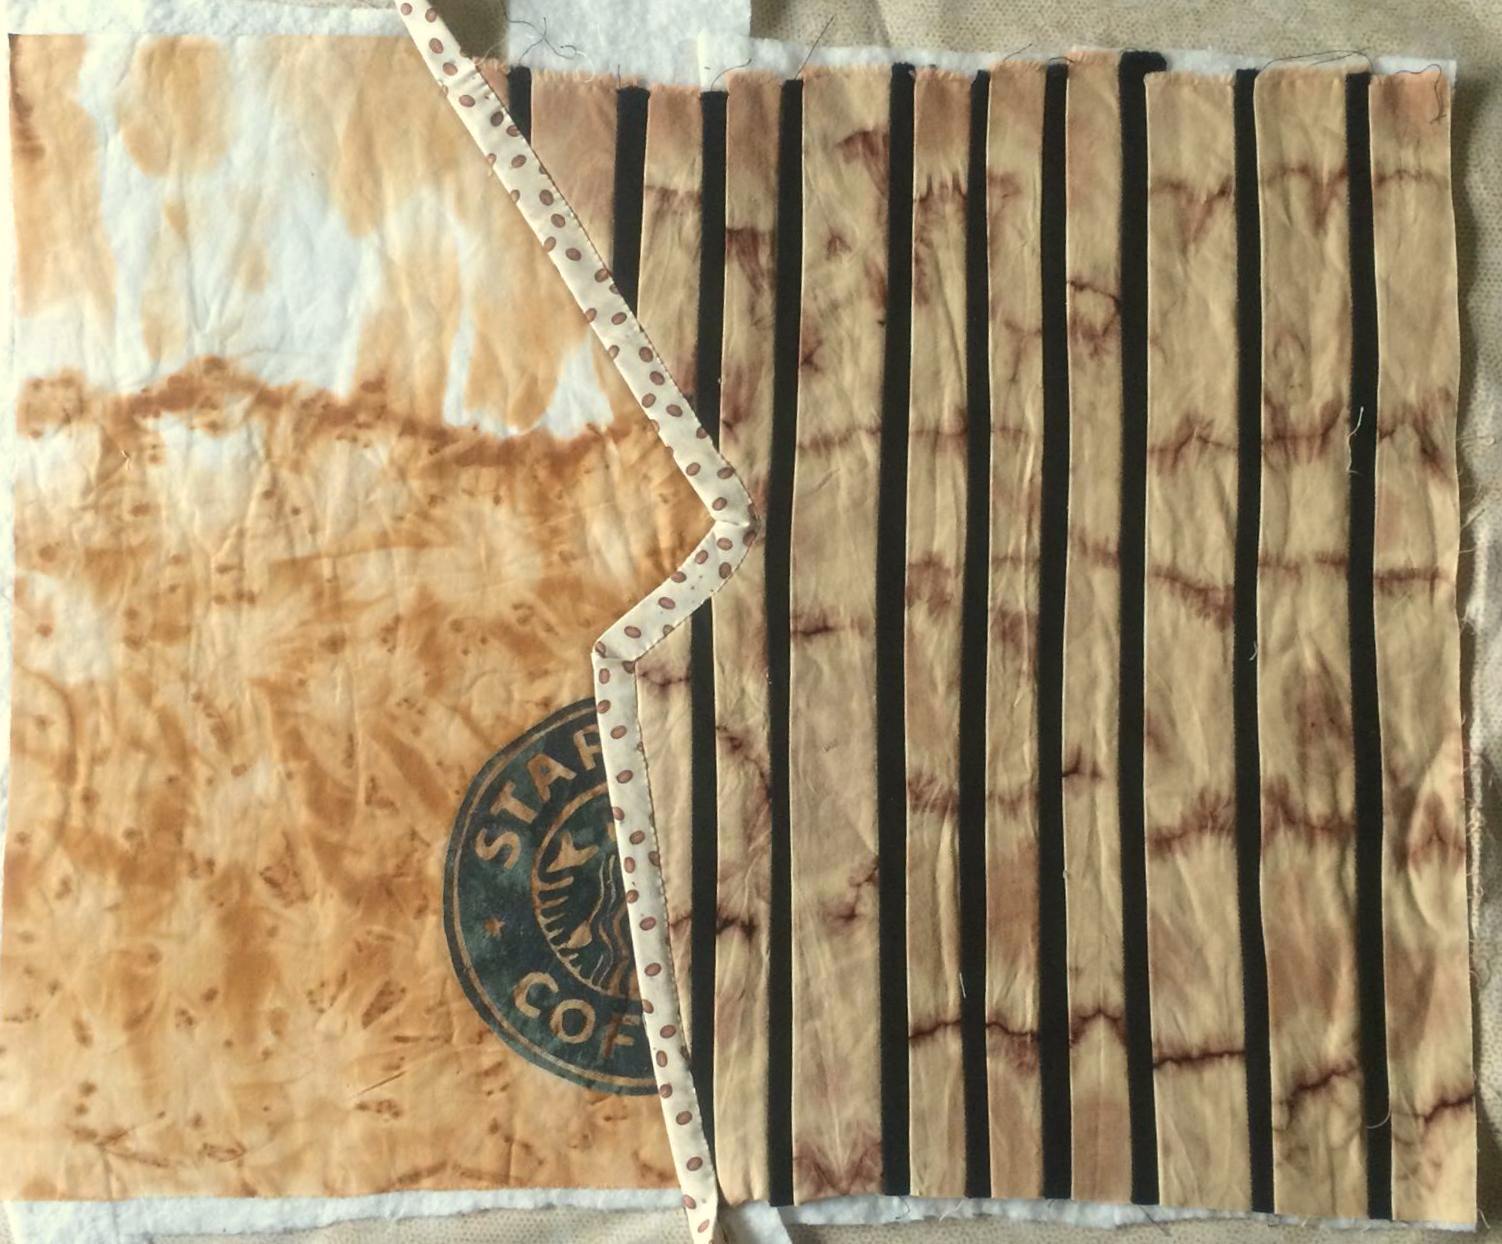
Several years ago when she was visiting during the summer, we decided to share a coffee quilt. We got a Starbucks logo to print off onto fabric and put it onto some wonderfully coffee-looking rusted fabric. Then the slashing part. We cut it in half and we both kept one half of the quilt. It's been a while but since it fit into my Slasher Movie theme, I decided to finish it....finally.


Now to find fabric for the other half of the quilt. I decided since it is our quilt, I would use a leftover piece that Wil did for one of her quilts. The colors fit in with what I wanted to do.  I even kept on with the slasher theme and used leftover bits of batting for the right half.  Thankfully it is fusible batting so it stayed in place quite well.


The right half gets cut to fit in with the left half.


I zig-zagged the two halves together and covered the "seam" with a commercial fabric I had on hand. It has coffee beans on it.  (Wonder if hubby has figured out by now that his "Favorite Things" quilt might never happen????) Took this photo in a different location so the color is a bit different.


Here is the quilting pattern I used.


Attached to my half of the quilt was a packet of bits of fabric. Wil can confirm or deny but to the best of my memory, they were pieces we had made that summer when she was visiting.  They were to be used in this quilt when it got designed.  So I used them and added a few rusted bits (some of my favorite things) and some felt strips I had in my stash. I haven't done an actual binding like this in a while but for this piece I wanted to add the coffee beans again.  Here is the final quilt.

Shared Addiction