You boil the tied up fabric for 30 minutes in a dye-dedicated pan. Let it cool and voila! Done.
Here are some examples of how to tie and the results I got. As usual, your mileage may vary.
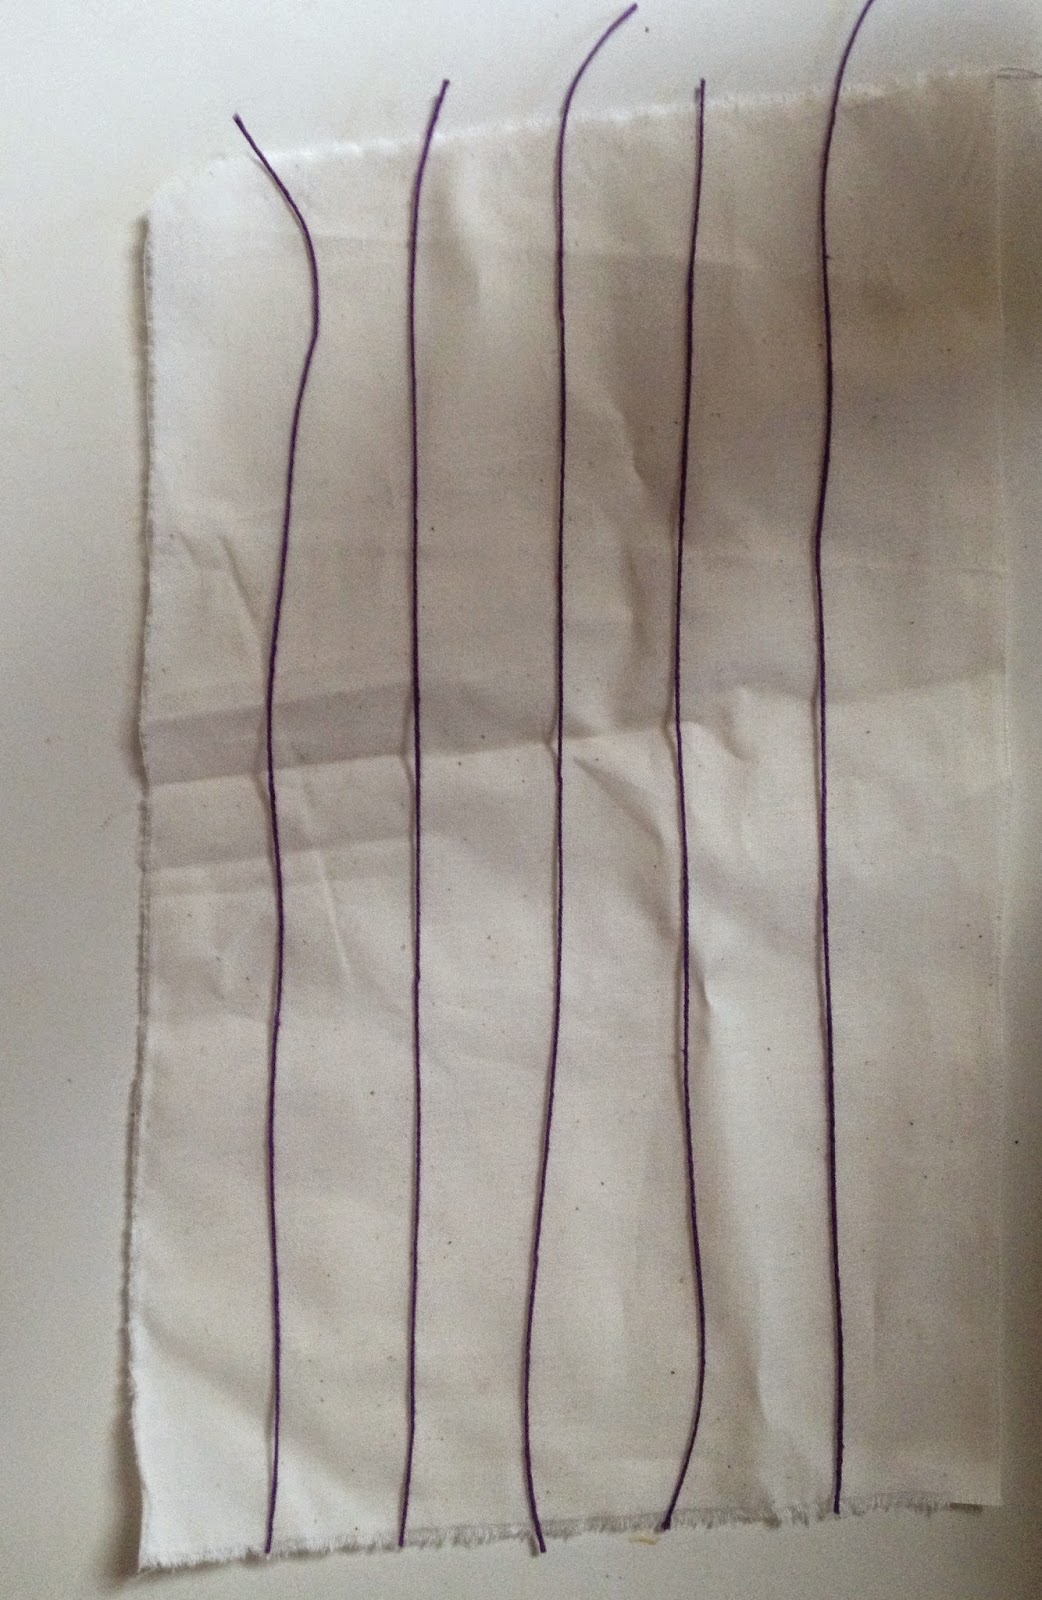
Lengths of the string laid out. Then accordion folded, folded in half lengthwise and tied in three places (the horizontal marks on the left side). I should be better at this kind of folding since I played the accordion as a child. You can be as precise as you want in folding - I'm not sure I care about that anymore.
I scrunched this up loosely with my fingers and then tied it with five strings. The purple color flowed nicely out of the string and the tightly bound areas stayed light.
Then I got ambitious and did an arashi shibori on a jar that fit easily into my pot. A wine bottle would have given me more space for a longer piece of cloth but I buy my wine by the box. :)
To get an artsy arashi, you start with the corner of a long piece and wrap and scrunch, wrap and scrunch till you run out of cloth or space on the jar. I ran out of space. You can use a piece of plastic electrician's tape to hold the string and the cloth to make it easier to begin and end the wraping. That kind of tape holds up well to the boiling and if you need to mark names on things you are dyeing, you can write on it with a Sharpie.
The top right corner is where I started, all careful and organized wrapping. The wrinkles started to happen and I decided to throw careful to the wind and just get on with it. Turns out I like the part near the hacked off end much better than the beginning.
Come back Friday for more tips and disasters with string dyeing and don't forget to comment on my personal blog for a chance on a bundle of guar-on-teed bleeding string.


Luv this!
ReplyDeleteThe last one has a real Japanese feel to it.
ReplyDeleteSandy in the UK
I am in awe of this technique with the string. I had no idea. did you ever say what the string was? Just any string with a color to it?
ReplyDeleteI gotta get me some.
Sorry, not just any will do. In my next post on Friday, I'll show you how to sample your yarns and strings and see which ones will work and which won't.
ReplyDeleteI really like the scrunched end too, serendipity worked well here. I haven't tried string dyeing, but next time I have the dye pots out, I will throw in some string.
ReplyDeleteJust love the results and that marks on that last piece are amazing.
ReplyDelete