
I used 2 plastic boxes . In the little one I puncture holes so I can optimal use the melting snow.This what I made whit the pieces.
In the bottom box a piece of fabric is placed and another box is put on the top. The bottom piece of fabric will be penetrated by the melting snow.
Bottom piece
Top piece


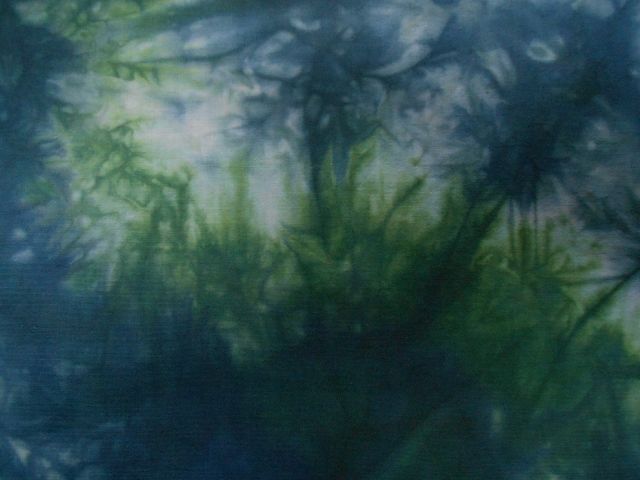


Nice fabrics. I particularly like the swirl effect. It is good to see how the fabrics might be used.
ReplyDeleteI love your results! My favorite colors at the moment are blue and green - this is gorgeous. I have not done any snow dyeing this year but this has me asking, "why not??"
ReplyDeleteAnn, what a clever idea your box is! And I love the results! You're a lot quicker than I am as far as using your fabrics... I'm still plugging away at mine, but hope to have a finished piece soon. Thanks for sharing your results!
ReplyDeleteThis is the third time I have seen doubledecker dyeing. First was Nienke and her flower pots, then Judy and now you. I must try this technique next time I snow dye. I still have about 3 feet of snow left.
ReplyDelete