A TECHNIQUE DRIVEN Blog dedicated to mastery of surface design techniques. First we dye, overdye, paint, stitch, resist, tie, fold, silk screen, stamp, thermofax, batik, bejewel, stretch, shrink, sprinkle, Smooch, fuse, slice, dice, AND then we set it on fire using a variety of heat tools.

Sunday, March 25, 2012

My turn...

I was afeared these experiments would not go well, as we don't have a "Pro Chemical" here and though I went to two different shops, no one had any "print paste" just "base".  I tried a third shop, where they did have print paste, but no "SH" option available, nor did they have a "thick" option available. I bought it anyway, but when I opened it at home - it looked like white glue with a sticky pudding texture - nothing like Beth's and it didn't require any of the mixing process that was part of the linked instructions.

I  knew it wasn't going to work like Beth's did as soon as I opened it, but I tried a mixture of 4 tablespoons of the print paste to a mason jar's worth of urea water and blended that up. No thickening whatsoever occurred - it remained the same texture as it was after I mixed it (with some pleasant foaming action lol) - but I added the dye powder in the recommended amount of 1 tsp powder to one cup print paste mixture and gave it a shot anyway.

The resulting liquid was about the texture of whole milk, so using a resist of any kind would have been futile, but I tried to work a design on the screens and after my first pull (washed, dried and with an iron print for your pleasure [I got distracted by our new dog!) this was the result :


Uninspiring, but I can certainly work the cloth some more  (maybe some shibori discharging?).  My second pull on the same screen:


Which I liked much better.  And then I tried some smaller screens (8 x 10) with similar results:


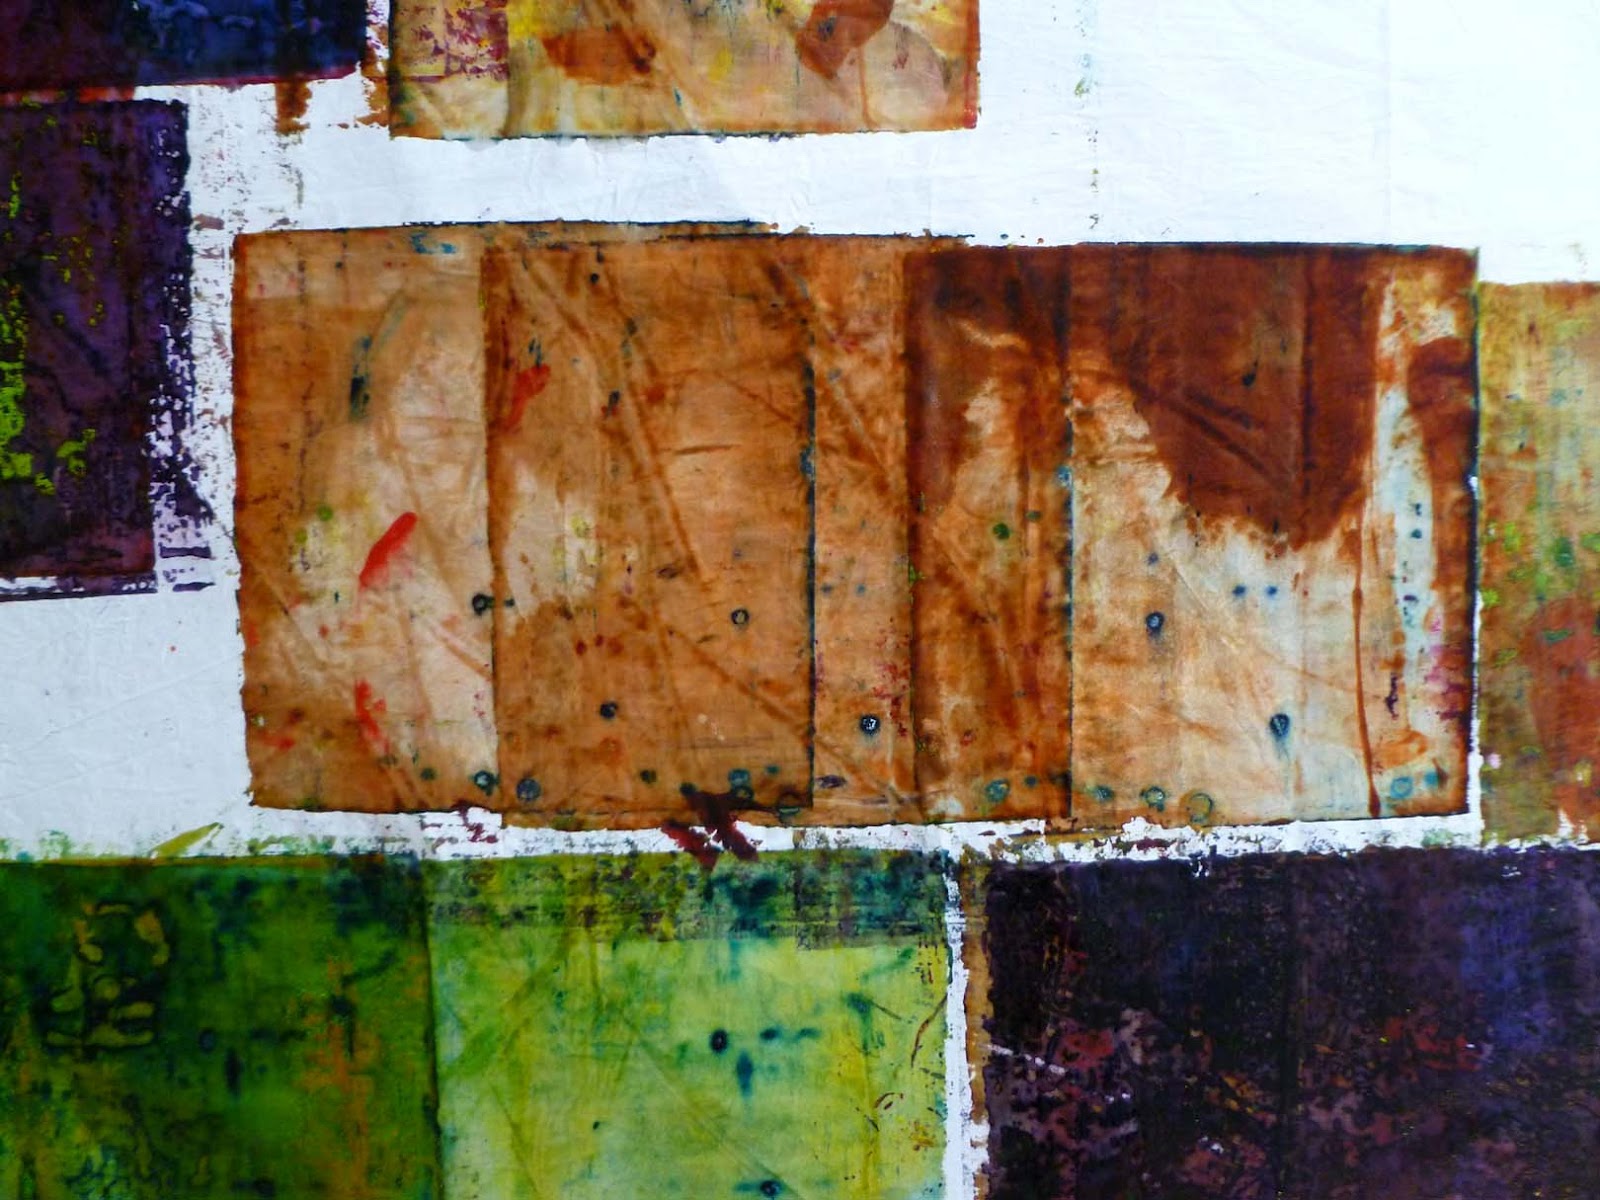
Really just kind of a mess.  After doing 4 screens of  2 or 3 pulls each, I gave it up as a bad job. Like I said above though - these pieces of fabric can be rescued with some other processes.  And, not all was lost - I made some lovely painted, scrunched and shibori fabric pieces with the leftover print paste mixture that turned out beautifully!

I would try this again, but would have to order the proper tools for the job from the U.S. in order to get anything close to the results that the rest of you had.  I was also thinking about using a base extender as the "print paste"  as well - any guesses on how that might work?

No matter - as always, it was fun experimenting though!
Photobucket

Sunday, March 18, 2012

Deconstructed Screen Printing -- First Attempts

 I had trouble with this at first.  I got two screens made and happily spread thickened dye all over them.  My results were, to say the least, uninspiring.

After a frantic couple of emails to Beth, I figured out that I was trying to spread dye thickener that was just too thick.
 So my first two -- here they are washed and ironed -- were pretty blah.  The top one looks better here than it does in real life.
 But after I used thinner print paste to make my prints, I got much better results.
And I really like this last one.  I currently have two more batching and two screens drying.  I'm still waiting for Mr. S to produce the frames for a couple more screens.  Hopefully, I'll have more results next weekend.

Friday, March 16, 2012

Deconstructed Screen Printing...Washed, Dried, and Ironed--Quilter Beth

Let me repeat...this was my first attempt at deconstructed screen printing. I like the results, so I may be doing more of it. I'll have to see if the fabric is something I will actually use or just "pet!" It seems I have a collection of fabrics I don't want to use up. I like to look at it and touch it but using it...not so much. This fabric may fall into that category.

I'll show you my favorite first. This happens to be the last screen I worked with. It is my largest screen. The texture on the prints from this screen is more defined than on the others. I am a little surprised that the fuchsia color is so prominent. I used less of the fuchsia tinted print paste than any other.
This is a detail shot of the Screen 3 print.

This is a picture of my very first screen attempt.
 This is a close up. (You might remember that this is the one that came out so light that I wasn't happy with it. I used orange print paste and scraped it over the top of the original print with a credit card.)
This is my second screen. I'm not crazy about the yellow stripe down the middle.
This is a detail shot of screen 2.
This is a technique I had been wanting to try for quite some time. Thanks to Beth's great tutorial, I was able to give it a shot. It was fun to do--a bit messy--but a lot of fun.

Thursday, March 15, 2012

Something made from my deconstructed cloth

It isn't much, but I wanted to try to so a small piece using some of the cloth. I picked a piece I didn't like, probably not a good idea. I added some beads, embroidery and sari yarn (silk). It reminded me of ocean flora which I believe one day we will be harvesting for food. I called my little (8.5 X 8.5) piece Sea Food. I hope to see much more of your experiments. Deconstructed screen printing is the nexus of artistic intention and serendipity.

This week I am working on another deconstructed piece as well as sketching out and planning another piece that I made in a dream last night.


Monday, March 12, 2012

Almost Done--Quilter Beth


I didn’t have a chance to get to my screens for four days, so they were good and dry when I had some time to actually do the printing. After that, I set up my printing area. I used a table covered with a double layer of eco-felt and topped with a HUGE garbage bag (cut open). To that I pinned my PFD fabric (which had been cut in half lengthwise to fit my table).
I didn’t have any soda-ash-soaked fabric, so I mixed my soda ash into some clear print paste. I used 1 tablespoon per cup of print paste. First, I just added the soda ash straight into the paste without dissolving it first in a bit of water. I think that was probably a mistake since I couldn’t get the soda ash to fully dissolve. This is what it looked like.
Since that mixture was so lumpy looking (no matter how much I stirred), I mixed another cup. This time I dissolved the soda ash in a bit of warm water and added that to the paste. This made for a much smoother paste. (I eventually mixed the two together and felt it worked fine.)

The first screen I used had the thickest amount of dye on it. The print was (and continued to be) pretty light. I wasn’t happy with it. (You’ll see what I did to it later on.) Here are the results of the first screen.
Here are the results from the second screen. I was much happier with these results. I didn’t think they were “dark” enough after the first run through, so I used a credit card and applied a thin layer of the leftover tinted print paste directly to the fabric. I liked the results much better. (I didn't take pictures before I used the credit card.)


I was happy enough with the results of the second screen (after applying the tinted print paste with a credit card) that I thought…what if I apply the same orange/red layer of leftover print paste to the results from screen 1. The Screen 1 re-done prints are on the right; Screen 2 prints are on the left.
 The next two pictures are closeups of Screen 1 prints.

I was much happier with it.

The last (and largest) screen was the one I thought didn’t have enough detail on it. I thought the dye was too thin to make a good print. I think, though, that it turned out to be my favorite.


I took Beth’s advice and wrapped the fabric in the garbage bags that I had used to cover the table. After folding, I put them all in another bag, set them on a big metal tray, and layered the bag between two heating pads. I set the pads to a medium heat and left them to batch for approximately 24 hours. This is what my setup looked like.
Now, I'm anxious to see what the finished product looks like once it is rinsed, washed, and ironed.

Wednesday, March 7, 2012

It's a Beginning--Quilter Beth

I finally had a chance to get started today. I need to preface this post with I have NEVER tried this technique before and have little dying and silk screen experience. I only have three screens, so you wouldn't think it would be that difficult. Somehow, I had a big mess and a ton of stuff out. That has nothing to do with the technique; it is a problem I have.
 
Anyway, as I write this I have the three screens drying. Here they are...
I like this one the best. I used some onion and potato sacks, two pieces of two different rubber place mats, and some silk leaves for the texture.
 I used some rubber shelf liner, vegetable bags, and some metal gear-like embellishments for this one.
This one uses the shelf liner, three different kinds of vegetable sacks, and a piece of a rubber place mat. This one looks like it has the least detail. I'm not sure I have enough dye on it. I guess I'll just have to wait and see.

I'm anxious to see how these will turn out, but I won't be able to get to them for a few days. I guess that will give them plenty of time to dry.

Close-Ups

These are close ups of the fabric on the bed. Now I am even more anxious to get started on them. PS. I didn't get results like this the first time I tried. I have experimented (nice way of saying OBSESSED) over and over again, learning new things, trying new things and listening to friends suggestions (right Judith) and taken them to heart.


Tuesday, March 6, 2012

Check out Judy in the Dyes

Judy has done some deconstructed screen printing with leaves.  Check it out here.

A few more pics from this winter

I think these pics are wet on the print table. Let me see if I can find pics after they are dried and ironed. If not I'll take new pics.


 These brown squares are used colored print paste out of the "slop jar" but you know, I kind of like them. Kind of Rusty and a great first layer. Aren't those spots cute?


 I think the one on the left was a yellow screen followed by a blue screen. I go wild (really) and try to cover all the "white spot". I do have to admit these are the BEST prints I have ever gotten. See this is how an addiction starts - chasing that "perfect" print... I'm a goner.....LOVE THIS.
The bottom left picture reminds me of Coleus leaves
Here they are washed, dried and ironed on my bed.


I am going to be starting some small works to sell on my new website Necessities or not. I will be using the art cloth in these pics so I'll take some close-ups of the fabric on the bed so you can see the degree of color retention. Don't you just love the purple, pink and olive squares? Yummy.