
Material:
A piece of hard cardboard
Dried leafs and flowers or material that will give a good relief
Glue
Aluminium foil (the heaviest you can find)
paint ( textile paint, block print paint)


Make a composition on the cardboard and attach it with glue.
Let dry COMPLETLY
Apply glue on the entire surface. Attach the foil to the composition. Make sure the composition is tightly encapsulated with the foil. Therefore press with your finger the foil in every surface. The back of the cardboard also needs to be covered with the foil.

Again let it dry completely
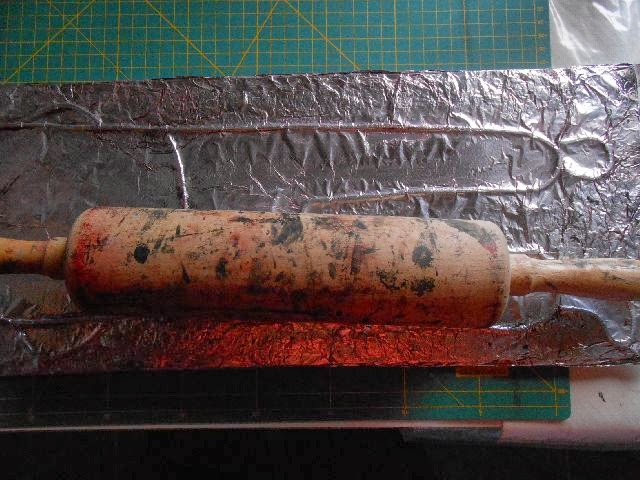
Press everything hard with a glass bottle ore a rolling pin


Since your plate is completely covered with foil it is possible to change colours. Wipe the plate clean with water, let dry and it is ready to be used again. Once you are familiar with the technique it is easy to adjust size and subject. The plates will go a long way.
Send photo’s of your work and I can let them seen on the blog. Next week another way to print with foil.
annvanherle@hotmail.com

Very nice collagrapf prints.
ReplyDelete