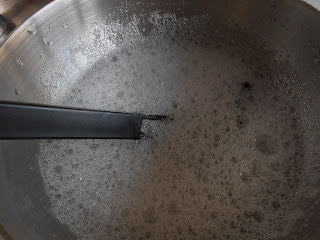
3 cup of cold water, 3cup boiled water, 100gr. gelatin ( 4 euro)
Dissolve gelatin in cold water. Slowly add hot water.
Slowly pour dissolved gelatin into baking plate
Let the gelatin narden then store in refrigerator for 12 hours.
I left the gelli plate in the baking plate, while making my prints. ( it is very difficult to remove the plate) I was able to make 10 prints on cotton using this paint
Paint on my plate
Results
Cleaned the plate with cold water and put it back in the refrigerator. I can use the plat again for another 10 prints
So, now I know that printing with the " gelli plate" is something I can use .
I can order a " real" one now.
Thank you Judith to the accompaniment of the Gelli Plate


Thank you for stating the grams of gelatin. I tried to do this, but was following an American recipe which only stated packets...it seems the packets I could get here contain less. or something, anyway, it wasn't very firm. Now I could try this again and be sure I have enough gelatin.
ReplyDeleteSandy in the UK
Ann, Lovely prints!!
ReplyDeleteRegarding getting your gelatin plate out of the pan, place plastic wrap on the bottom of your pan leaving wrap hanging out on all sides. When the gelatin is set you can lift it right out of the pan with the wrap serving as handles. Just lay the plastic wrap and plate on your work surface and you're ready to go. It can then be put back into the pan and refrigerated. You can see my tutorial here: http://www.bloombakecreate.com/2011/01/gelatin-printing/
However, once you get a gelli plate you won't need to do that and can play whenever you want to!
Very nice tutorial, Ann! I have tried making my own gelatin plate, but my refrigerator is always so full of food... decided to break down and buy the gelli plate so I can store in the studio. But this is a great way to try the concept of monoprinting on gelatin before investing in the gelli plate.
ReplyDeleteI may try this next week. Great tutorial
ReplyDelete