A TECHNIQUE DRIVEN Blog dedicated to mastery of surface design techniques. First we dye, overdye, paint, stitch, resist, tie, fold, silk screen, stamp, thermofax, batik, bejewel, stretch, shrink, sprinkle, Smooch, fuse, slice, dice, AND then we set it on fire using a variety of heat tools.

Tuesday, August 28, 2012

My take on Sugar resist Dyeing

I finally had some time last week to give sugar resist a try, and I'm not disappointed in the results!  When I first made the sugar recipe, I thought it seemed pretty runny compared to other resists I have used.  I left it in the fridge for several days, and finally pulled it out on Friday to apply to two pieces of muslin I had pre-soaked in soda ash and air dried.  I stretched the fabric over a padded, plastic covered project board, pinned in place with t-pins.  Then I poured the sugar mixture into a squeeze bottle and applied to each piece of fabric.
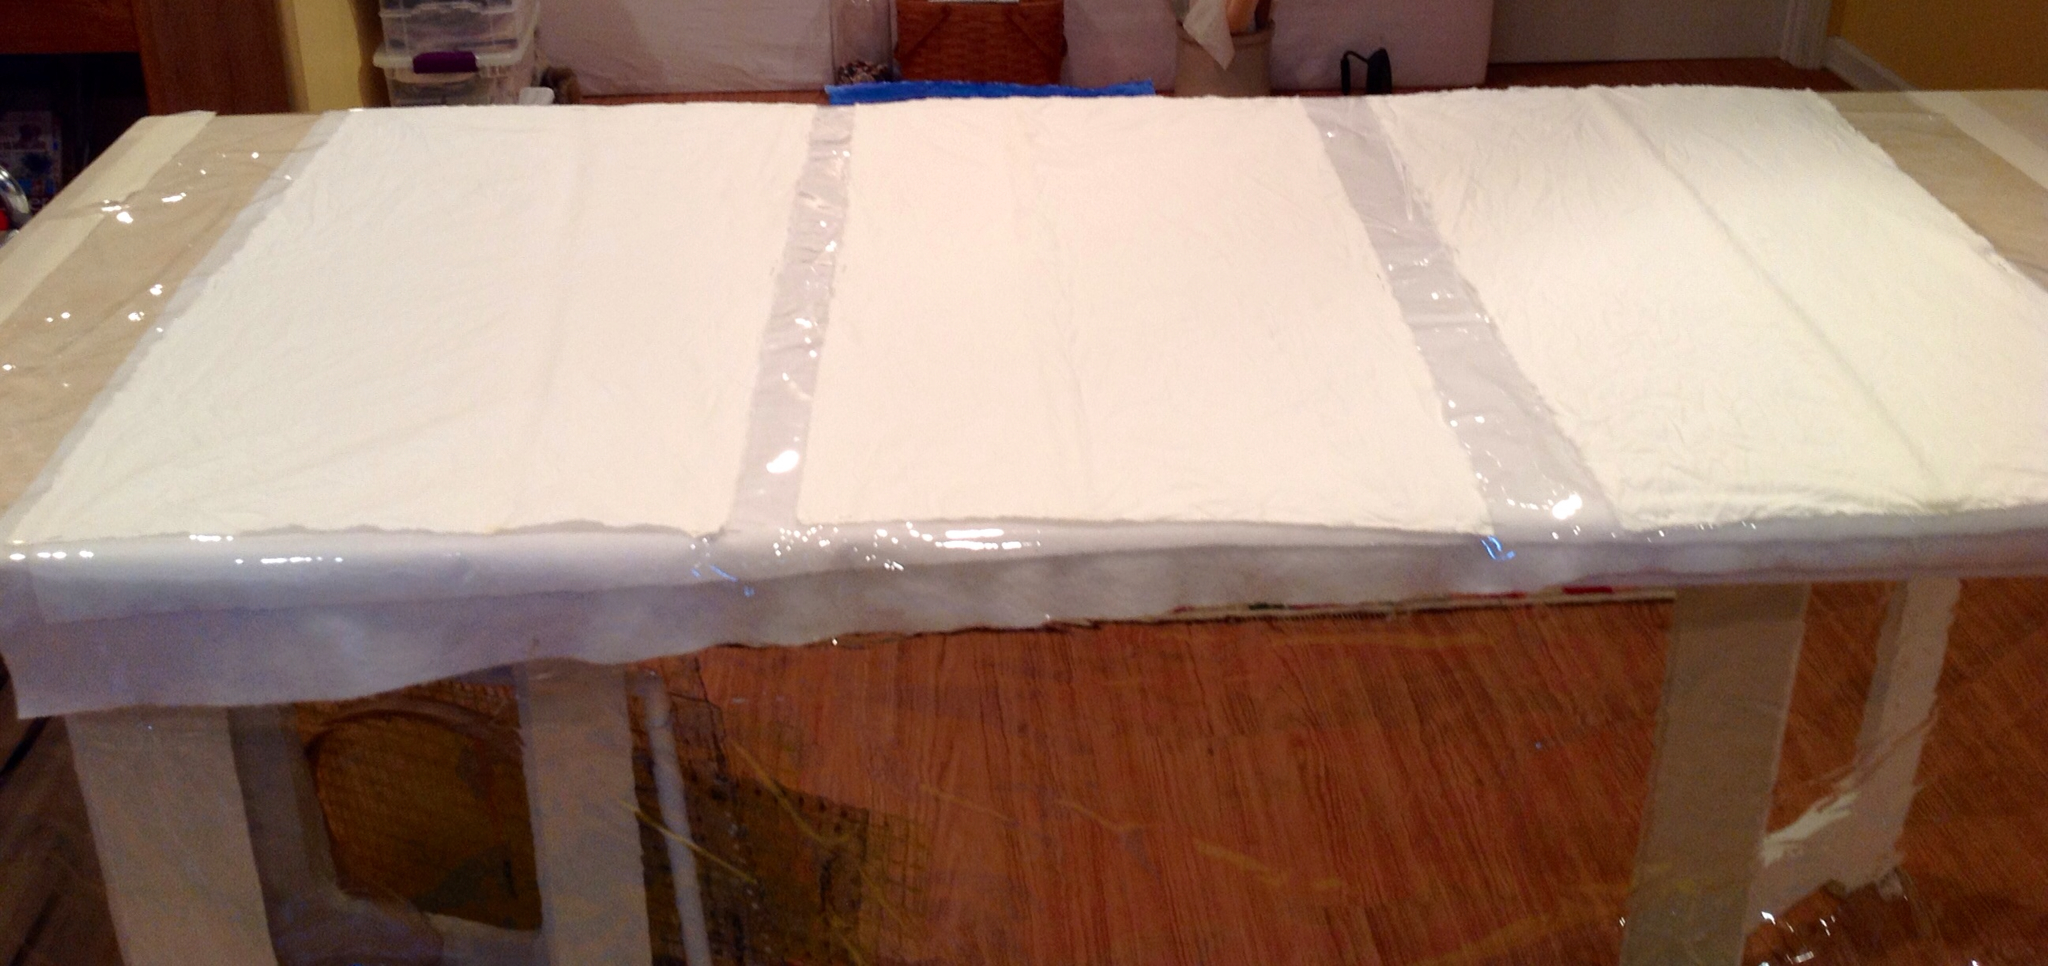
I let the fabric rest for awhile, then hung to air dry.  I had a craft show this weekend, so wasn't able to add the dye until Monday.  Below is the fabric back on the project board, ready to be dyed.

I wanted to see what kind of results I would get with both thickened and un-thickened dyes.

I happened to have both already mixed in Aqua Marine and Bright Green, so I decided to use them for my experiment.  The un-thickened dyes are on the left, the thickened are on the right.  The color difference is due to the fact that I mix my thickened dyes darker than my regular dyes.  I used a foam brush to paint on the dyes in both cases.  Then I covered with a plastic bag and allowed to 'batch' for about 4 hours before I removed the fabric and hung to dry overnight.
This morning, I pre-soaked the fabric in warm water with synthrapol for about 20 minutes to dissolve the sugar resist, then washed in hot water and synthrapol.  Here are the pieces after they dried:
  I didn't know what to expect, and I'm very pleased with the outcome!  There are areas where the resist was more complete, but even in the areas where the resist bled out, there is still a softer resist, which gives the pieces more depth and visual interest in my opinion.  I would definitely use this method again, especially now that I have a better idea of how it resists the dyes!

Sunday, August 19, 2012

Sugar syrup and thickened procion dye


OK, my turn, sugar syrup.... had to make it myself as I could not think of any apropriate alternative, for sale in the supermarket in the Netherlands. So, one part of sugar, one part of water, simmering for 20 minutes on the fire. Put it in the refrigerator for a night. Didn´t look very thick, actually quite ´runny´ but nevertheless, I started this experiment and wanted to finish it!

So I poured it very carefully on the (PFD, not sodasoaked) fabric which actually looked OK:


Until the morning after ;-):

But I kept the good spirit and went on with the experiment. I decided to use some old thickened Procion MX dye, and added a teaspoon of soda-ash to the dye to fix the dye while batching:


Used a big brush to paint the fabric with it:


Added some turquoise as well:

Looked a bit dry to me, and as we have a ´tropical temperature´ in the Netherlands at the moment, I decided to moisturize is with waterspray, just a little bit, and covered it with plastic to leave it for a couple of hours:


After rinsing and ironing, the surprise was there, a darker coloured halo around every sugar-resist-spot...

And a sort of sugar crystles in those ´whitish´ areas:


I am very happy with the final result. Nevertheless, in the mean time, following Judith´s advice, I also found the pancake syrup in the cupboard, some lemonade syrup and after another night in the fridge, the sugar syrup also looked a bit thicker, so, three new experiments - to be continued:

Saturday, August 18, 2012

The big sugar experiment

My second attempt at sugar syrup resist dyeing was boring and another failure in my opinion.

Rather than give up, I decided to go big.  First I re-read the directions.  Perhaps my big problem is that I am not adding the soda ash solution till late.  So, I will soak and dry my material first.  Second, maybe my sugar solution is too weak. I debated making another sugar syrup but thought, gee, I have lots of forms of sugar syrups around the house so why re-invent the wheel??  So here goes the big sugar experiment.


First I took a yard of fabric and ripped it into 4 pieces.  I  labeled them for the type of syrup I will use-- sugar, corn syrup, pancake syrup, and molasses.  Then I soaked the 4 quarters in a soda ash solution and hung them to dry.  I wish it were a sunnier, drier day.  While I was waiting for the fabric to dry I mixed 3 dye colors-- basic blue, fire engine red, and fushia.

Here is the whisk that I used to make the prints.   I found it in an antique shop while on vacation.  I love hunting through antique shops for odd print tools. 


And here are the 4 types of syrups printed on the fabric.


Pancake Syrup

Sugar Syrup

Molasses

Corn Syrup

And here the 4 pieces washed, dried, and ironed.
Pancake Syrup

Sugar Syrup

Molasses

Corn Syrup

Lessons Learned 
  1. Using previously soda ash soaked fabric is important to get the benefit of the "first strike" of the dye.
  2. Any heavy sugar syrup will act as a resist and the dark color of molasses or dark corn syrup does not stain the fabric.
  3. The pancake syrup fabric looks different because I moved it and rolled it to batch. The other three pieces I left in place to batch.  They have a much more distinct pattern to them.  One is not necessarily better than the other but it will be good to remember that I can get the two different results.
Finally, results I can be satisfied with and a technique I could use again!!  Yeah!


Tuesday, August 14, 2012

Trying Sugar Syrup Resist--Quilter Beth

To get started with the sugar resist, I first covered my cutting table with a doubled layer of Eco-Felt to give it a little cushion and covered that with a big sheet of plastic. To that, I pinned three pieces of soda-ash-soaked fabric.

Next I made my sugar syrup according to Lisa's directions. While that was cooling, I mixed my dyes--Golden Yellow, Pumpkin Spice, Mixing Red, Terra Cotta, Basic Blue.

Then I played...

Piece 1--I brushed the syrup onto the fabric with a paint brush and a plastic barbecue brush to manipulate the syrup before placing the dyes on the piece with an eye dropper.

Syrup...
Wet (I used the blue, red, and yellow dyes on this one.)...
Rinsed, washed, ironed...
Piece 2--I spooned the syrup onto the fabric and pulled a hard plastic notched Tupperware barbecue grill cleaning tool through the syrup to make designs. I also dripped some syrup onto the fabric with the eye dropper. Then I used the eye dropper to drip the dyes onto the fabric.
Syrup...
Wet (I used the yellow, terra cotta, pumpkin spice, and red.)...
Rinsed, washed, ironed...
Piece 3--I put the syrup resist onto the fabric with a syrup soaked sponge, and I dripped some syrup onto the fabric with an eye dropper. Again, I used the eye dropper to apply the dyes.

Syrup...
Wet (I used the yellow, terra cotta, pumpkin spice, and red.)...
Rinsed, washed, ironed...
I have one more piece, but it isn't finished yet. I'll post it later. Once I finally got around to doing this, I really enjoyed it. I love the weird shapes that "magically" appear. I'm not so happy with my colors--my red (mixing red) is too fuschia, and I thought I'd get more green in the first piece when my blue hit the yellow. I'm signed up for a color class with Jane Dunnewold this fall. Maybe I'll make better choices after that. I'm going to try over dyeing some of the pieces and see what happens.

Sunday, August 12, 2012

Third Time's a Charm


 It took me three tries to get this right, but I really like the results.  The first time, the syrup was too thin and I schmeared it all over the fabric and got really light, non- resisted stuff.  Unlike Judith, I didn't save them to show -- I immediately over-dyed them and now I love them.

The second time, I boiled it too long or too hot and got some delicious caramel.  Great for eating -- not so great for this project.

 The third time it was just right -- I set a timer and didn't leave the kitchen to do other things while it was simmering.  The top two photos show the sugar syrup drizzled over the fabric and the third is the result after everything was washed out.


This shows the sugar syrup before I applied all the dye.


This is the syrup and dye before batching and rinsing.


This is a close up of the syrup mixing with the dyes.  I love the way the syrup and the dye run together.

And the finished piece.  I found that fat quarters worked well for this.  I took a piece of heavy plastic -- the stuff I use for covering my tables for my projects -- that was only a little wider than the fabric.  I rolled up the fabric as I finished and then let the fabric/plastic sausage batch overnight in a bucket outside.  The nest morning I just filled the bucket with water, removed the plastic, and let the syrup and excess dye run off.  No -- I didn't have any problems with ants.


 This one was done with drops of syrup and dye from pipettes.


I like the backside of all of these best -- you can see the patterning from the dyes running together with the resist.

I like this -- it's easy and there's no waiting for stuff to dry before dyeing.  The results are quite different from the flour resists I'm so fond of.  I did some resist/dye-painting recently that is here on my own blog.   Very different....

Thursday, August 9, 2012

Flour paste resist

I'm trying to avoid sugar so I did a flour paste resist! It came out better than expected or at least better than I expected it would.

                              I was thinking dandelion and I ended up with fireworks. Nice, no?


                                                          Or are those pine cone tassels?

                                             I think the colors are "coloring" my judgement.

Wednesday, August 8, 2012

Welcome Judy Sall to the Fire Blog

We have a new Resident Artist!  Woot!!  Please welcome Judy Sall to the And Then We Set It On Fire blog.  When I first started experimenting with surface design techniques a few years ago, Judy's blog was one that I faithfully followed.  I am so excited that she has agreed to bring her expertise and her continuing experimentation to our blog!  Please welcome her and check out her personal blog at TieDieJudy.

Tuesday, August 7, 2012

The Resist Fabric Sample Set Winner Is ... Beth M

Congratulations!  I used a random number generator online, which picked the number 9.  The ninth person to leave a comment (not counting me) was Beth M.  Beth, please contact me with your mailing address.

Thanks so much for all of your comments. I've set up a flickr group for posting photos of resist-dyed cloth.  If you'd like to post yours, email me and I'll send you the link.

Monday, August 6, 2012

A great technique does not guarantee great results

I almost did not post my results from my sugar resist experiment.  It is not that the technique did not work.  I just made bad choices and the results ... well, you'll see.  It was like I forgot every dyeing lesson I ever learned!  LOL

I started out with a really lovely ice dyed fabric.  Here you see it pinned to my wonderful padded print surface that Beth helped me make. I have been thinking about stamping a pattern in a resist on one of my ice dyes and then overdyeing it in black.  So that was my plan to try with the sugar resist on this piece.

Here are the stamps I used.  I bought them on my summer vacation at a craft fair in Berea, Kentucky.
 

I then cooked my sugar resist from white sugar and water, let it cool, and stamped the fabric with the resist.  It was a big more blobby that I wanted but still doable.

Next I immediately stamped the fabric with some leftover fuchsia dye paste I had in the fridge.

 I forgot to take a picture of the next step but I dropped black dye onto the fabric in droplets that did not completely cover the fabric with the dye so you can see the drops.  Since that black dye was also leftover dye from the fridge, at this point there was no soda ash in the process.  To add the soda ash, I sprayed the fabric with the solution.  I expected a lot of bleeding of the black dye but got very little.  I then let it batch, rinsed, washed, dried, ironed, and got this results. Yuck.

And a couple of detail shots where I tried to avoid the too bright fuchsia dragonflies. Without the dragonflies, the fabric is ...uh...interesting.


This is definitely a piece that will go back into the recycle pile but I learned some lessons. 

1.  Yep, Lisa did warn us that the wet on wet technique gave soft edges.  The sugar resist did work but it has very soft edges that would look great in something other than blobby dragonflies. Assessment--I shoulda known better.

2. Dragonfly stamps are better used with a resist with more thickness that will give more detail and harder edges.  See assessment above.

3.  Droplets really do not do a good job of defining shapes.  I needed an all over color to do that. See assessment #1.

4. Try again but try not to forget all my years of hard learned lessons.  LOL