A TECHNIQUE DRIVEN Blog dedicated to mastery of surface design techniques. First we dye, overdye, paint, stitch, resist, tie, fold, silk screen, stamp, thermofax, batik, bejewel, stretch, shrink, sprinkle, Smooch, fuse, slice, dice, AND then we set it on fire using a variety of heat tools.

Showing posts with label soywax batik. Show all posts

Tuesday, April 8, 2014

A Second Finish

Hi, Judith here again.  Here is a second yard of fabric that I started in February and finished this month.  Again, it is a linen-cotton blend and takes the less strongly than a plain cotton would. Sorry the first picture is blurry.

To tell you the truth, I can't remember for sure how I did this first layer.  I thought that it was another flat dye with orange on one end and turquoise on the other end.  The color is moved into the middle with your hands--same as the first technique yesterday but with two colors rather than just one.  But the more I look at it and the mottling on it, the more I think it is a parfait dye.  What do you think?

I really like it but it is not complex enough to stand alone so on to a second layer.

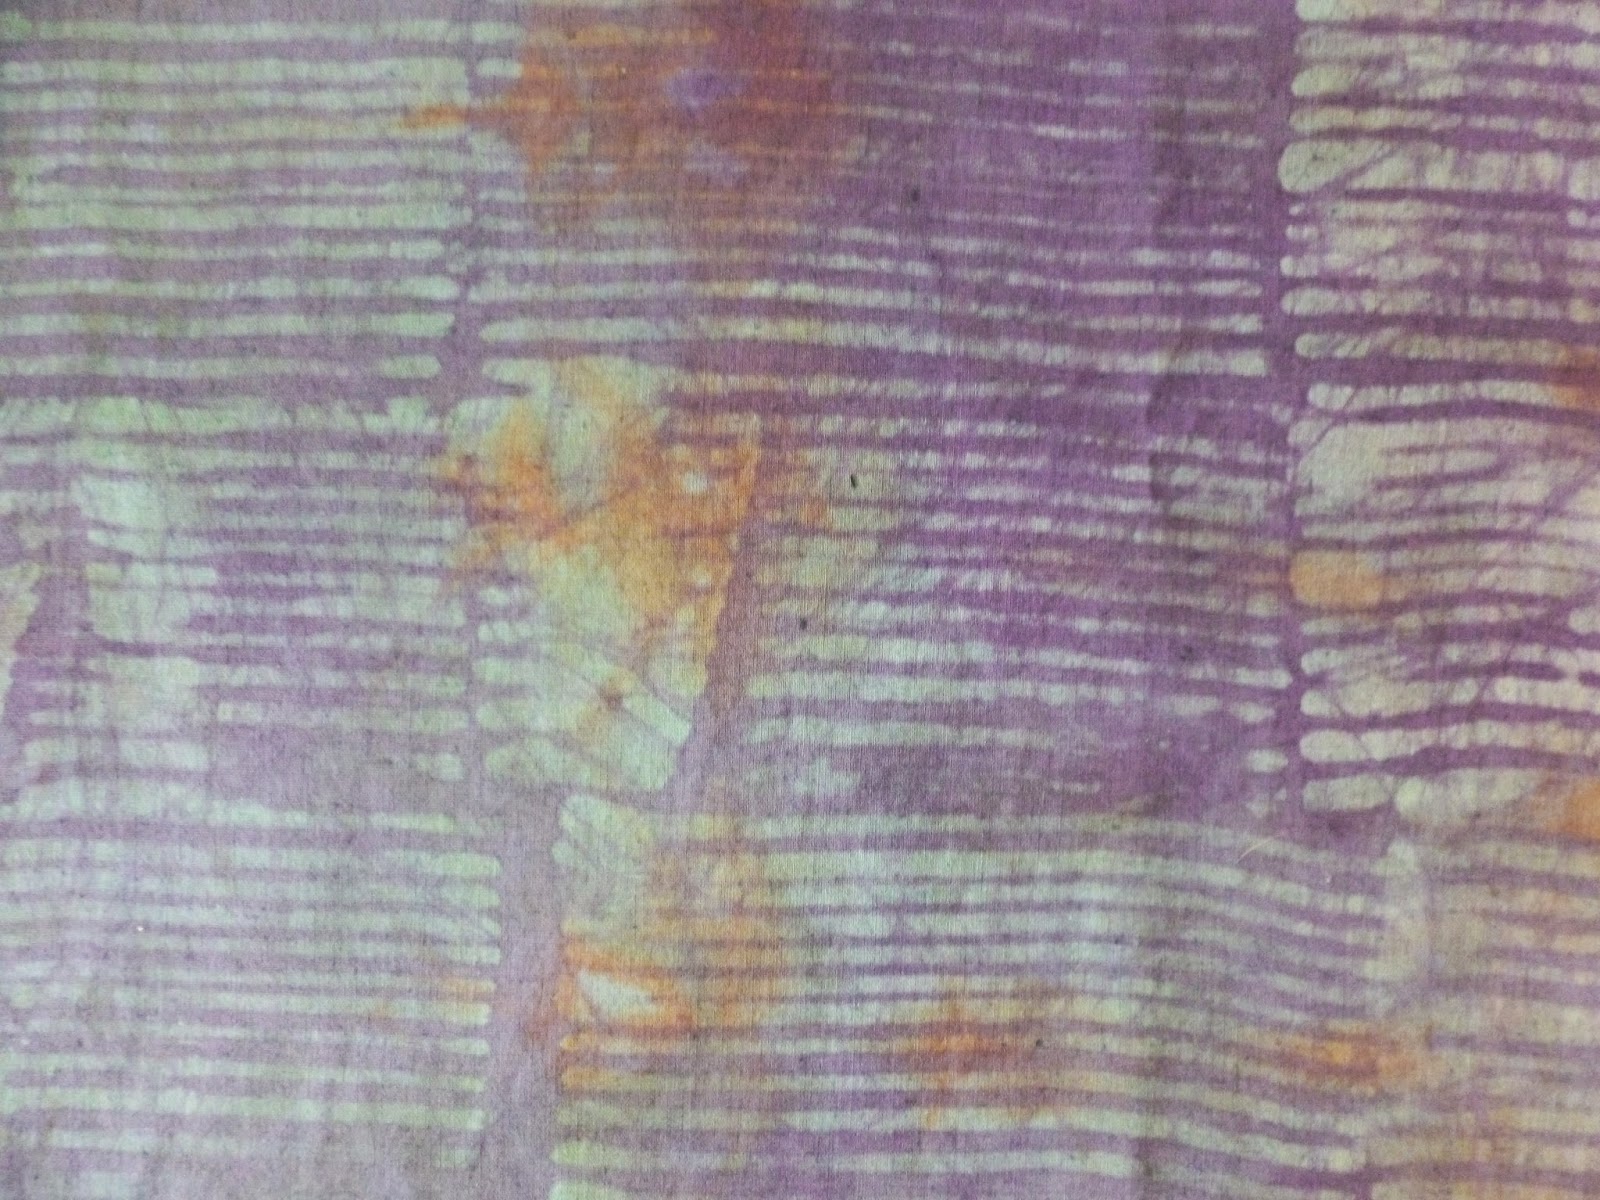
I used a notched foam brush to paint rows of soy wax.  Here it is half done.

Once completely waxed, I low-water immersion dyed the yard with dark navy and a splash of boysenberry.  I really love the finished fabric.  Here are a couple of detail shots.


Monday, April 7, 2014

One Step Past Ann Johnston

Hi!  Judith here.  With my broken hand in February I wasn't able to post all the experiments that I did using Ann Johnston's techniques.  I am glad that I now have 3 days to show off some of the experiments and the next steps I have taken with some of the pieces.

This is a yard long piece of linen-cotton blend. It does not take the colors strongly so the color is more muted than it would have been on cotton. 


This is Ann's flat dyed ombre technique.  First, lay the fabric flat on a surface that you can dye on.  The fabric needs to already be wet with soda ash water.  Pour the dye mixture, in this case grape, on one corner or section of your fabric.  From there you just keep diluting the dye with soda ash water and move the liquid down the rest of the fabric using your hands.   Batch, rinse, wash, dry, of course.  As you see it leaves a very nice graduated color.  It is fine for cutting up to use in a quilt but a bit boring as a whole cloth piece.

I wanted to get rid of the bare white so I used the same method as before but this time I used a pale yellow.  I started in the opposite corner than I did with the grape dye.  Better but still boring.

 I decided to batik the fabric.  I used a lotus pod for the stamp and used red dye with a splash of fushia.  Wow, what a difference!  Two detail photos below.  The colors are accurate--just from different ends of the material.


The fabric is not finished. The middle is a bit too muddy to use as a whole cloth quilt.  I won't dye it again.  I think that would make it far too muddy.  Next step will be stamping.  But for now, I will let it
sit for a while till I have a better idea of where I want to go with it.


Wednesday, February 23, 2011

Finally...a Little Time to Work on My Soy Wax Batik

I have been busy working on a wall quilt that has to be finished and photographed before March 9th. It is to a point now that I think I can actually get it finished, so I decided tonight was the night to work on some of my soy wax batik pieces. I have several fabrics waxed but haven't had time to dye or paint them. I only had time to do a couple of pieces tonight.

I really don't have anything new to add to what everyone else has said about working with soy wax. I thought it was pretty easy. The only thing I might mention is that I used a sponge to put some wax on the fabric. It soaked up a "ton" of wax, and it also put a lot of wax down onto the fabric. Maybe I should have squeezed it out a bit more before putting it on my fabric? I can tell you that the sponge is REALLY stiff with dried wax right now!

Here are the before and after pics of the couple of fabrics I got to do tonight.

This first fabric was a commercial piece of fabric with a pattern. I just put wax circles on it.
This is the same fabric with a chocolate brown paint added. I used quite a bit of extender with the paint to make it more transparent. I like the pattern within the circles left from the commercial fabric. 
This was a piece of that ugly orange fabric that I worked with last month. I used the shibori technique on it and just didn't like it at all. This is the piece with the wax applied. I didn't really uses a pattern when applying the wax (as you can easily see).
 Oooooo, I like it much better with the blue added.
I did crackle the wax a bit before adding the paint.

I have several other pieces that are ready for paint or dye. I really want to dye and over dye some of those pieces. I just didn't have time to do that this month.

Hopefully, I'll have a little more time next month to play with the inks I have ordered (although I have trips to New York and Chicago planned). I'm trying to find some clear aloe vera gel to use with the inks, but I had no luck with that today. I can only find blue or green gel. Anyone have any idea where to find the clear gel? I looked at Walmart, Walgreens, CVS, Dollar General, Dollar Store, my local grocery store, and Big Lots.

Sunday, February 6, 2011

My attempts at the Kemshall Technique

Yep, FIVE had fun on Saturday.  Here are my two attempts at the Kemshall Technique for soy wax batik.

 This first attempt is two sides of the same fabric--brown on one side and blue on the other. As you can see there is some bleed through.  One thing we learned on Saturday is that the thickness of the dye paste does make a difference. The thinner the paste, the more bleed through you will get.  Not that that is necessarily bad.  You just have to make a decision about the effect you want.


This second piece is raspberry on one side and brown on the other. Here I got even more bleed through because the dye paste was quite thin.  The second thing I learned here is to let the dye paste sit for a few minutes after adding the dye powder.  Red is difficult anyway but here  you can really see the little red dots from the dye.  Perhaps a little more time given it to dissolve might have helped.

At any rate, if you keep a jar of clear dye paste sitting around waiting to be used, this technique is very quick and easy!