A TECHNIQUE DRIVEN Blog dedicated to mastery of surface design techniques. First we dye, overdye, paint, stitch, resist, tie, fold, silk screen, stamp, thermofax, batik, bejewel, stretch, shrink, sprinkle, Smooch, fuse, slice, dice, AND then we set it on fire using a variety of heat tools.

Showing posts with label thickened dyes. Show all posts

Friday, July 1, 2016

A boring quilt top re-imagined

Hi everyone, I'm Laura McGrath, and I was one of the original artists on this blog way back in 2010. I'm doing a few posts this month, on a few random topics that are totally unrelated. I'm one of those surface design people who likes to try everything, but it doesn't always work out the way I'd hoped (or planned)...

Here is my first topic--This quilt top was one I sewed together many years ago, and has been in my UFO pile forever. It's about twin bed size, and just very "blah".


I decided to spice it up a bit, so I got out this Cleanline Resist that I bought a while ago and never used, and painted some of the resist on some new screen printing screens I had made up. 


This product is about the consistency of acrylic paint, yet is water soluble, so it will eventually come off the screens.


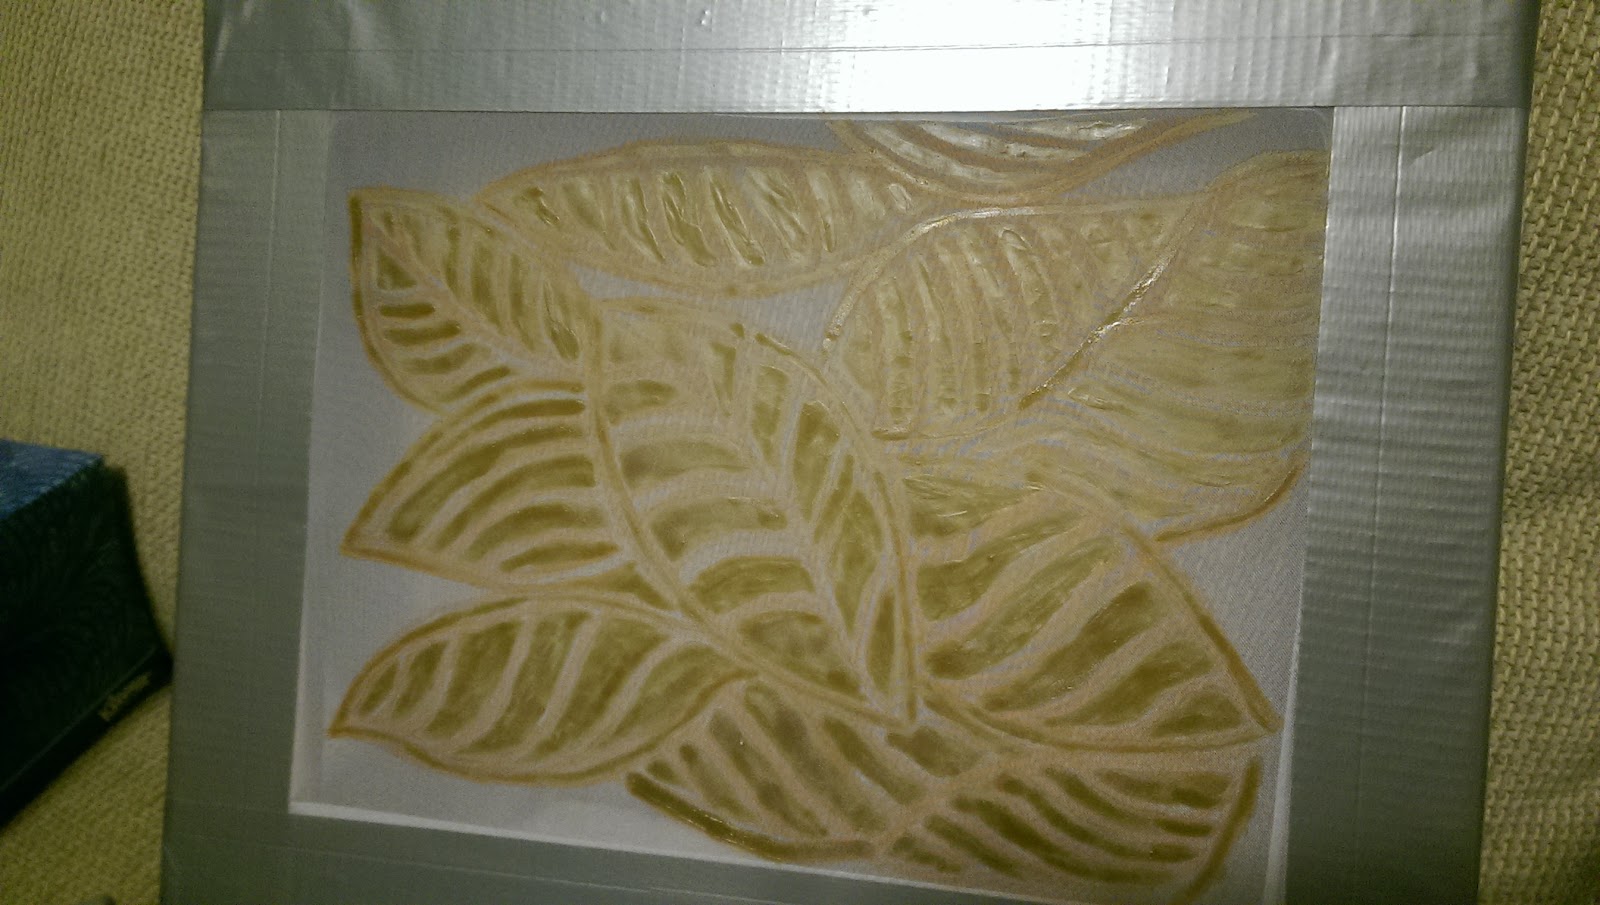


I mixed up some Procion dyes and sodium alginate thickener to pull through the screens.

I like how the original patterns of the fabric still shows through.
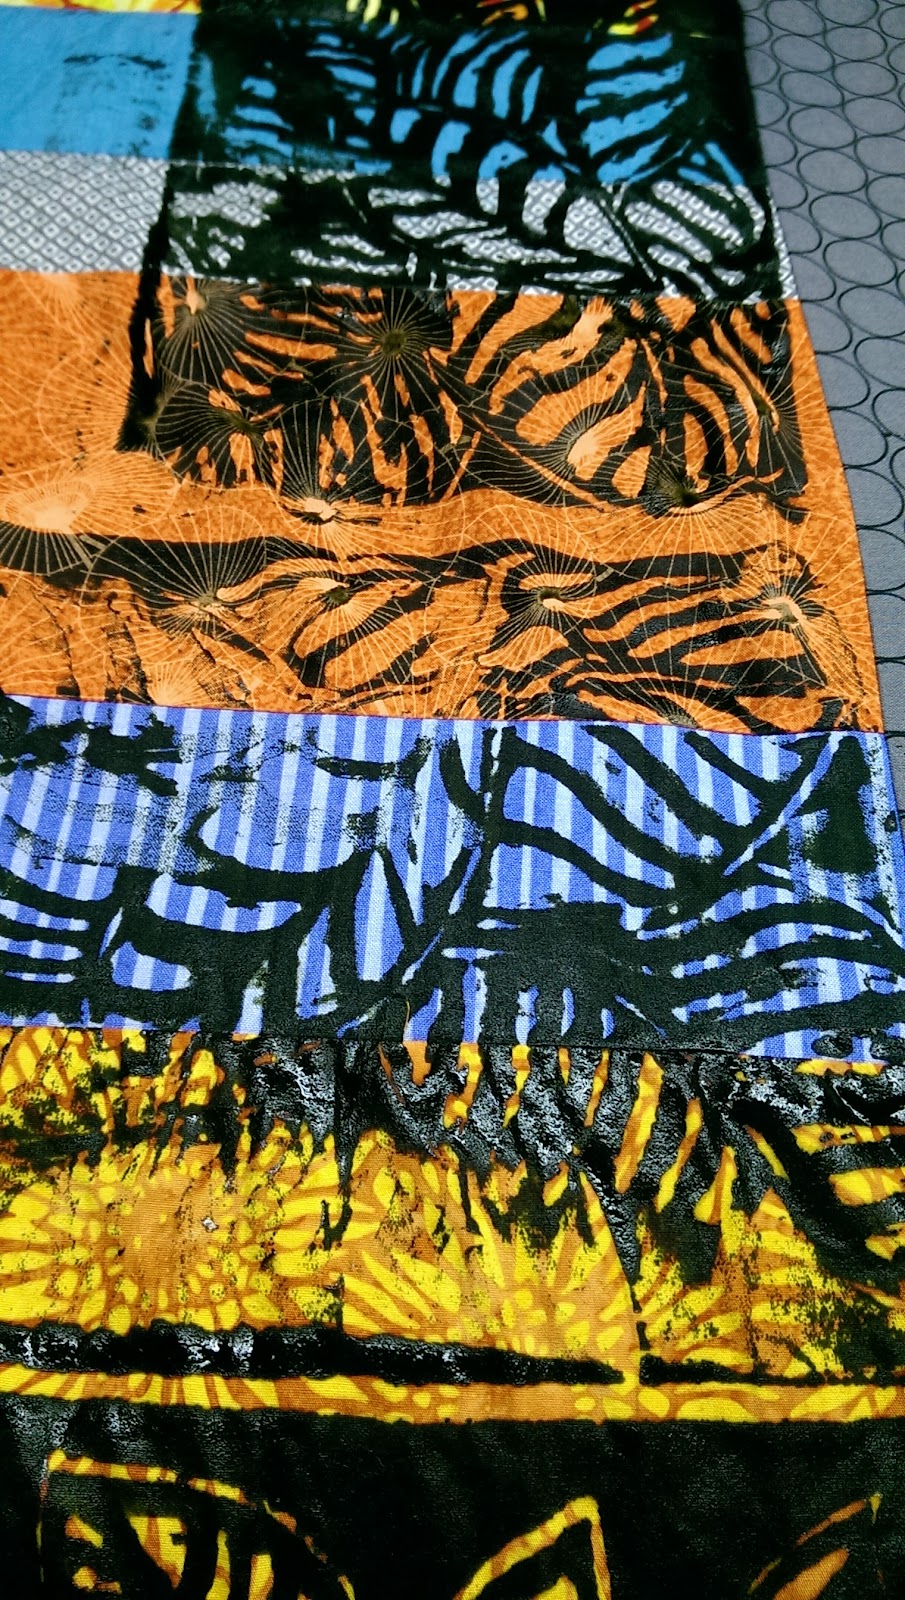

The screens were good for about 6-7 pulls each before the design disintegrated

I think I used Mixing Blue, Sage, and Bronze dye colors, but I didn't write them down so I'm not 100% sure of that.


I had to pull out a few of my other screens to finish since the quilt top was so big!


So here it is after washing, it looks a little different now, doesn't it?


I liked it, but wanted to do more.  Since I had no emotional attachment to this piece (meaning I don't care if I really mess it up) I decided to do some more. Stay tuned!


Friday, May 1, 2015

with a little help

I get by with a little help from my friends ...

Hi, Diane here, with an intro to the month of May - Deconstructed Screen Printing.  Some friends will be contributing their work and posting with me.  Every year in the spring, I get together with artsy friends in the Hill Country of Texas for Art Camp.  We used to plan a single workshop and hire an instructor but for the last dozen years or so, we've just each done our own thing!  This year I'm leading them astray with mono-printing on gelatin plates. Another time, I introduced them to dyeing with mud or earth pigments.  One year I decided to demonstrate deconstructed screen printing and one of the campers has been actively printing since then. Nancy will be showing her work here this month

Then at a regional weaving conference, I taught a seminar on printing with dye on handwoven cloth.  I'm still walking down that pathway - I have a lot of handwoven cloth! 
This one has a border woven into the bottom and several layers printed from two different screens.  I plan to do some embroidery on it next.  Who knows when it will be "complete."

Lately, I've been taking part in a Surface Design sample swap online.  We have an international membership and it has been fun to get 12 inch square of fabric in the mail each month.  Some of the techniques have been new and some are old favorites reinterpreted.  That's how I met Luann who has prepared a week of posts this month from her perspective.

 So, while I am working away writing blog posts for you, picture me here, relaxing in the country away from the hustle and bustle of the maddening crowds - but with an excellent wi-fi connection.


Seeing these two photos together - maybe I should title my piece "Bluebonnet Meadow"...

Diane - yarngoddess

Monday, September 17, 2012

Nasturtiums - after laundering

After laundering, I would say there was very little fading, which is good.  I think I will try to use a larger brush for any future pieces for the shading... the areas around the leaves and flowers look sloppy to me next to the areas where I used the larger brush to extend the background colors.  And I'm not sure I will do any more to this, although it would be a good candidate for doing some free motion stitching to add details.  All in all, this is a good technique and I'm glad I gave it a try,  I can't wait to see what the rest of you do painting with thickened dyes!

Sunday, September 16, 2012

My dye painting experiment

I have used thickened dyes in various ways for the past few years, but I think this is the first time I have tried using them for a realistic rendering.  Years ago, I painted with acrylics and enjoyed the process, but I haven't done any painting for over 25 years, so this was something I wanted to try.  For a subject, I chose a photo I took of a Nasturtium plant that grows in a pot on my deck:

First I did a line drawing of the flowers. 
Then I mixed my colors: Deep Orange, Golden Yellow, Light Lemon Yellow, Bright Green to start.  Later I added Robin's Egg Blue, Bronze, Moss Green.

I began by painting the veins in the leaves with light lemon yellow, then used deep orange and a little golden yellow for the flowers.
Next, I painted the leaves using bright green with some thickener to give me lighter shades, and some moss green for the darker shades.
I let the piece rest overnight, covered with plastic.  Then I used robin's egg blue in 2 shades to try and create shadows in the background.  Big mistake!  No way to paint it out, so I deal with it later.  Meanwhile, I used Moss green and bronze to paint the background around the leaves and flowers.
Up until now, I was using a number 2 Bright paint brush, which gave me a good crisp line, and it was a good size for the details.  At this point, I began to use a number 12 Bristle Flat brush to extend the background.  While I was at it, I painted over the blue stripes... the best I could do to camouflage the stripes.  Note to self:  be very sure of what you want to do with dyes!  If I were painting with acrylics, I would simply paint over them and no one would be the wiser!
I'm sure there is more I could do to this piece such as adding details with a fine point brush, but I think I am going to stop here and digest what I have learned.  One thing I noticed was that I had varying thicknesses of dye, partly due to using other recipes than the one Kathy used.  But I found that mixing a thinner batch into some that were thicker than I wanted helped to make them easier to use.  Now my only concern is how well this piece will handle being washed after a thorough batch.  I'll post an update after it's washed out, so stay tuned...


Tuesday, August 28, 2012

My take on Sugar resist Dyeing

I finally had some time last week to give sugar resist a try, and I'm not disappointed in the results!  When I first made the sugar recipe, I thought it seemed pretty runny compared to other resists I have used.  I left it in the fridge for several days, and finally pulled it out on Friday to apply to two pieces of muslin I had pre-soaked in soda ash and air dried.  I stretched the fabric over a padded, plastic covered project board, pinned in place with t-pins.  Then I poured the sugar mixture into a squeeze bottle and applied to each piece of fabric.
I let the fabric rest for awhile, then hung to air dry.  I had a craft show this weekend, so wasn't able to add the dye until Monday.  Below is the fabric back on the project board, ready to be dyed.

I wanted to see what kind of results I would get with both thickened and un-thickened dyes.

I happened to have both already mixed in Aqua Marine and Bright Green, so I decided to use them for my experiment.  The un-thickened dyes are on the left, the thickened are on the right.  The color difference is due to the fact that I mix my thickened dyes darker than my regular dyes.  I used a foam brush to paint on the dyes in both cases.  Then I covered with a plastic bag and allowed to 'batch' for about 4 hours before I removed the fabric and hung to dry overnight.
This morning, I pre-soaked the fabric in warm water with synthrapol for about 20 minutes to dissolve the sugar resist, then washed in hot water and synthrapol.  Here are the pieces after they dried:
  I didn't know what to expect, and I'm very pleased with the outcome!  There are areas where the resist was more complete, but even in the areas where the resist bled out, there is still a softer resist, which gives the pieces more depth and visual interest in my opinion.  I would definitely use this method again, especially now that I have a better idea of how it resists the dyes!

Saturday, April 14, 2012

Printing on Plastic


 I secured this big piece of plastic -- I think it's a tile for a dropped ceiling -- and used it for my next series of monoprinting experiments.  I was hoping to find a way to create marble-like images without the fuss and bother of a traditional size and using thickened dyes instead of paint.


So I didn't scratch my brand-new piece of plastic, I got the plastic combs from my marbling supplies for combing through the dyes.


But as soon as I laid the fabric down, the intricate fine lines were smashed and lost.  So I found that if I laid down a layer of plain thickener and then dropped on the thickened dyes and combed through, there was more of that lovely patterning.


 I didn't use any resists other than the base layer of thickener and, yes, there are some dogs here.


 I had a lot of fun smooshing the dye around on the plastic -- I found that if I didn't clean the plastic of the dyes from the previous print, they would mix with the plain thickener and provide a bit of color in the background.


So none of these are really white (although they look that way to me in the photos).  And as long as I stayed away from combining colors that would create mud, it was a pretty successful venture; although I was not really able to create fine marbled patterns because the dyes don't spread like paint on size.  Oh -- and it's good to wear gloves to do this.

Sunday, April 1, 2012

April: Fooling Around With Monoprinting

I have always wanted to try monoprinting on gelatin.  But the surface seemed so small and, while I do use paints and acrylic inks, I really wanted to try it with thickened dyes.  So last month, in preparation for this month, I started playing around with various thicknesses of thickeners to see what would work best for me.  I'm still playing (and I intend to play around with paints later this month), but these are my findings so far.

First, I needed a gelatin surface.  I rejected pie plates as too small and the sheet pan I wanted to buy from my local restaurant supply as too large (with the early spring, my "drive-in cooler" is way too warm to chill the gelatin) and settled on an old glass 8.5" by 13" dish.  This dish can no longer be used for brownies now that it has found its way into the dye studio, but I really don't need those calories (and in a pinch, I can always purchase ready-made brownies).

I did a little research and discovered that one tablespoon of powdered gelatin to one cup of water is about right for optimum wiggle vs. solid.  I filled the glass dish with water to determine the amount needed (8 cups) and poured a little less than half that of cold water into my studio mixing bowl (again, we don't want to mix up the studio stuff with the kitchen stuff).  I sprinkled in the 8 tablespoons of gelatin.  I mixed it with a whisk and let it soften while I boiled additional water.  I then added the boiling water to the 8 cup line and stirred it with the whisk.  While the gelatin cooled a bit, I sprayed the glass dish with Pam so that the gelatin would pop out easily.


 I poured the gelatin into the glass dish, covered it with plastic wrap and let it refrigerate overnight.  I didn't try to skim the bubbles or anything because I planned to use the other side for my prints.


The next morning it was set and and I inverted the dish on top of the plastic wrap so I could use the wrap to put it back into the dish when I was finished for the day.  I did find that sometimes I had to help it out of the dish with a plastic fork, but generally it popped out easily -- especially after it had been used once or twice.  When it started coming out of the dish in pieces, I just pushed them together and used it anyway, but replaced it soon after that.
Blobby dyes -- ok, but not what I was after
I tried various degrees of thickened dyes -- I have a lot of really thick dye thickener from last month's experiments -- but found that when I added liquid dye concentrate it was globby and made my prints blobby.  I kind of liked the effect, but I really wanted to use smooth dyes.  I found that mixing the thickener as for dye painting and then mixing the dye powder directly with the thickener worked best.

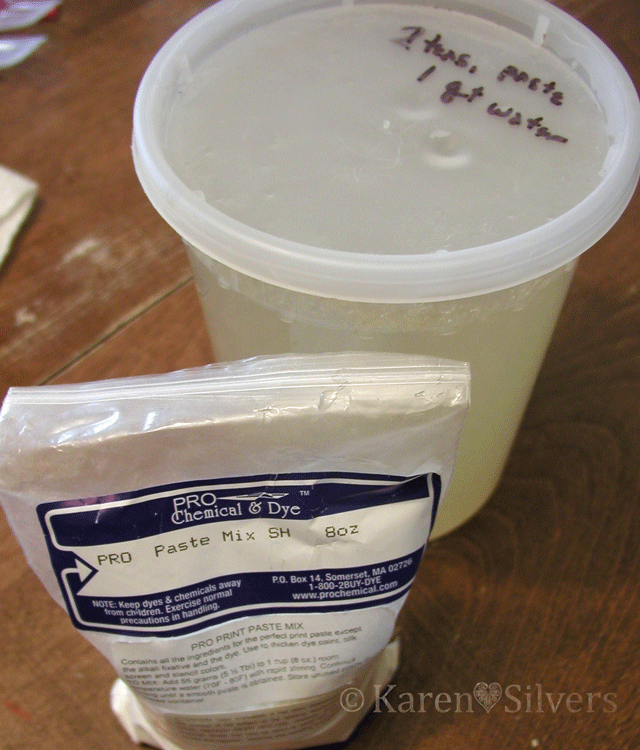
The measurements that I used were as follows: for one quart water, two teaspoons of thickener.  Then add to that mixture one tablespoon dye powder for each cup of thickener.

I don't have a blender that I can donate to my studio right now (it's still needed for those pestos and certain summer drinks) so I found that if I sprinkle the thickener powder into the water while whisking, I can get a mostly lump-free liquid.  Let it hang out in the fridge over night and it's perfect.  Just stir it up before measuring it out for the dye.

After it's been used a bit, the gelatin takes on some nice color, but if it's wiped off, the color doesn't seem to transfer to subsequent prints.


I put the thickened dye in a plastic tray (I use these a lot for paint palettes) and spread it on the gelatin with the hard rubber brayer.  It seemed to work the best, the spongy one absorbed the dye and didn't lay the dye down on the gelatin.
I arranged some "stuff" to act as a resist.  I discovered that flatter is better for "stuff" because I like crisp edges.  The plastic lid stuck up too high and I used a cutout circle of thin cardboard for later prints.

I laid a soda-soaked piece of fabric over and used the spongy brayer to smooth it down.  I need to get another hard rubber one because the spongy one absorbed dye and left it in places where I didn't really want it, although it worked well to smooth the fabric over the less-flat "stuff."   I soak my fabric in soda and spin the excess out in my washer -- I did use some pieces that were still damp and it didn't seem to matter much.


After peeling the print off, I removed the resist "stuff," put down another piece of fabric and got some lovely negative prints.   I laid the prints in a single layer on thin plastic garbage bags that I had cut open; then I folded them up and let them batch overnight.


Some of the negative prints were less interesting and I put them on a pile to "overprint" later.  Below are more "finished" prints.


This last one is my favorite.  The strings were pretty saturated with dye and left lovely "ghost" marks on this one.  Also, I moved the fabric around on the gelatin so that the dye covered the edges.

I plan to do more with this -- I'd like to experiment with warm colors.  Also, I want to play around with acrylic paints and inks.  But I'm really liking it so far...