A TECHNIQUE DRIVEN Blog dedicated to mastery of surface design techniques. First we dye, overdye, paint, stitch, resist, tie, fold, silk screen, stamp, thermofax, batik, bejewel, stretch, shrink, sprinkle, Smooch, fuse, slice, dice, AND then we set it on fire using a variety of heat tools.

Showing posts with label stamping. Show all posts

Friday, May 6, 2016

Peppers

Last post of this week requires another visit to the vegetable department. This time we need peppers, bell pepper and red chili pepper.


Slice the peppers and dab them dry. Place your fabric on your printing board and apply paint with a foam brush or brayer. Press the pepper on to the fabric.


Repeat this process till you are satisfied with the result. For this sample I used Lumiere halo pink gold, Jacquard textile orange and Neopaque gold yellow. As you see the shape of the sliced peppers is roughly the same, but the size varies. This creates a more interesting pattern.


Besides the vegetables I showed you this week, there are lots of other ones you can use as well. Think of potatoes, carrots, apples, star fruit.

Wednesday, May 4, 2016

Onion and celery

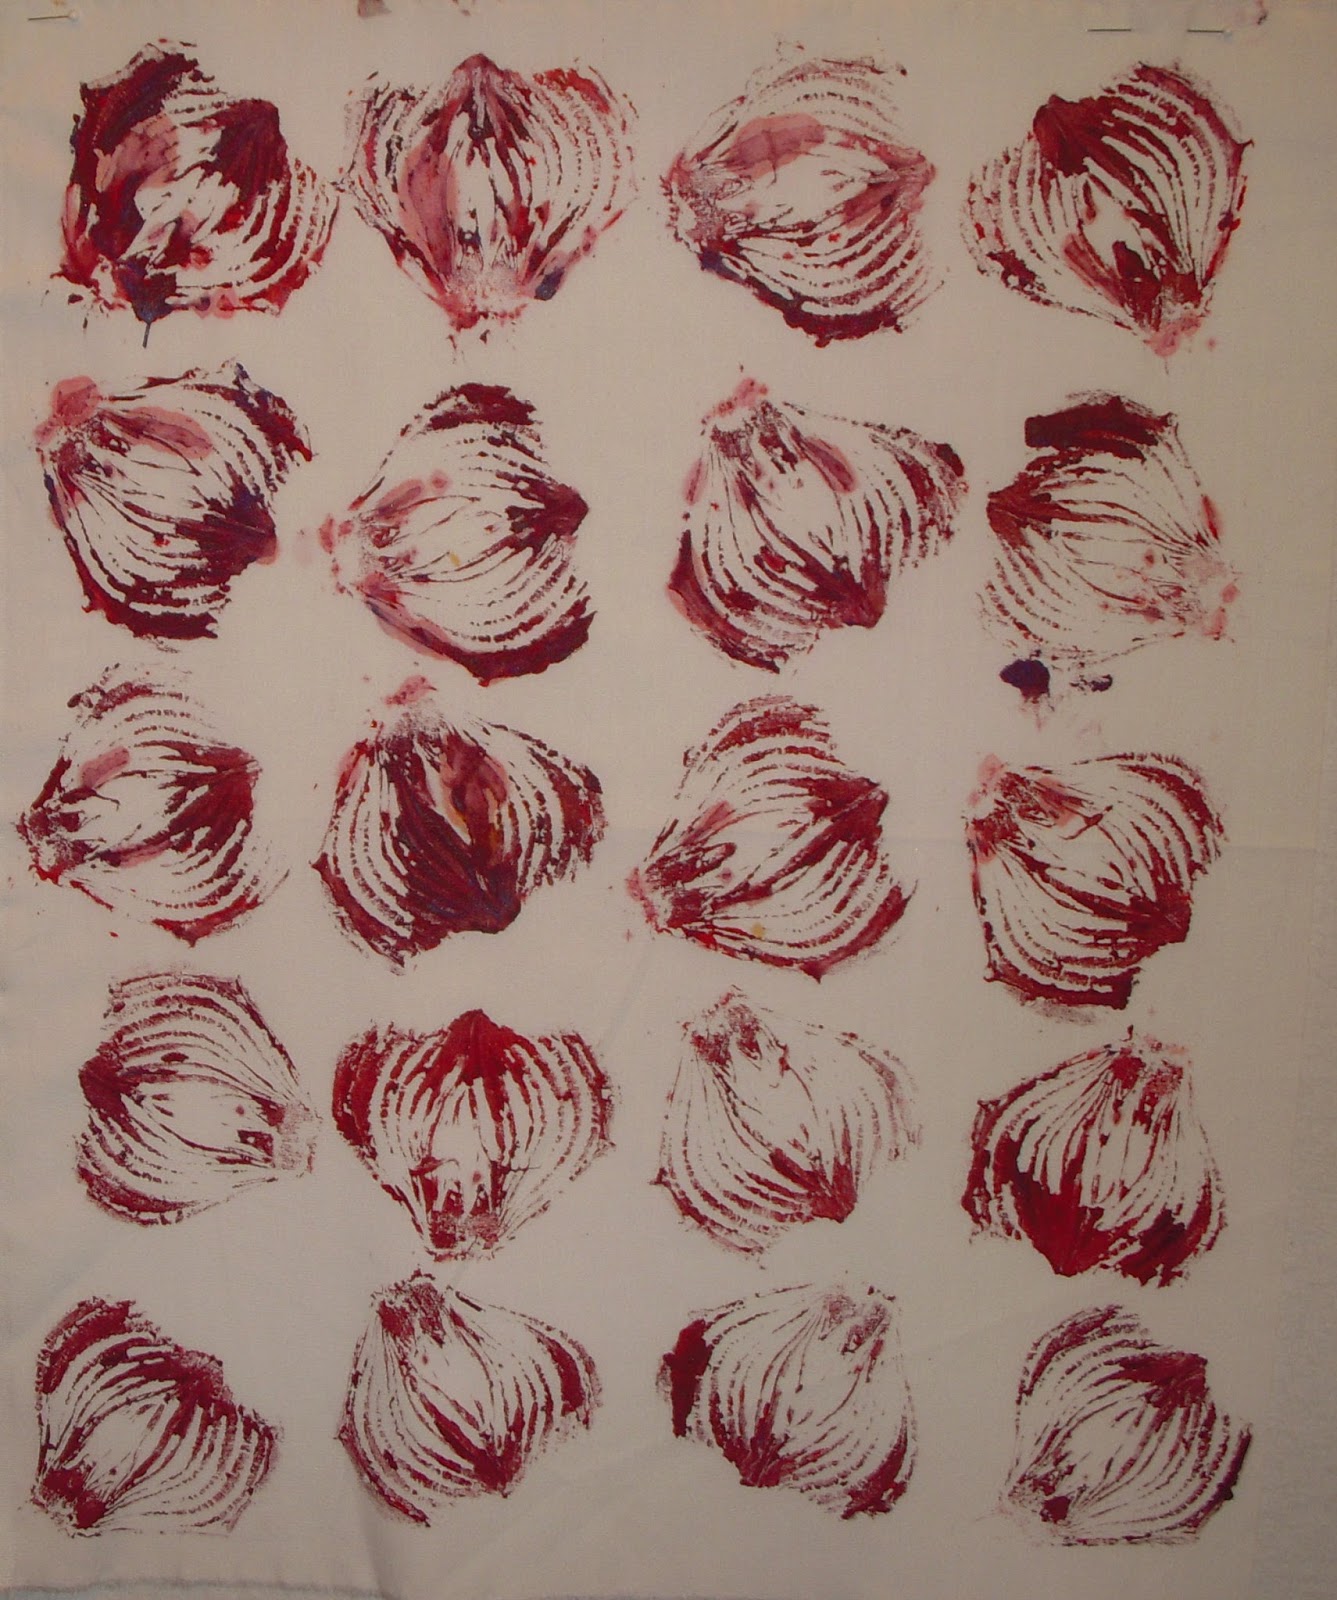
We stay at the vegetable department and this time we get an onion and celery. Let us play with the onion first. Slice it and let it dry for a couple of days. It does not matter which way you slice the onion, both ways give a nice effect. All the samples I am showing you this month, can be made on either fabric or paper.


Just like I described in the previous post I placed the fabric on my printing board. Applied the paint with a foam brush, but you can also use a brayer or a foam roller, and press the onion down on the fabric.
Here are two examples of how the prints turned out:


 In the quilt shown here, I had pieced the background before I printed with the onion.

Next item we will be using is celery. You can either stamp with the whole celery or just with a single stalk.


For this sample I started with a sunprint which needed a bit more and I used a single celery stalk and black paint:


And this is how it looks when you use the whole celery:


Don't they look like flowers?

Monday, May 2, 2016

Stamps and stamping - cabbage

Hi, I am Wil Opio Oguta and this month I will be talking about stamps and stamping. You can buy your stamps at the art/craft shop, but I think it is much more fun to make your own stamps. We will go shopping at the local supermarket, the hardware store, dollar store or just go through your trash :-).

Today we start at the vegetable department of the supermarket to buy a cabbage. It does not matter which type of cabbage.  Slice it and let it dry for 1-2 days. This way you get a better definition between the folded leaves of the cabbage.
I prefer to use different brand of paints, but this can be done with thickened dye as well. For this sample I used Pebeo Setacolors and a foam brush.


For printing surface I use a piece of styrofoam covered with felt. Both are white, so it is a bit difficult to see on this picture:


The fabric is placed on top of the felt and it is time to start stamping. With the foam brush I applied the paint: on the cabbage.

And placed the cabbage on the fabric:


First print is done:


After I covered the fabric with yellow cabbage prints, it was time to switch colors.


Let the fabric dry and iron it. You can leave it like that, but I decided to give it a colorwash by dyeing it.


Sunday, June 22, 2014

Let The Sun Shine!

YES....finally!! That bright shiny orb in the sky deigned to appear in my part of the upper midwest! And about time!! I was beginning to worry about growing moldy!

So I got to do some sunprinting! I did some "old school" stuff with SetAColor but I just HAD to try out this technique with regular paint! Had never done that before or even heard of it.  PLAY TIME!!

Here are the results I had with the SetAColor:

Cheesecloth (with some diamonds)

Serendipity Cheesecloth (NO idea where the blue came from!)

Washers and Concentric Circles


Lacey Tablecloth

Then I did several pieces with regular paint (in these cases mostly Lumiere paints)

Bubble Wrap Experiment (both sizes)

Bubble Wrap (lg) with Pleats

Saran Wrap Loose Scrunch

Saran Wrap Tight Scrunch

Grasses (recently pulled from beside the road)

This one is destined for a piece I'm going to be starting soon for a show. It is done on a piece of Dupioni silk I had sunprinted with SetAColor a couple of years ago. You can see the original look of the piece at the bottom left.

My friend visiting me also did sunprinting with regular paint (acrylics and Lumiere in this case). This is for a whole cloth piece to be entitled "Blue Moon".  Don't you just LOVE the serendipity of the paint seeping under the freezer paper circle for the moon!?! Looks like an ethereal cloud creeping across the moon.  The water was done by scrunching.


STAMPING - Now I know I'm a bit later with this entry but I have had some time to stamp as well.  Here are my pieces...

This piece was stamped with a bit cut out of the bottom of a veggie tray from the grocery store.

My effort at Shadow Printing. Used a computer bit for this one (one of my favorite stamps!)

And finally...my stamping with Ramen Noodles. This is for a piece entitled "Cat Among Pidgeons"

All in all a VERY fun and productive few days!  Thanks to the instructors for the inspiration!! I'll be doing more for sure.

Thursday, June 19, 2014

Sun Printing with SolarFast - Stamping & Shibori

Yep, there's still more you can do with SolarFast(SF)!  As with our previous posts on sun printing this  month, you can basically use SolarFast (SF) in much the same manner.


 I took some leaves and brushed on Black SF to the back of the leaves then placed them on top of my hand dyed (dry) fabric.  I used my brayer to 'stamp' the leaves.


I removed the leaves and set the entire piece of fabric out in the sun (on my foam board).
I also just painted SF in spots and then laid some metal washes on top of the fabric.  
I did not try just painting the fabric and then laying leaves on top as Lynda showed in her post(s) this month for sun printing.  I would think you  need to lay glass on the leaves or make sure the leaves were really flush with the fabric.  That's pretty much the same technique for any sun prints.   As you can see the metal washes showed up nicely but they are heavier than leaves and didn't blow away.  

Same as before, make sure you bring your piece inside once you've removed your objects.  

Now on to one of my favorite dyeing techniques!  Shibori!! SF worked great on this technique and no mess or presoaking fabrics!!  
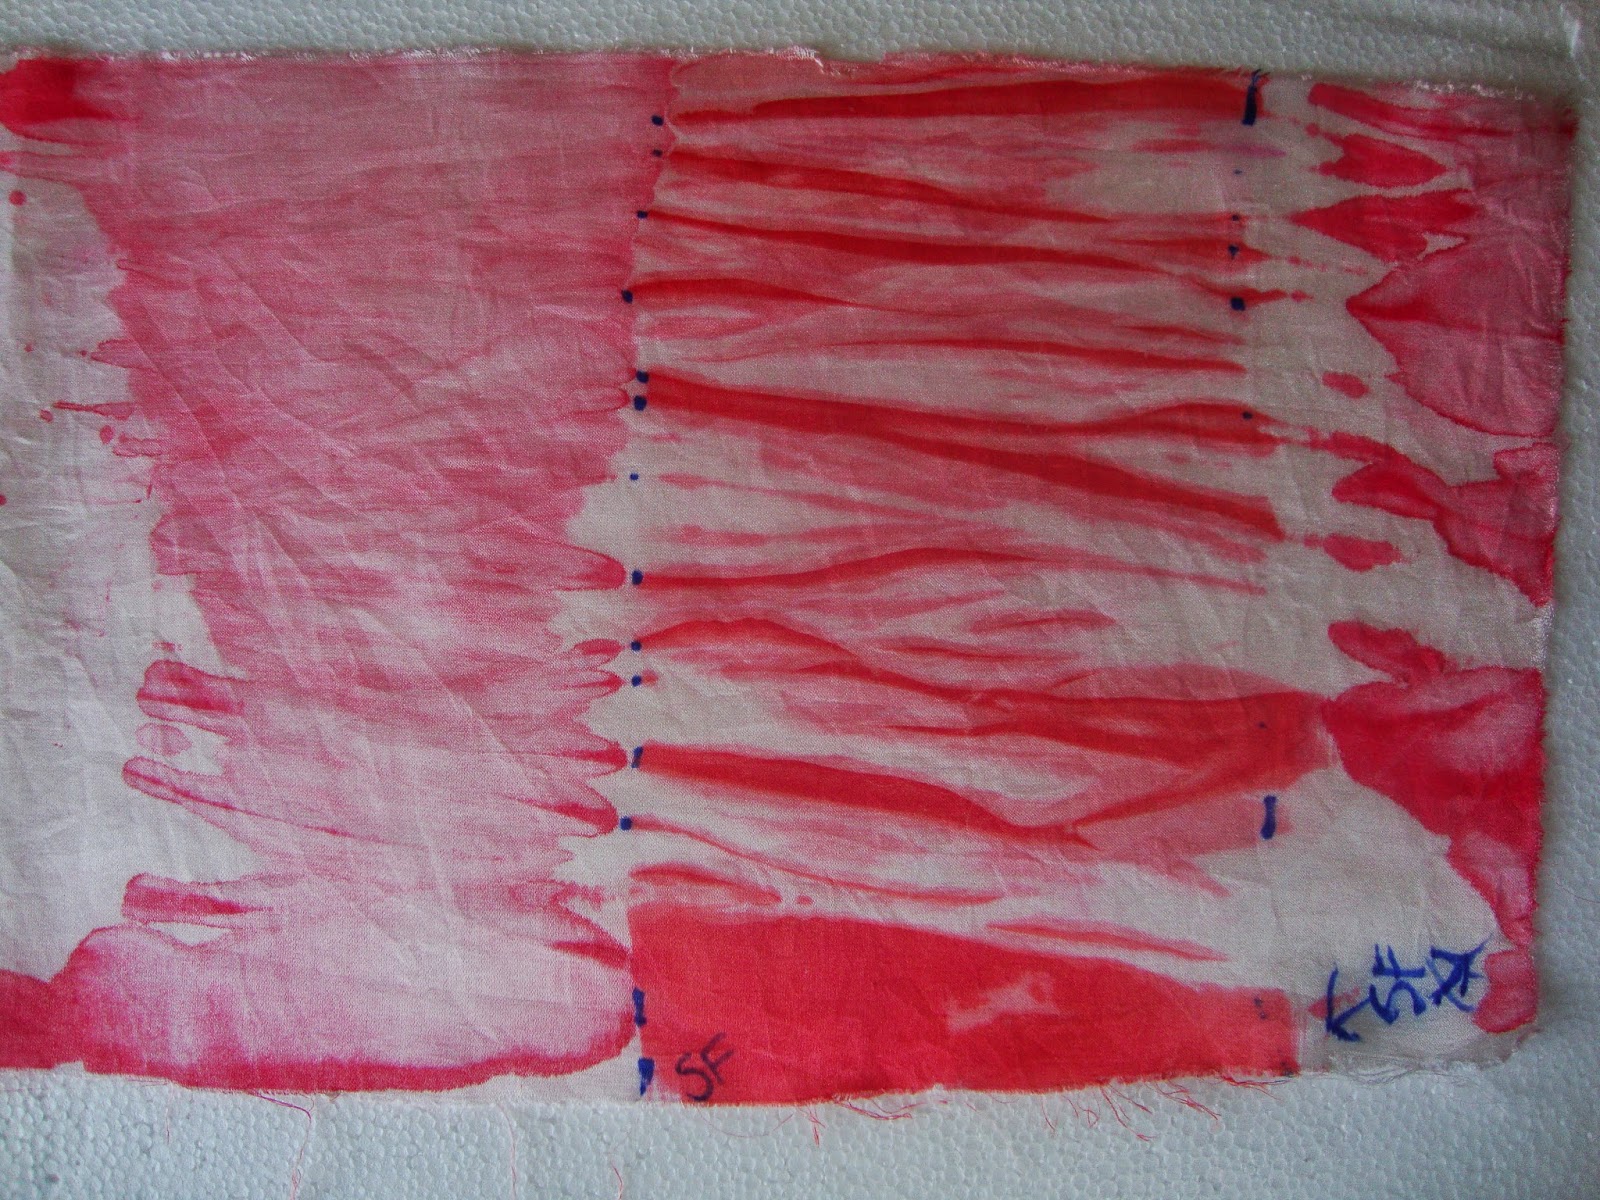
This was a piece of Shibori I did last summer using Orange SF on white fabric (wrapped around a PVC pipe)


And another small shibori piece using Red SF that I did this year (again wrapped on PVC pipe).


The red area you see on the left was SetaColor.  I just wanted to see if that paint would soak through, which it did.


So for my next Shibori piece, I took a hand dyed fabric, which wasn't the most exciting fabric, and.   wrapped  it around a  3" PVC pipe.  I used a cheap paint brush and then painted the entire piece using Black SF.

p.s.  It was wrapped on the diagonal on the tube.


Shibori sunning!
And my results!  Not a bad piece!

For this piece, I painted the entire piece with Black SF, then wrapped it (diagonally) on the pole, then scrunched it.  Because it was wet and this pole was quite small in diameter (1 1/2") I didn't need to wrap string around it.  I did keep turning it as it was laying on my foam board and not standing up.

This turned out pretty cool too!

I think by painting the fabric first, the intensity of the sun printing was better??  Not really sure as both the last two pieces sat in the sun for the same amount of time.  I'll probably experiment more with Shibori and SF just because it's not messy...quick to do and cleanup a snap.  Washing out the dye is a snap compared to MX dyes too.   

So I'm nearing the end of my posts...one more to go and I hope you stop by for that one!  I'm going to show how you can use SolarFast on other substrates!!!  Again, if you have any questions, please email me or check out Jacquard's web site.

Tuesday, May 6, 2014

Colouring with Inks and Lutradur...

Colouring with Ink.

The world of inks still confuses me at time.  There are so  many different kinds, brands and characteristics of each. Water based, pigment, acrylic, archival, dye based, acrylic ink, India ink, alcohol inks, distress inks, embossable inks etc.  I rubber stamped years ago and own a collection of various stamps. I have collected some ink pads. I also have some alcohol inks. I have some embossing powder. So how to use all these things and what different looks can we get with them?

First thing you need to consider are the properties of the inks.  Are they waterproof or not? Can your ink be used for embossing? Is your ink archival or does it matter? And what is your ink manufactured for?

These questions make a difference. As the product used may create a difference in your project. Or you may not worry about it too much and just experiment with it. Check the labels of your inks. Check the manufacturer’s web sites for information regarding their products. I get so much information from the web sites of manufacturers. They often have tutorials, projects and more. Another place to find information is the online art, craft and fabric stores. If they have it there is usually an explanation of the inks uses.

“Dye ink… saturates the spun fibres… acrylic inks which are made of pigments, behave like paints….” (Acrylic paints stays more on top of the fabric and you see less of the lacy structure. )  Leslie Riley.  
So pull out your inks….

Ink pads, refills, sprays, and alcohol inks and play. I am sure you may have different products than myself. So please let me know what you have and if you have tried it on Lutradur.

Here is what happened with the inks that I applied to the fabric. 

Pinta Alcohol Ink applied to dry Lutradur

Pinta Alcohol Ink applied to Lutradur that was damp. 


Pinta Ink applied to damp Lutradur with blending solution added to the ink. 
All samples were the exact same ink. You can see that different methods get different results.


Then I used some stamping ink ....
This first picture is the the two types of ink on just plain untreated lutradur. 

This picture is the same inks but the Lutradur was treated with a coating of soft matte medium. 
The image of the stamp is clearer on the matte medium treated Lutradur but you lose some of the lacy look of the fabric. 


Untreated Lutradur

Matte Medium treated lutradur

Same Staz On permanent black ink. The second image treated with the matte medium is crisper but once again you can see that the lacyness of the fabric is lost somewhat. How much matte medium you apply does make an effect of how much of the lacyness is hidden. 
And finally today
This is a picture of a piece of Lutradur painted with metallic paint. Stamped on with Staz On permanent ink with Pearl Ex powder added and then a "Lacing" technique that we will play with in the up coming month. 

Stamping with inks on Lutradur can be really versatile to use in Mix Media projects and Art Journals. 

What is your experience with inks? 

Jo 


Please check out my friend Elle. She agreed to play along this month with me. She has done her first post over at the coop (as she calls her blog) She is a talented lady! ellendacoop.blogspot.ca