I recently bought Claire Benn and Leslie Morgan's new (I think)
"Making Your Mark" book with DVD. Judith and I only made it 3/4 of the
way though the DVD before we launched out of our chairs and started to
sloppy monoprint and use other mark making techniques we'd just seen. I
have to admit, the sloppy monoprinting really appealed to me. Here I am
having a go at it.
Sloping out the print paste
Really getting into it
This was the "before". I had "deconstructed" a screen (boring) so this made a great candidate.
Brings new meaning to swiping a credit card.
Weeeeeeeeeeeee!!!
In case I forget my name (smile)
Wet plastic sheeting
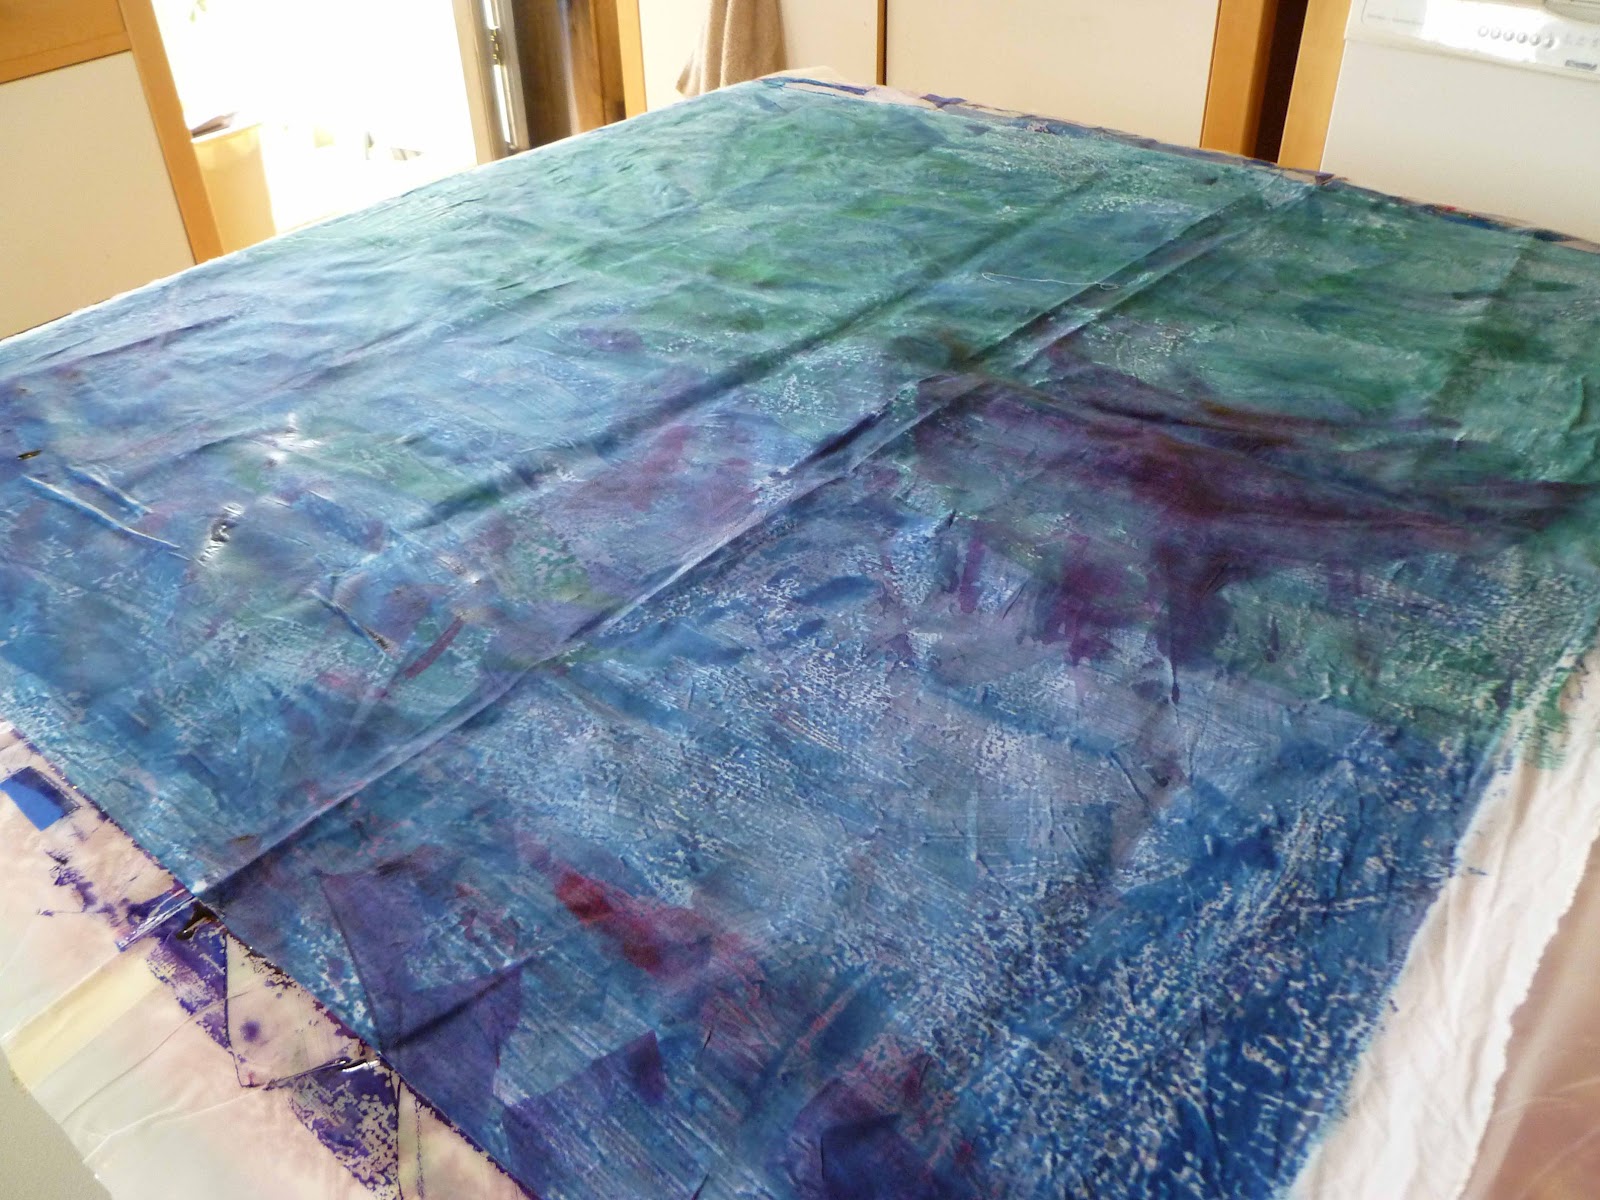
Voila!
This is the effect of the bubbles (yum)
applying print paste to a 6"square Plexiglas square with a handle on it.
Press!
Boring
Lets obscure the squares with some sloppy monoprinting.
That's better
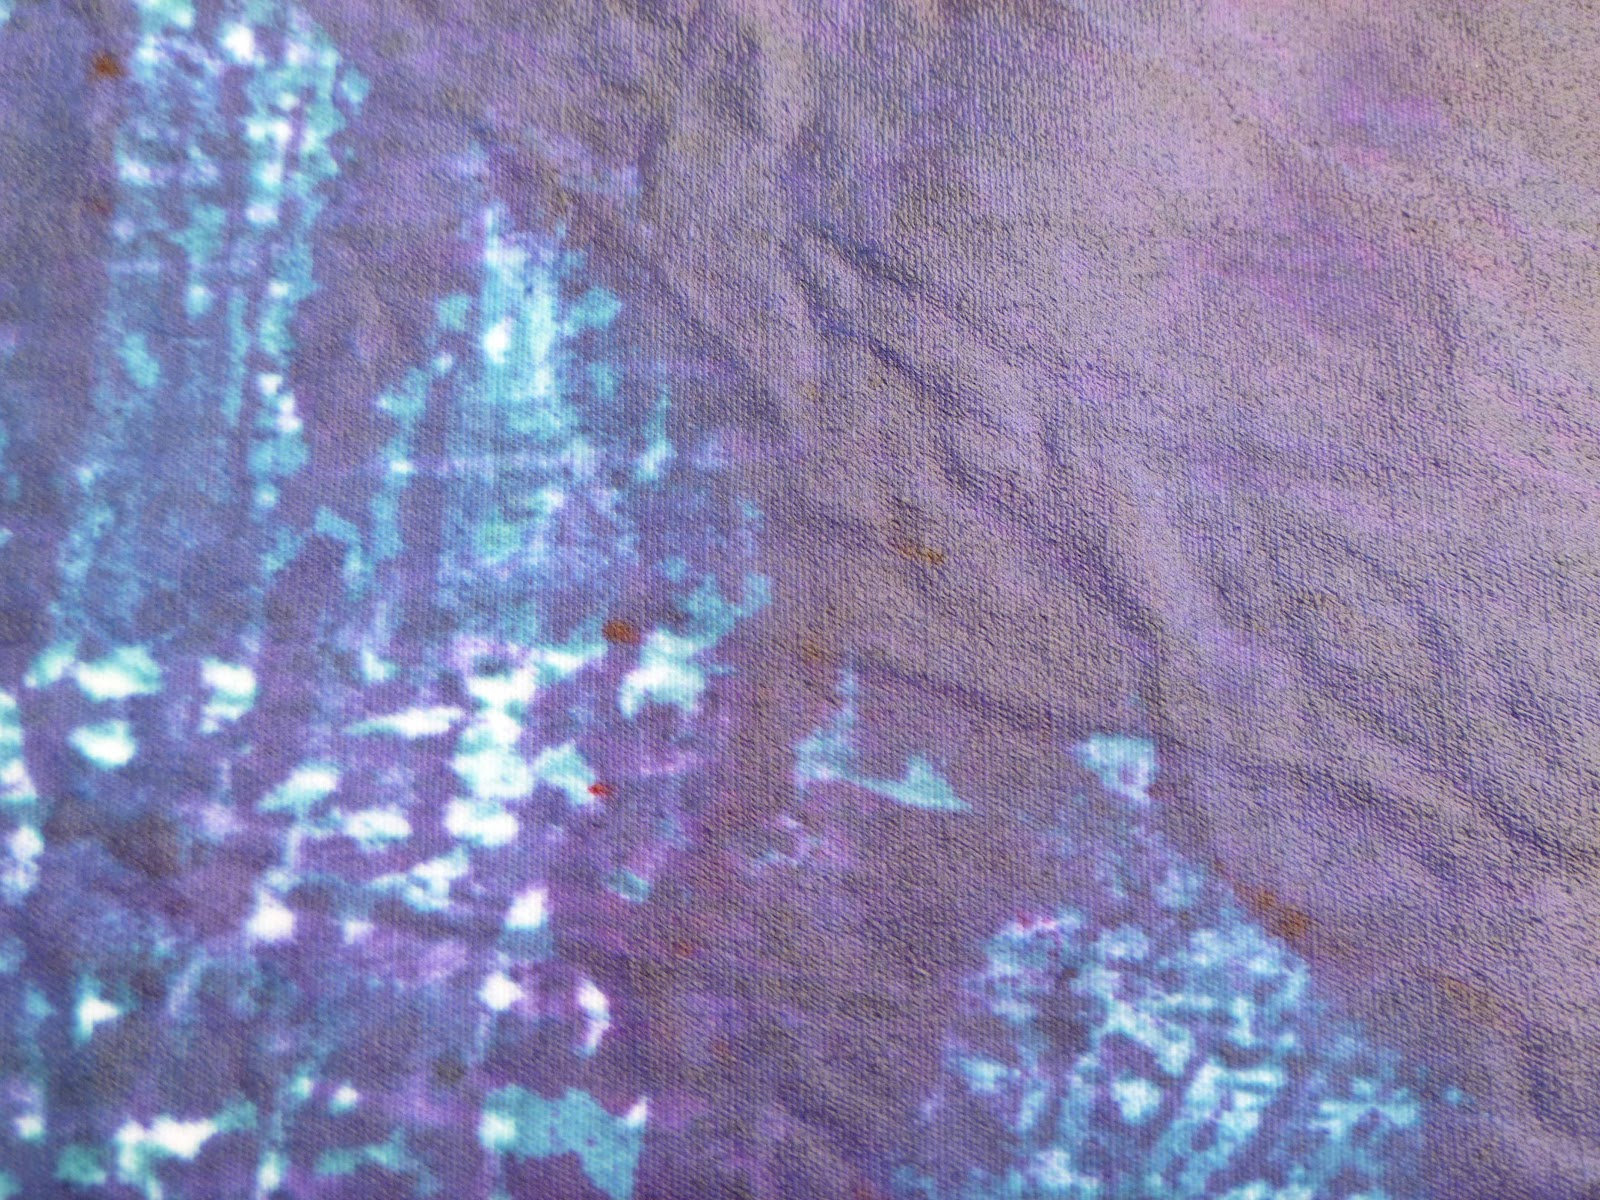
washed and ironed
I used this roller I made at Wen Redmonds painting class with print paste on this small piece
washed out and ironed
I did this scraping with a credit card.
The ever popular clean-up rags