A TECHNIQUE DRIVEN Blog dedicated to mastery of surface design techniques. First we dye, overdye, paint, stitch, resist, tie, fold, silk screen, stamp, thermofax, batik, bejewel, stretch, shrink, sprinkle, Smooch, fuse, slice, dice, AND then we set it on fire using a variety of heat tools.

Showing posts with label Tyvek. Show all posts

Monday, July 11, 2016

Working with Lutradur Part 1

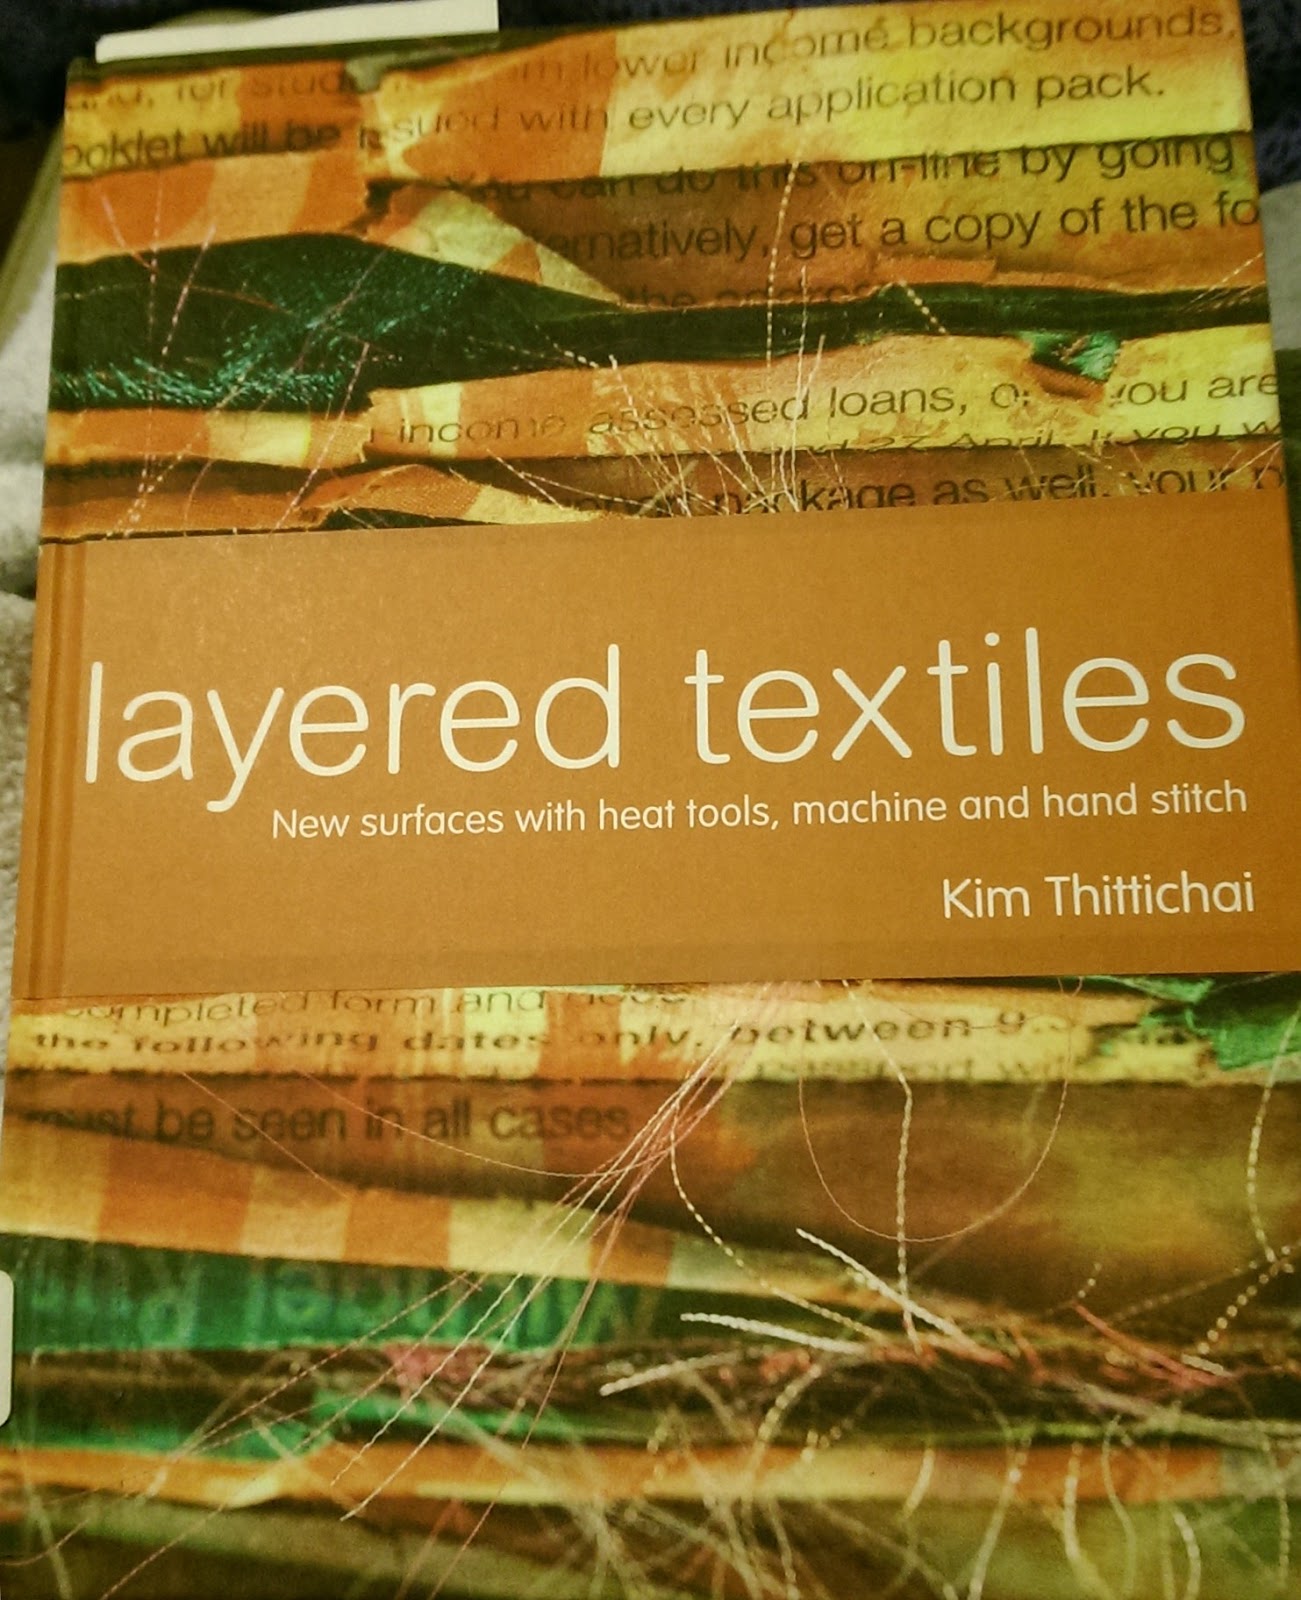
I have to admit to being fascinated with "hot" textiles, and the works of people like Kim Thittichai.  So I got her book at the library in the hopes of learning a little more about them..and since she is based in the UK, it's almost like learning a foreign language when trying to interpret the supplies used, it seems that just about everything is called something different here in the US.

She uses a lot of Tyvek, so I got some old envelopes out and painted them with acrylic paints.

I also want to share a tip: If you want iridescent paint and only have regular acrylics or fabric paints, add some Iridescent Medium to your paint (available in craft stores.)

I melted the tyvek with a heat gun, which was too quick, and a huge hole appeared.

I just cut some circles out of the finished product, but haven't used them yet in a project.  Tyvek isn't my favorite product to use, haven't had much luck with it!


Not wanting to give up yet, I layered some interfacing (painted), organza in various colors, nylon netting, and lutradur on top.  I stitched some leaf shapes into it, then hit it with the heat gun.


You can hardly tell I added all those layers, the lutradur melted really fast, and not much else because I was afraid of melting the whole piece. Obviously I need more practice using the heat gun!

Now more on Lutradur.  Lutradur comes in two different weights (probably more, but that's all I could find here in the US). 

And I learned that Lutradur is sold on Fabric.com as yardage, not just the little sheets generally found at craft shops, and at a way better price.  Check it out Here

I painted some Lutradur with acrylic paints, then layered some organza on top, and stitched some designs into it using free motion quilting.  Then got out my stencil tool, which is just a fine-tipped soldering iron, and started tracing the edges with it.


Sample 1:


Sample 2 - with some angelina fibers sandwiched in between the lutradur and organza

Sample 3


Positive and negative


Next, I stitched some designs onto painted Lutradur and using my stencil tool, melted some sections by applying heat.  The stitching was SO tedious, I'm not sure if I'll ever want to try this again...


Anyway, more on this topic next time!


Friday, January 23, 2015

Sculptural Tyvek

I found a lovely bead on Pinterest and thought "Oh that would look wonderful in Tyvek.  So I tried.

My first attempt was wrapping some Tyvek around some sea-worn snail shells.  I used the same multi-colored glued on odd bits piece of Tyvek I showed in my last post. Here are the results from several different views since it is 3-D.


 Then I added some specialty yarn.


I haven't decided whether I am going to add beads.  What do you think?

Here is a shell with barnacles attached wrapped in Tyvek.


And here is a last sculptural attempt. Sticks and stone and a little bit of clay.


These are first attempts but by no means last ones!

Judith


Wednesday, January 21, 2015

I hope you are not tired of TyveK

Beth has posted her pictures from our Tyvek play date.  Now it is my turn.  As always we both started out with the same idea but ended up with different results.

First Play Date
Beth had received in the mail a piece of Tyvek that was painted, shrunk, and covered with lace.  Yes, covered with lace!  It was beautiful!

We tried to make one like it.  First we just laid the lace on top of the painted Tyvek and ironed it.  Once shrunk this is what it looked like.


But the lace did not shrink and stick to the Tyvek as we had hoped.  Feel free to notice that I forgot to iron the Tyvek on the back.  When you iron it on the front all the lovely bubbles are on the back.


Then we painted the Tyvek and while the paint was still wet we attempted to attach the lace by pressing it into the wet paint.  When the paint dried we shrunk the Tyvek with the iron.  This is what we got.


But again the lace did not shrink and stick to the Tyvek.


On our last and successful attempt we used mat medium to glue the lace onto the painted Tyvek.  We let it dry.  Here is what we started with.


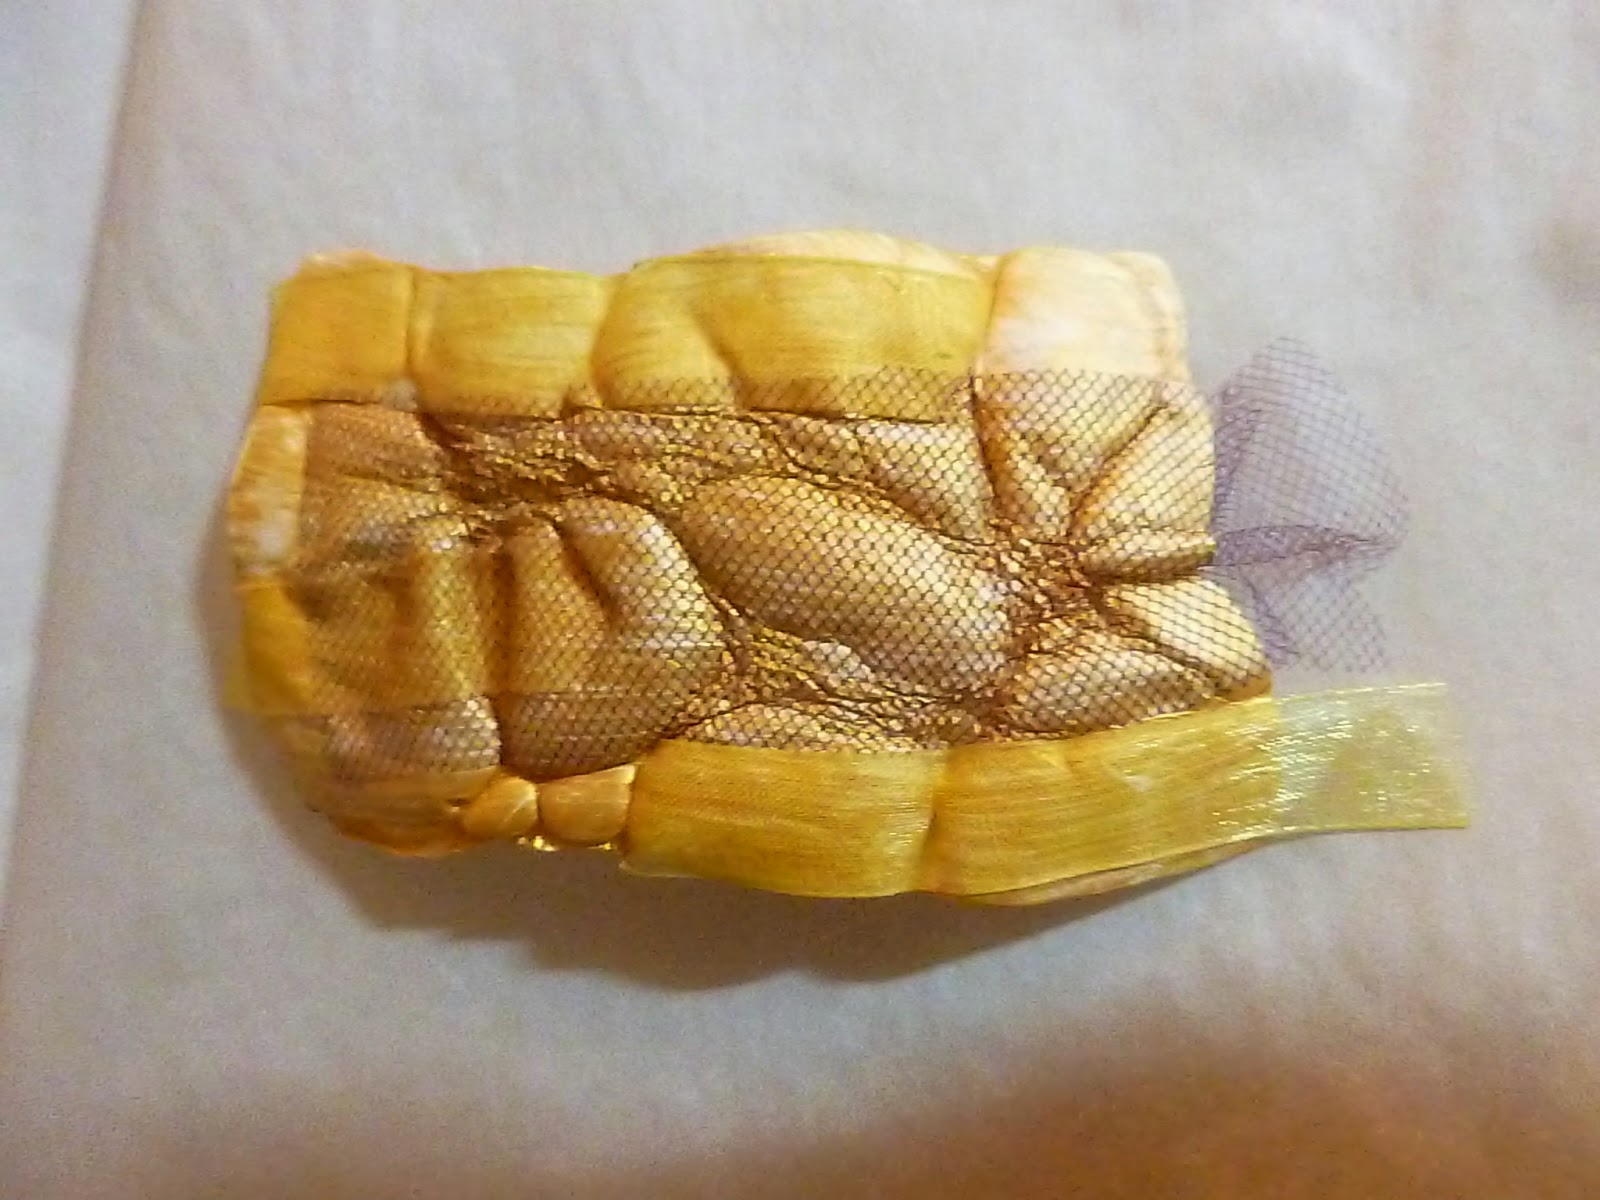
 This is what we got after it was shrunk  Yeah!  It stuck!


Second Play Date
For our second play date I came prepared with Tyvek that was painted a variety of colors and had a variety of  organzas, laces, ribbons, threads, and glitter Mod Podged to the surface.  I couldn't find my mat medium that day and since then have also used 1/2 and 1/2 white glue.  They all work.  It is hard to tell but the Tyvek pieces are about 10 inches by 14 inches.


 I cut them up to about artist card size.


Here is me shrinking a piece.


And here is what I got.  Do notice the writing on the Tyvek.  I used a postal envelope and you can see the writing peeking through the paint.  Just looks like a design unless you are really really close like this picture.


The lovely purple on this last piece was a piece of organza that I had printed on my gelli plate.  It has those wonderful squiggly lines on it in the upper left-hand corner. You can't tell that I didn't paint the lines right on the Tyvek.

I plan to use these lovely pieces to make brooches.  Here I am modeling a potential brooch.  Doesn't it look fabulous on my paint shirt?  We won't talk about how I look.
 

And here is one that I have Smooched a little, sewed a few beads on, backed with felt and attached a pin. I've worn it to church a couple of times now.


Next--Tyvek in a much more sculptural technique.
Judith


Monday, December 19, 2011

Meet Mr Heat Gun


I am mostly satisfied with the texture on my compost fabric trees so now it is time to start auditioning leaves.  Since I want a leaf with as much character as the tree trunks, I have tried burning a variety of types of fabric and non-fabrics.  Here are my experiments and my results.

 First I made a quilt sandwich with the same type of fabric as the trees.  I wanted to know what the leaves would look like on the black linen and whether the felt I used as batting would be a problem if melting stuff on it.


Next I photocopied some leaves that I had pressed.  I wanted to have the copies to help with the size, shape, and veins of the leaves.


Then I started stitching various fabrics, including tyvek, onto the quilt sandwich. The tyvek I had previously painted green.  All of the rest of the fabrics were various weights and types of polyester. The stitching was the outside edge of the leaves and the veins.

 Once  I had several leaves sewn, I started heating them with the iron to see what would happen.  Not much. I should have done a better job of trimming the leaves before I ironed them.  I had expected the fabric not sewn down to just melt away.  Not so much. It melted into the fabric.   I'll do better next time.
 So then I moved on to the heat gun.  Much, MUCH better.  Now I am starting to get the texture I wanted and the extra fabric on the outside edge finally melted away.

Take a look at this one.  It is really nice.  However, the leaves were flat.  FLAT!  I could just not bear to put them on my lovely trees. 


So then I moved on to melting plastic.  I put some of the more promising polyester between some layers of Glad Wrap and took the iron to it. While it was still warm, I cut the melted stuff into leaf shapes.  Pretty but not enough texture yet.


Here they are after meeting Mr. Heat Gun (he is one hot dude).


I also tried cutting the tyvek into a leaf shape and taking the heat gun to it for texture.  Much better results burning the tyvek before sewing it down.   Here are both the green tyvek leaf and the plastic leaves pinned on the trees.  Beside it are the leaves on my quilt sandwich.

While I like several of the results, I am not satisfied that I have found the right leaf for the trees  yet.  I will let  you know if it turns out to be plastic like this month's technique or tyvek like a couple of months ago.