A TECHNIQUE DRIVEN Blog dedicated to mastery of surface design techniques. First we dye, overdye, paint, stitch, resist, tie, fold, silk screen, stamp, thermofax, batik, bejewel, stretch, shrink, sprinkle, Smooch, fuse, slice, dice, AND then we set it on fire using a variety of heat tools.

Sunday, November 3, 2013

Shibori Folding - no 2


Same fold as yesterday, but now in the other direction:


Let's see how this works out with a few of the bought shapes.


Saturday, November 2, 2013

Shibori Folding - no 1

To start this serie, I want to show you two ways to fold a grid pattern.
The first one  (right) is known as the 'flagfold' I think, and the other one is just a variation. I made an example in paper as it is easier to make a picture of this:


You see the difference in the starting point. For both, fold a rectangle piece of fabric like this:


Then start folding the triangle each with another starting point, but after the start just make sure you outline one of the triangle sides along the long side of the fabric:


Clamp your folded triangle accordion between two glass coasters with some rubber bands:


Now it's time to make your dye bath. Don't forget to add soda and salt as you want the dye to move through the water, looking for fabric to attach on ;-). And be generous, mix at least 3 pure colours, for a nice colour splitting effect.

Leave these packages at least one night in the dyebath. Rinse cold before un-clamping your fabric! Now it's time to unfold your package, and follow your regular rinse-process. Voila:


Friday, November 1, 2013

Shibori folding


It's november so it's my turn (Nienke) and as may expected, dyeing is involved!
Recently, one of my clamp shibori pieces was published in a dutch magazine 'Quilt en zo' and it will be published in the november issue of Patchwork Professional as well.


So, a nice starting point to explore 'more ways to fold your fabric' to create some nice shibori fabric.

I started with collecting items to clamp onto the fabric, like, this stuff from the hardware store

 
acrylic shapes, bought f.e. at http://www.thermofaxprinting.co.uk/


a couple of jar lids, and yes it is a sponge you're seeing (more to come, stay tuned ;-):


glass or metal coasters from the pennyshop:


Or even try to saw some shapes yourself for example in trespa, perspex or woord.


For the clamping, you can use rubber bands, or all sorts of (glue or paper or wash) clamps:


See what you can find, the folding party will start tomorrow!

PS. If you are new to dyeing, this online course is a good starting point:
http://www.craftsy.com/class/the-art-of-cloth-dyeing/107

Monday, October 21, 2013

Sceenprinting with quilting ring and glue

Most of us still have a quilting ring
Attach some gauze to the ring. This case I used synthetic gauze used for paper making.
Draw something of your choosing on the gauze.


Cover everything that will NOT be printing with glue. Place the ring on a surface with the drawing on top.


Tape a window around the drawing. On the back tape wider and extra. This is the side from where the paint will be applied.


You can check if everything is covered by holding the ring against the light. All the small holes should be filled with glue.


Now printing!!


When cleaning the screen ( with water), some of the glue will dissolve but that can always be reapplied.
This way ( by removing and/or reapplying the glue)) it is always possible to adjust your print. This way you can make different images with just one drawing.

Monday, October 14, 2013

Walterkes

I have planned an exhibition next year. Therefore, I am now creating new work, based on a figure made with aluminium prints.
I believe the pictures speak for themselves which technique I used.
Next time I will talk about screenprinting with glue and a quiltingring.
I am still waiting for yours exemples annvanherle@hotmail.com


There 's work to be done!


Monday, October 7, 2013

Printing with aluminium foil part 2

You can also draw on the cardboard.


Then apply glue on the drawing and attach a tread ( different thickness)


Once it is dry apply the aluminium foil in the same manner as explained.
The first attemps might not be as good as you hoped for, but the prints will improve after the plate has been used a few times.


Next time I show you  what I did with some off the prints.
 

Tuesday, October 1, 2013

Printing


This month I will explain more about printing with aluminium foil, tinfoil,( die-stamp printing) and screen-printing with a quilt ring and glue.

Material:
A piece of hard cardboard
Dried leafs and flowers or material that will give a good relief
Glue
Aluminium foil (the heaviest you can find)
paint ( textile paint, block print paint)


Make a composition on the cardboard and attach it with glue.
Let dry COMPLETLY
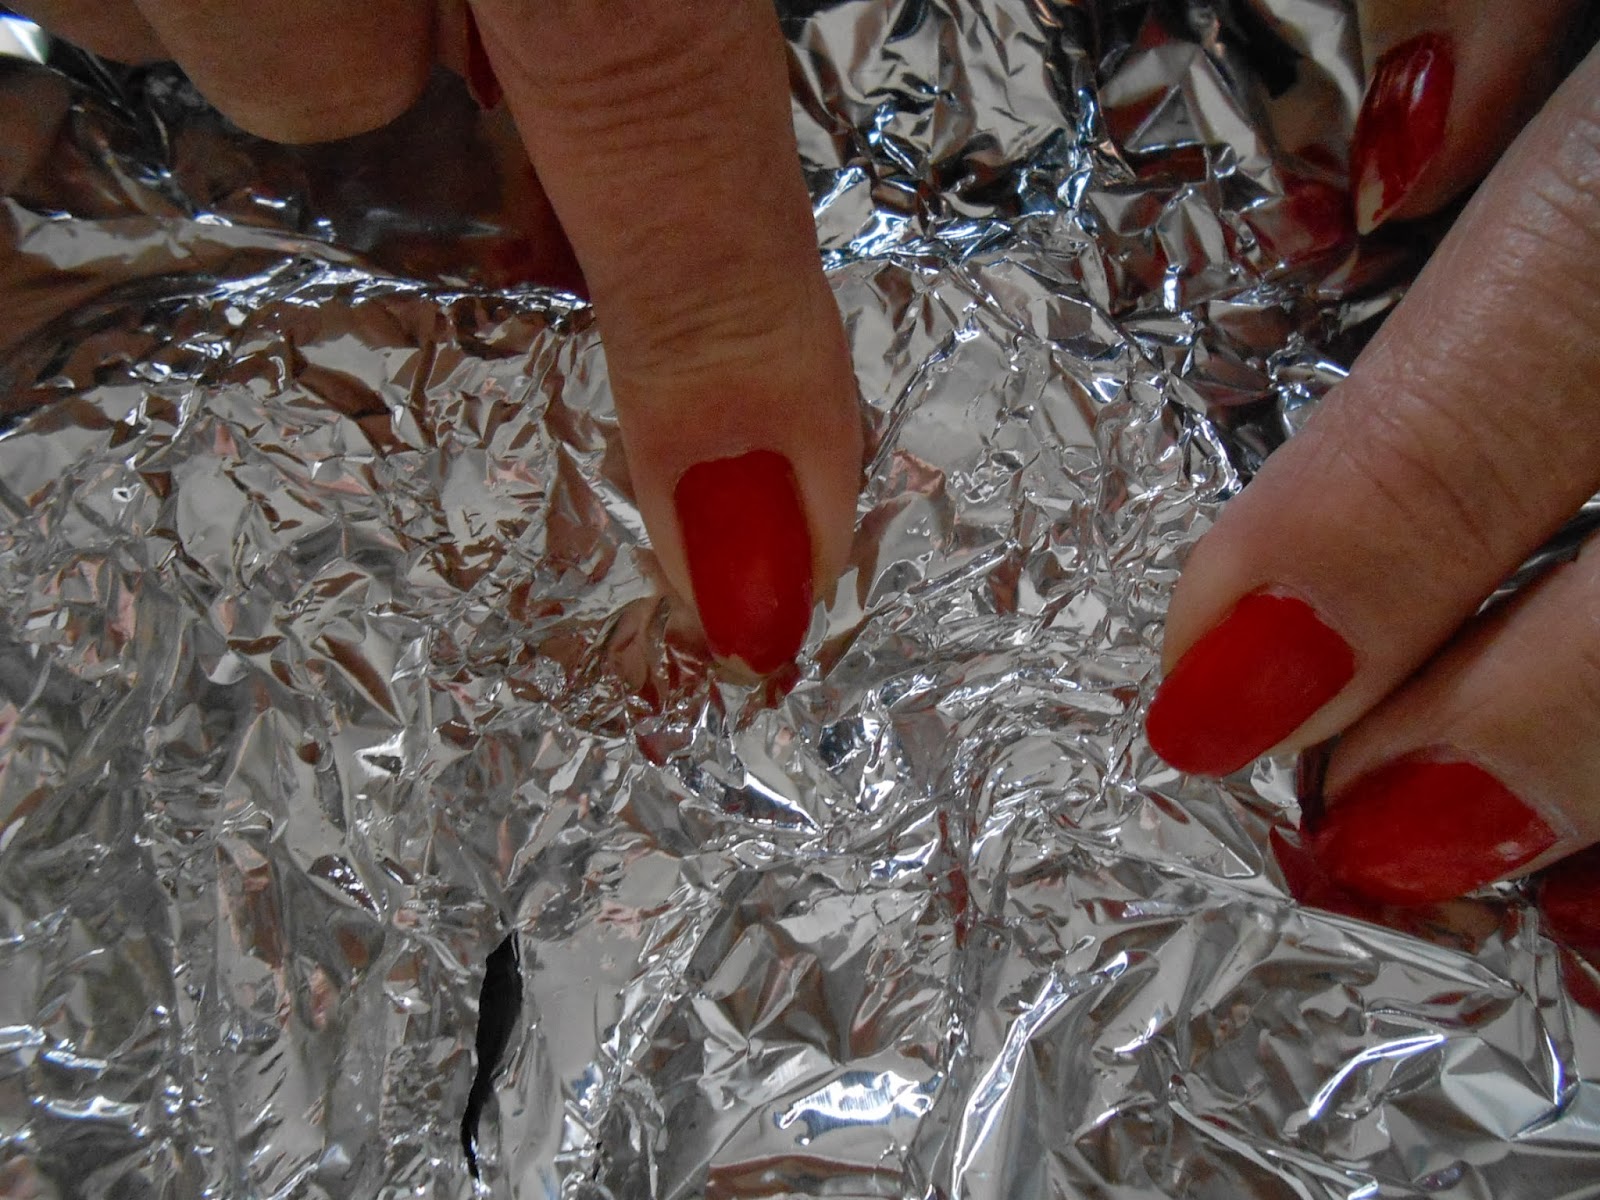
Apply glue on the entire surface. Attach the foil to the composition. Make sure the composition is tightly encapsulated with the foil. Therefore press with your finger the foil in every surface. The back of the cardboard also needs to be covered with the foil.


Again let it dry completely
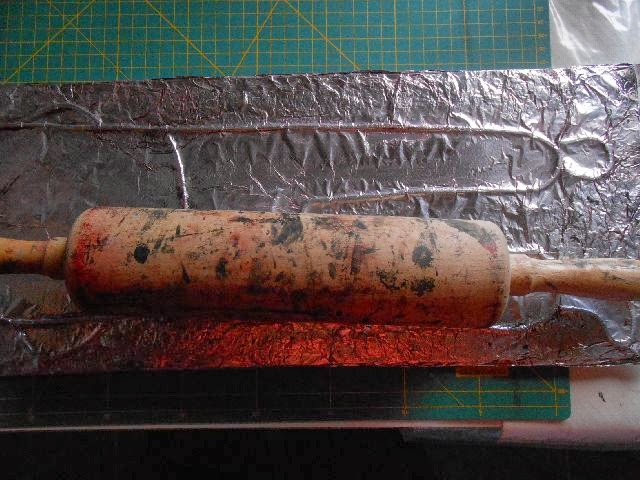
Press everything hard with a glass bottle ore a rolling pin


Iron the fabric. Apply paint to the press-plate. Do not use too much as a start and make a proof.


Examine the proof and adjust as desired (more or less paint). After a few prints the press-plate will become better and better.

 
Since your plate is completely covered with foil it is possible to change colours. Wipe the plate clean with water, let dry and it is ready to be used again. Once you are familiar with the technique it is easy to adjust size and subject. The plates will go a long way.

Send photo’s of your work and I can let them seen on the blog. Next week another way to print with foil.