 |
| This small container of carageenan was our test batch. Everything seemed okay when we dropped green paint into it. |
 |
| True blue |
 |
| Dark navy |
 |
| Although a bit hard to see, this is the first drop of black paint in the upper right. It dispersed rapidly. |
 |
| Subsequent drops of black paint. |
 |
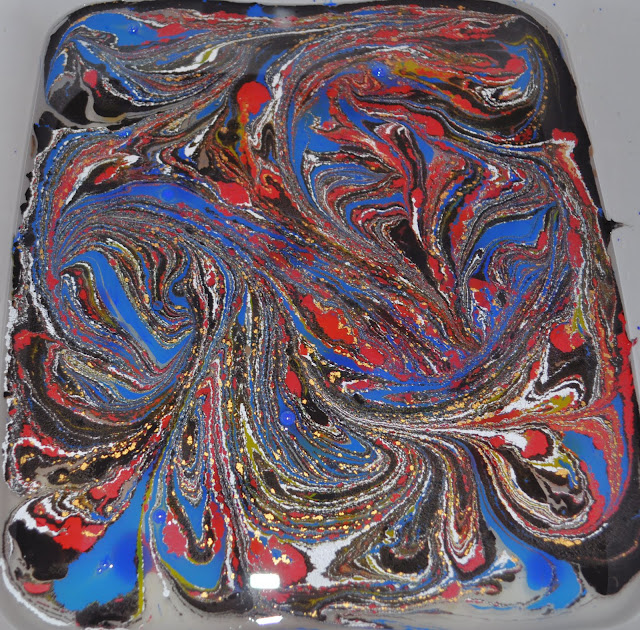
| I added red, then metallic gold, then white and lastly some yellow. |
 |
| Here I've used a wooden skewer to swirl the paints. The metallic gold made the other colors have ragged edges, not the smooth swirling that I was looking for. |
 |
| A new try. You can see the paints from last time that sank to the bottom. |
 |
| Red, yellow were added here, then a bit of spattering with white and some black dots laid into the yellow areas. |
 |
| More red, then red dots laid into the red. By this time, I realized that I didn't like the white. |
 |
| Here I've started swirling, again with a single wooden skewer. |
 |
| White is laid down first, with additional drops of white added to the centers. |
 |
| Yellow is dropped between the white areas. |
 |
| Purple added to the white. |


This is on my to-do list!!!
ReplyDeleteIs there a recipe for the carrageenan?
ReplyDeleteI'd very much like to make Suminigashi prints on fabric. Anybody have a materials list and instructions or links to same?
ReplyDeleteReally love your blobs : ))
ReplyDelete