
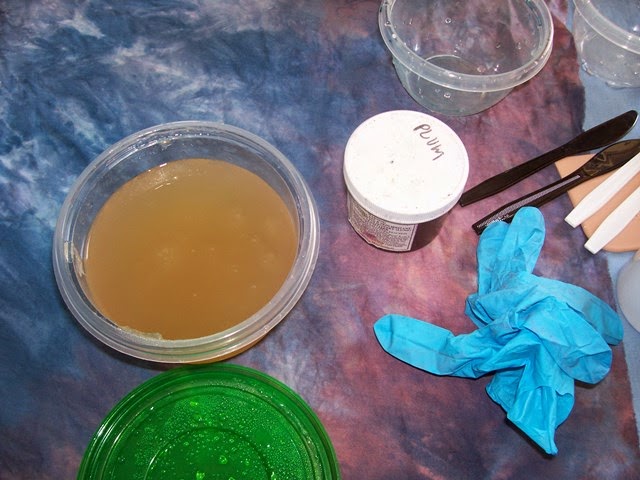
Then I added some plum colored dye powder to it, and also a teaspoon or so of soda ash, to activate the dye. You could also soak your fabric in a soda ash/water solution, and let it dry, then apply your thickened dye without the soda ash addition to it. This option lets you work slower -- because the way I did it, once the dye is activated, you have to use it fairly quickly.

Just plop some of the thickened dye paste on the screen along the top, and pull with a squeegee or credit card.

Leslie Morgan and Claire Benn have some great youtube videos on screenprinting, I think that's what got me interested in trying this out a few years ago.
Just keep making prints across your fabric, it's really quick.


I made my own silk screens using plain wooden frames, polyester curtain fabric, a staple gun and some duct tape. They're really easy to make, and last a long time. (I had already painted a grid pattern on this one at some time in the past, I can't remember exactly, but I think it was done with mod podge).
Just plop some of the thickened dye paste on the screen along the top, and pull with a squeegee or credit card.
Leslie Morgan and Claire Benn have some great youtube videos on screenprinting, I think that's what got me interested in trying this out a few years ago.
Just keep making prints across your fabric, it's really quick.
Here it is all done, before washing.
Monday I'll show you my next step!
Nice! The plum is a nice contrast to the snow dyed background...
ReplyDeleteCan't wait to see more!
ReplyDeleteLove the silk screen and thickened dyes!!
ReplyDeleteIt looks fabulous and such a simple screen too.
ReplyDeleteYou make it look so easy!
ReplyDelete