A TECHNIQUE DRIVEN Blog dedicated to mastery of surface design techniques. First we dye, overdye, paint, stitch, resist, tie, fold, silk screen, stamp, thermofax, batik, bejewel, stretch, shrink, sprinkle, Smooch, fuse, slice, dice, AND then we set it on fire using a variety of heat tools.

Monday, November 10, 2014

And then I set it on fire!

I missed over two weeks of the wonderful Maine fall foliage season this year because of my trip to Malta and the Netherlands. I got that urge again to print with leaves but most of the leaves had fallen off the trees. I took a short walk and picked up a few maple, oak and ginkgo leaves. I looked for a nice dyed piece of cotton but then I spotted some natural linen and thought that would look great in browns and gold.


I got out my plate of glass, fabric paints and pouncer and started to print


Nice!


I started with the darkest colors: dark brown, dark red and used a sheet of waxed paper to lay over the backs of the painted leaves so I could rub and press without having to worry about the leaves moving or smearing paint on the linen.

That's when it happened. I torn off a sheet of waxed paper and laid it on my work table - right on top of a lit candle. The waxed paper burst into flames. It was burning too fast for me to run to the sink; I knew I'd drop it. Suddenly I remember the mist bottle I use when ironing and I sprayed water on the paper and put the fire out. My partner, Brian said, you really did set it on fire. I couldn't resist the title.
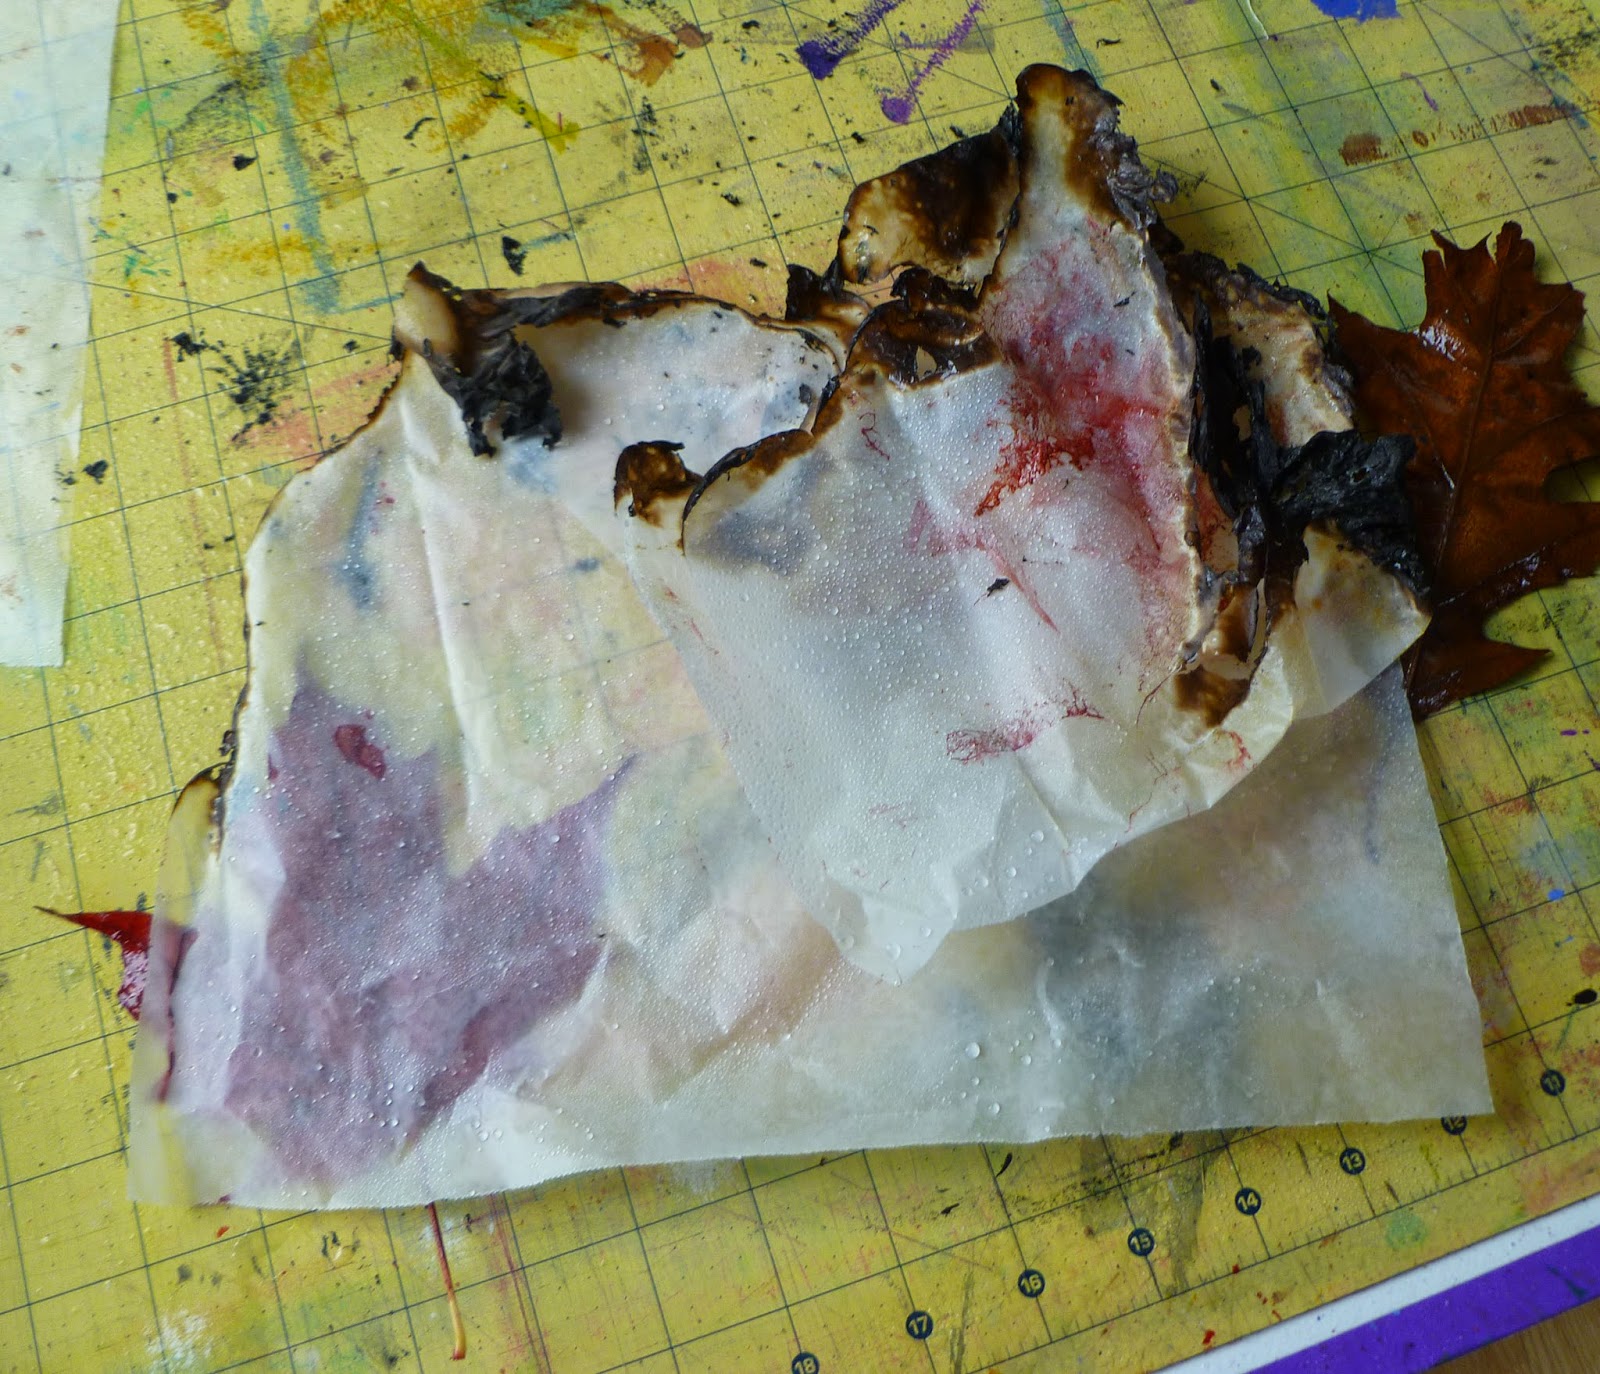


Used leaves with traces of fabric paint on them.


The finished piece about 45 X 24. Below are a few detail shots. All in all it came out great, I know my smoke alarm works and we are all safe.


Friday, November 7, 2014

Let the suprise show begin!


After two days of waiting, it's time to unwrap our little worms. The colour returned as you can see clearly.


Looks promissing!Now it's time to fix the dye where it is
I tried three different styles of fixation. The first one is a mixture of cheap hairgel and soda-ash, 
painted with a brush onto the fabric:


The second set of two pieces I used 'Tobafix' as a fixative:


And for the third set of two pieces, I sprengled soda-ash on top of the fabrica and sprayed water over it.

Now all pieces have to be covered with plastic and left alone for another few hours (roomtemperature)


And here are the final results. I love the piece in the middle. The two pieces on the right had a problem with fixation so my experiment made clear that you better choose for Tobafix of the Gel/Soda-ash combination. 


This is my favourite, I also learned that a dark colour at the outside gives better results!


This is a very inspiring technique, will keep experimenting and hope you will too!

Thursday, November 6, 2014

Boiling the fabric and UNDYE the pieces


Now for the weirdest part, we are going to boil my little tied worms in water (no additions!) and remove (!) somde dye. Please don't use your regular kitchenpots. Find yourself one at the thrift store for dyeing purposes.


The water should be boiling already. As soon as it is boiling, dip your little worm into the water for 10-15 seconds, not too long as you will loose all of your dye... Start with the lightest, end with the darkest piece. 


Here you 'll see that they lost some of their brilliance. Let them dry completely in the sun for 2 or more days... The dye inside needs time to travel to the outside! Don't rush the process!


Tomorrow the big disclosure of what the boiling process (and especially the drying process) did to the fabric, stay tuned!


Wednesday, November 5, 2014

Painted and pleated fabric, wrapped with thread

The other samples will be pleated,

Diagonally in four:


Horizontally and vertical in four:


And the final piece is just a fantasy fold:


All wrapped with thread, like demonstrated in the last post.

I ended up with a tray of these pieces:


Time for some cooking, to be continued tomorrow!

Tuesday, November 4, 2014

Painted and rolled fabric, wrapped with thread

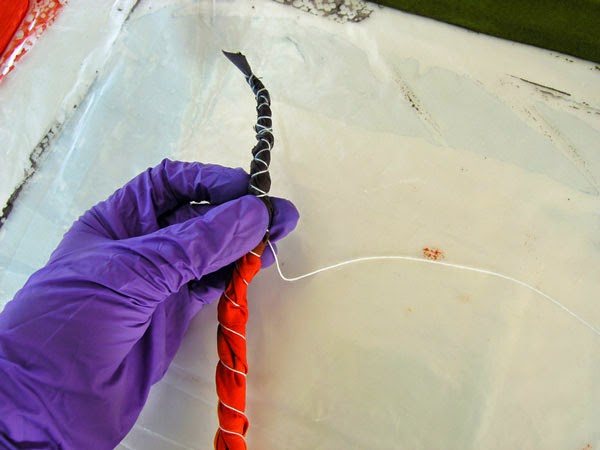
Now that the fabric is dried (wear gloves because the dye is still staining), we will use our shibori knowledge to tie these swatches. The first piece is folded in half diagonalyy, and rolled from the corner to the centre: Wrap with a thread from the middle to the outer point, and back. Repeat the process for the other outer point. Tie the thread in the middle. Leave some thread as it might help you in the stage of boiling the piece (like a teabag).


Now it looks like this. Is should be very tight wrapped around the fabric, it will feel  hard.


Another piece is folded in four diagonally, continuing with the same process


And the last piece is folded in four squares, and rolled like the one above.


Now it looks like this:


Tomorrow I will not roll but pleat the other samples. To be continued!

Monday, November 3, 2014

Preparation of the Undye Process

First of all, let me give full credit to the Tobasign website, where I found this tutorial:
http://www.tobasign.com/forum-nl/viewtopic.php?p=471#471

It is posted in many languages with clear pictures so this really will help you to understand te process easily.
This process can be done with any type of reactive dye likeTobasign, Drimarene-K or Procion MX


This what I did:
With my stock of 10% dye-concentrate (10 grams of Procion MX powder to 100 ml. of water), I painted my cotton swatches on my covered table. There is NO soda-ash involved in this stage. I repeat: NO Soda-ash Yet. Just painting dyes.


Let it dry for a night.


To be continued tomorrow.

Sunday, November 2, 2014

New Month - Potpourri month

November will be filled with lots of small projects, contributed by the Fireblog artists.
This week I (Nienke) will start with a sort of 'the other way around' shibori, additional to our Stitch Shibori Party in October.


Like this? Get your dyepots out and I'll show you tomorrow how to do this!