I love
making grocery totes, especially since I also love using them! I made my first batch from some purchased
fabric about 8 years ago, and once I got used to keeping them handy in my car,
I use them weekly when I do my marketing.
Benefits? No plastic bags to
return to the store to recycle! Plus
they are portable, reusable, washable (a really big plus in my book!), and they
help me keep my fabric stash from taking over the studio! And of course, since I love to dye fabric, it
gives me an incentive to dye more, and I sell them at the local gallery and
craft shows.
If you sew
much, you have probably made a tote or two in your time, so maybe these
instructions are not going to get you too excited. But I am going to share my method just in case
there is someone reading this who wants to give it a try. Again, I found instructions somewhere on the
internet, but have made some modifications over time that I think have improved
on the original.
How
to make a grocery tote bag
Materials
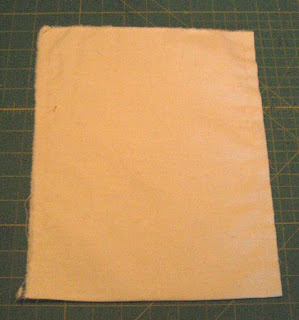
1 piece of fabric, 40” long by 16” wide
2 pieces of ribbon, 19” long by 1 ½” wide
Thread, notions
Instructions
1) Fold fabric in half, lengthwise to create a piece 20”
long, matching raw edges.
2) Stitch sides, using ½” seam allowance.
3) Finish raw edges (I used a serger to finish, but you
can zigzag or fold under and use a straight stitch if you prefer). Fold edges down 1 ½” and press. Stitch down.
4) At the bottom edge, measuring from the side edge in,
then up from the folded edge, draw lines to form a 4” square on each side (I
use a template). Cut out square and
discard.
5) Fold upper side opening to bottom opening. Pin in place, then stitch. Repeat on the other side. This creates a flat bottom.
6) Finish raw edges of ribbon strips by folding under ¼”
and stitching in place. Measure in about
2 ½” from the side seam and mark – this will be where you align the outer edge
of your ribbon. Repeat on the opposite
side of the front of the bag then repeat on the back side of the bag. Pin one ribbon strip to the front, both
edges. Stitch each edge down securely. I
stitched in a square, then I crisscrossed to add strength. Repeat for the second ribbon.
Enjoy your tote, and get ready to make more!


Thanks for the tote tutorial, easy peasy and a great way to use fabrics you already may have! i usually make my own straps/handles out of same or other fabrics. i have been known to give a tote to someone in the grocery checkout lane with me that needs a bag as i bring extras as i like the weight distributed for senior carrying purposes!! !
ReplyDeleteGreat tutorial and I love anything 'Recyclely"
ReplyDelete