

I did this piece last summer...it's a dry piece of white Silk Dupioni which was painted with Purple SF. I laid a circle mat on top and the definition is certainly nice.

This is piece of hand dyed velveteen my daughter hand dyed (I know! I'm so lucky to be on the receiving end of her fabric dyeing!). I used some of the thickened Black SF I had...and again the syringe to scribble. Lynn K. would be proud of me!!
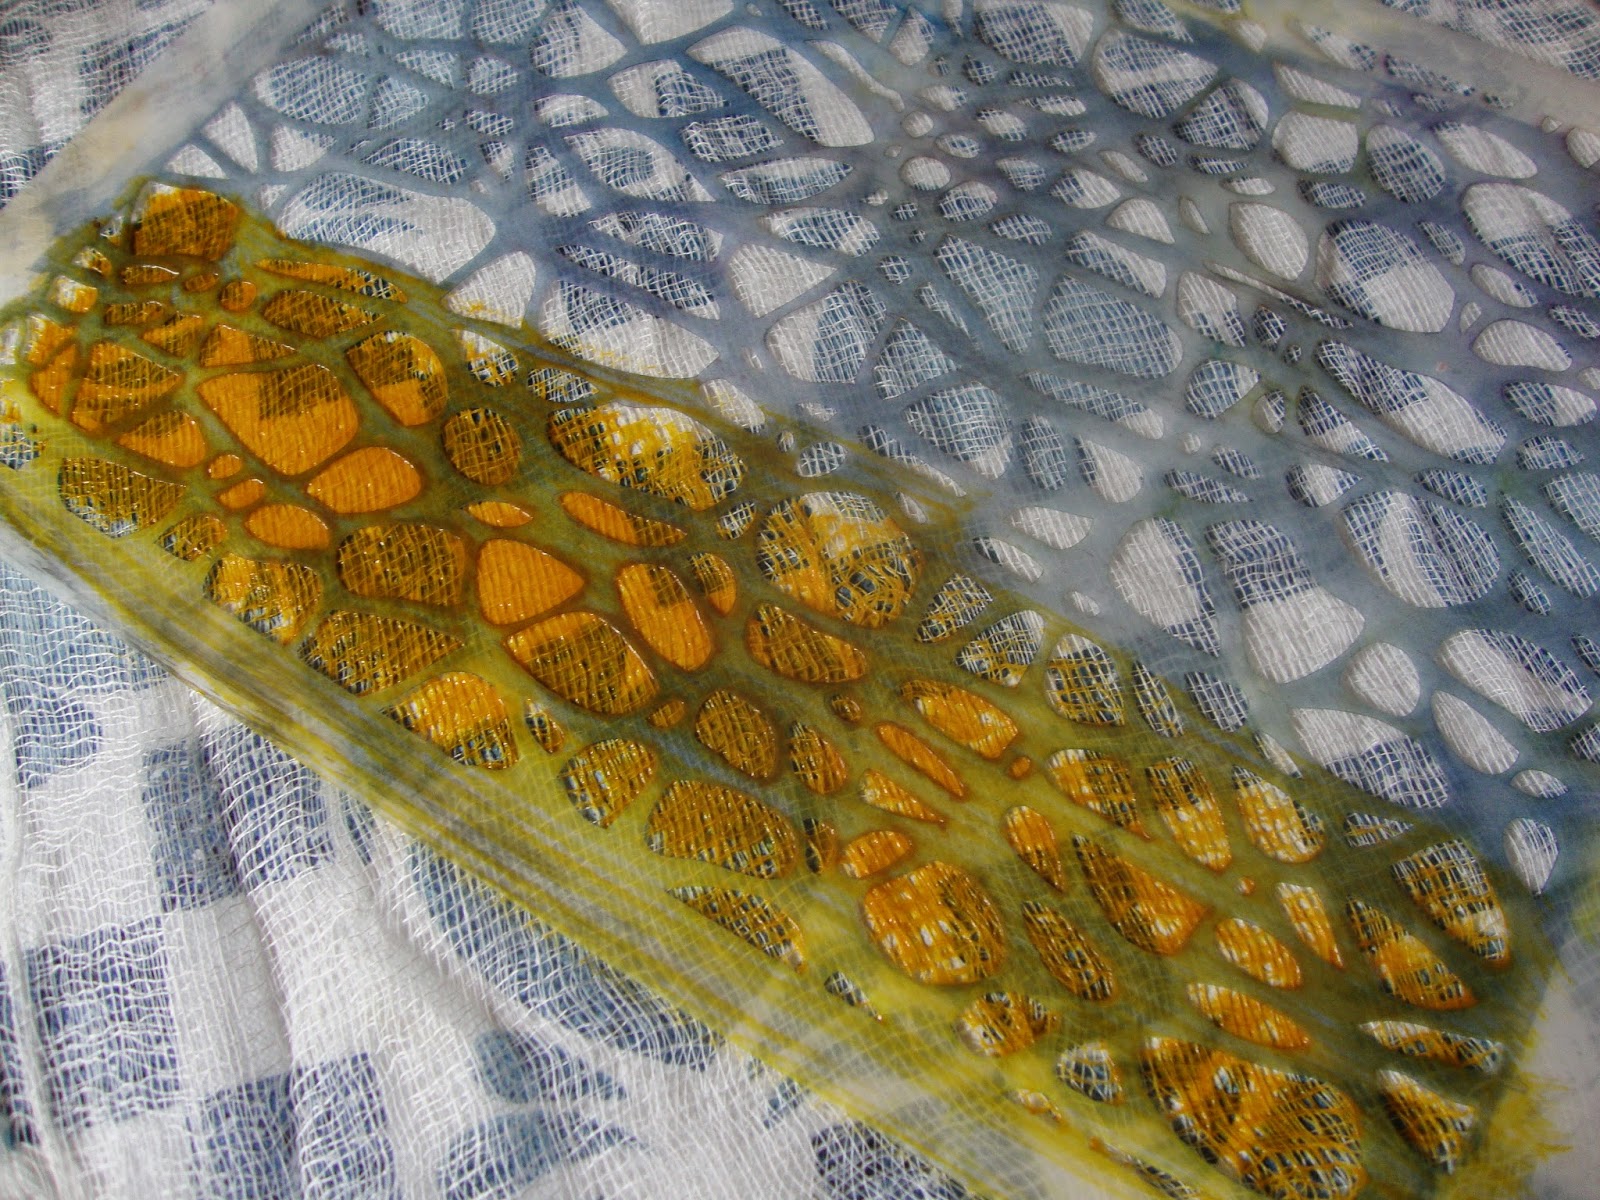
And who doesn't use cheesecloth in their art work! Well, I do and now I can dye it any color or pattern I want.
I laid a piece of dry cheesecloth onto my padded surface, place a stencil down and painted on top of the stencil using Sepia SF.

And my washed and dried Cheesecloth!
But wait!!! I've had this plastic table which has sat outside below our deck for over 20 years! I painted it years ago and stenciled little strawberries on it. Well, it's been looking a little sick, so, I painted the top of the table with white acrylic paint, let it dry thoroughly then painted the top with Purple SF and laid a stencil on top! And Woo Hoo! This is how it turned out!!!

I made sure that I rinsed and even scrubbed the top with a brush to remove any excess dye (you can't see the dye so keep rinsing and scrubbing!). I also let it sit out in the sun for a week or two just to see if it would fad. Nope...I must have removed all the excess dye!
Last week, I had some left over Sepia SF so I painted around the edge of the stencil area and placed some washers on top and got a cool pattern! Sorry, this is the best picture I have at the moment.

Now I need to decide what to do about those silly strawberries! Hmmmmmmmm
BUT WAIT (I feel like an Info Commercial!)...there's more!!! I had read where you can use SolarFast on wood! Yep...well, of course I had to try that!!!

This is a small piece of wood with legs. I haven't a clue where I got it or why I have it!! But it was perfect to experiment with.
First, I sanded off the top...it was bare wood but just to make sure there wasn't any residue on it I did sand well.

Next, I painted on Yellow SF and laid the leaf negative and glass on top and set out in the sun.
I gently scrubbed the surface and rinsed quite well and per Jacquard instructions, used hot water and kept the piece "submerged for 10 minutes". I also let the piece dry for about a week. I wasn't that happy with the yellow SF on the wood....it was just a piece of yellow wood! So........
I sanded the wood top again and then painted the top with Black SF and used the same leaf negative/transparency film. I let it sit outside for about 15 min. And check it out!! This piece has been washed and dried and I think the cutest thing! I still don't know what it's for or what I do with it but it's still cool to me!!!

So that's it for me, folks!! Hope you've enjoyed our adventure with SolarFast Sun Printing and hope you get to try this product in the future. If you have any questions, you can email me or stop over at my blog from time to time and give a shout "hello"....
Great spending the week with you Robbie....wonderful tips and who'd have thunk you could use SF on wood?!?!
ReplyDeleteRobbie, Thanks for being part of the sun printing tribe this month! Loved all of your posts.
ReplyDeleteHi. Everything looks fabulous! I especially like how the small wooden tabletop turned out. You should try a reverse shibori (is that a thing?) On the strawberry legs for the other table., maybe paint them with SF, then lightly wrap with cheesed cloth to l let the sun in.
ReplyDeleteCraftalife
Thanks for all the great info!
ReplyDeleteWow. I haven't heard of this product but it sure looks interesting thaks for the great tutorial.
ReplyDeleteJo