
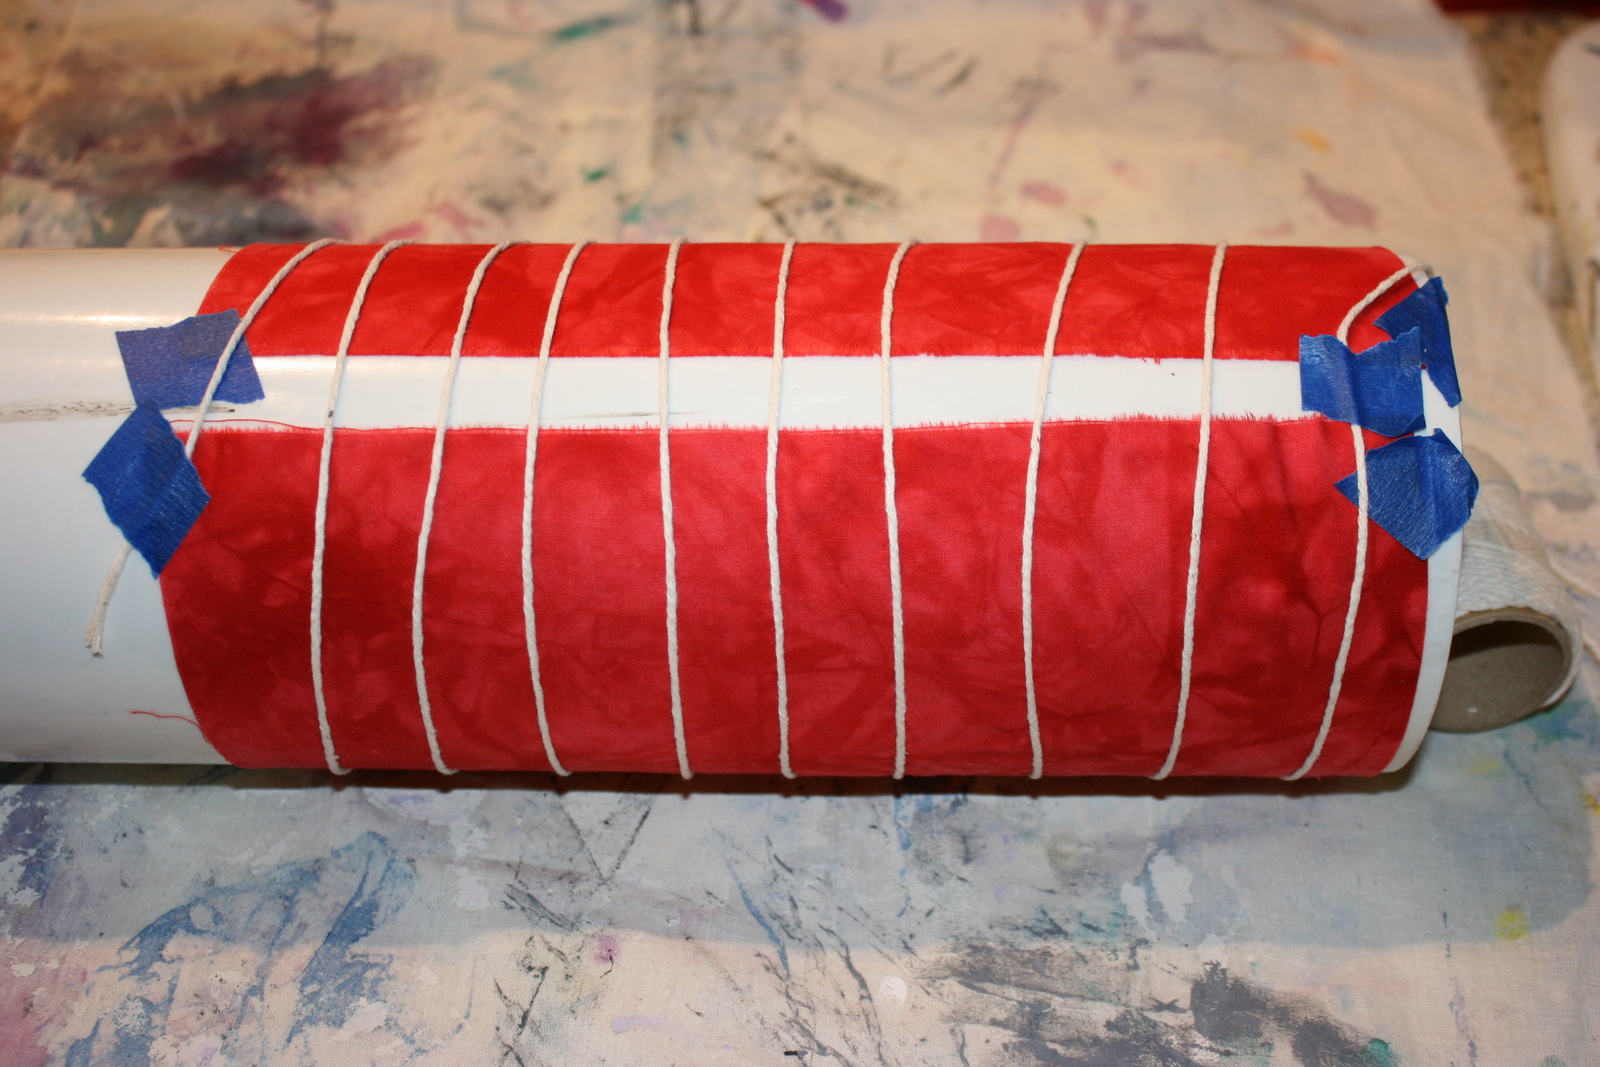
OK...you know what to do now that the painted second layer is done!! Remove the string and iron on the back (unpainted) side. Now you can see the birch trees!! Well....almost.

Phase 3
Step 1 - Make marks on the white lines to make them look like birch or aspen trees. I use a #8 Pigma Pen for this. Don't make them too regular. Also add in a few knots on some of the trees.

Step 2 - Now the final part that will make it like the Yellow Wood...
You will need a brayer (or something similar in diameter). Wrap it with a couple of rubber bands in an erratic manner. Nothing even or over thought. Put several "fall" colors on a palette...just small amounts like orange, dark red, yellow, brown for example. Spread them around a bit but don't mix them. Roll your rubber banded brayer in the paint to pick up several of the colors at the same time. Run it once on extra fabric or paper to get the clumped paint off. The roller the paint onto the top part of the "forest" in many different directions. Or you can paint it all over like I did in "Two Roads Diverged" (see below)...it's all up to you!


Now you have your forest!! Below is a piece I made in this technique for another challenge. This one is entitled, "Two Roads Diverged" and is inspired by the poem "The Road Not Taken" by Robert Frost.

I have suggested you wait a while for the paint to dry but if your paint dries quickly, you could actually do all this in one whole day. Just make sure your paint is dry.
That's it for the forest/wood project. Below are a few other ideas and after those a couple of bonus tips!!
NOW...for those of you who don't have any woods or forests in your future....here are some others I have painted using this technique but for other designs. Like WATER....

SKY

and even a Crazy Christmas Plaid (this is a smaller piece, apx 10" X 13")

So...you see...this is just a beginning. I KNOW this group can come up with other amazing uses for this technique.
BONUS TIPS
Tip ONE
All this is fine but how do you do this for larger pieces of fabric? You can always use longer PVC if you need a taller piece (considering the lines are in the horizontal position). But what about WIDER (making the lines longer)?? Here's how you do that. (Water and Sky above are wider pieces and were made using this tip.)
Wrap your pipe as usual. You will at some point start overlapping. That's fine...just keep wrapping. Do all your initial steps as usual. When the paint is dry and you remove it from the pipe, iron it and start the process again only THIS time, start by attaching the PAINTED end onto the pipe first, overlapping as you wrap just like the first time. You will now have the unpainted part exposed. Finish the steps (wrapping the string apx. the same distances as previously, scooting, etc.) When the paint is dry, remove the string, iron and VOILA!! You have your whole piece done.


Tip TWO
To make the "plaid" you just do the first wrap as usual. Then after removing the fabric with the dried paint, iron it. Now wrap the fabric in the opposite direction -placing the painted lines lengthwise onto the pipe . Then just follow the steps again! Of course, I think it looks best with two different colors of paint (or more) but it is all up to you and what look you are going for.


Let the CREATING begin!!!
First, I want to thank Marianne for posting the link mentioning this technique! (I knew SOMEONE from this group would know where I found it!) It was a post from Vivika on Quilting Daily about this technique done by Holly McLean. Thanks Holly and thanks for sharing it Vivika!
Thanks to all of you who have commented and posted your work. I hope you enjoyed this short demo and have added another technique to your surface design tool kit!!
This has been such a great series of posts. Thanks! Luv the look!
ReplyDeleteGreat posts, Kelly! I can't wait to give this a try...
ReplyDeleteKelly, This is a fantastic post. Thank you!
ReplyDeleteHere is a link to some of my pieces. I use paint(never dye)and I usually don't wrap with string until after pushing the wet fabric together. Interesting, I get very similar results. http://imgur.com/a/AOU2N
Every unwrap is like opening a gift, always a surprise!
thank you!!!
ReplyDeleteAnother way of doing big pieces of fabric is to wrap them around a pole. Soak this in water and let it dry. Remove the fabric carefully and place it on a table. Add the paint carefully with a foam brush. Be careful that you don't push the fabric flat.
ReplyDeleteThanks to all of you for your comments! This was a fun 3 days! Hope you will all check in for August. I'll be doing some demos and techniques there on some other stuff all month!! See you then!
ReplyDeleteOMG! I want to do this!
ReplyDeleteFantastic tutorial / blog post. Thanks so much.
ReplyDeleteThanks for sharing all your tips. I love shibori. Your trees are fantastic! Very clever use of the lines for lots of ideas.
ReplyDelete