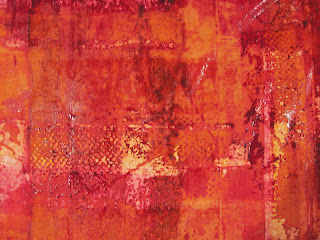
I didn’t have a chance to get to my screens for four days, so they were good and dry when I had some time to actually do the printing. After that, I set up my printing area. I used a table covered with a double layer of eco-felt and topped with a HUGE garbage bag (cut open). To that I pinned my PFD fabric (which had been cut in half lengthwise to fit my table).
I didn’t have any soda-ash-soaked fabric, so I mixed my soda ash into some clear print paste. I used 1 tablespoon per cup of print paste. First, I just added the soda ash straight into the paste without dissolving it first in a bit of water. I think that was probably a mistake since I couldn’t get the soda ash to fully dissolve. This is what it looked like.
Since that mixture was so lumpy looking (no matter how much I stirred), I mixed another cup. This time I dissolved the soda ash in a bit of warm water and added that to the paste. This made for a much smoother paste. (I eventually mixed the two together and felt it worked fine.)
The first screen I used had the thickest amount of dye on it. The print was (and continued to be) pretty light. I wasn’t happy with it. (You’ll see what I did to it later on.) Here are the results of the first screen.
I was happy enough with the results of the second screen (after applying the tinted print paste with a credit card) that I thought…what if I apply the same orange/red layer of leftover print paste to the results from screen 1. The Screen 1 re-done prints are on the right; Screen 2 prints are on the left.
The next two pictures are closeups of Screen 1 prints.I was much happier with it.
The last (and largest) screen was the one I thought didn’t have enough detail on it. I thought the dye was too thin to make a good print. I think, though, that it turned out to be my favorite.
I took Beth’s advice and wrapped the fabric in the garbage bags that I had used to cover the table. After folding, I put them all in another bag, set them on a big metal tray, and layered the bag between two heating pads. I set the pads to a medium heat and left them to batch for approximately 24 hours. This is what my setup looked like.
Now, I'm anxious to see what the finished product looks like once it is rinsed, washed, and ironed.


First- I love your results.Second- Clever girl. Why didn't I ever think of a heating pad. So smart. Judith gave me the idea of selectively scraping color dye onto area where white lived to give them some color and also to use clear to scrape off some surrounding color into white areas. Both great dies. Can't wait to see the washout!
ReplyDeleteThe heating pads worked like a charm. I didn't have a warm spot or any rice pads, so I thought I'd try it. As for the credit card...when I took a monoprinting class with Valerie White, we used a credit card to scrape color over the monoprints. It was amazing how much difference it made in the finished product.
ReplyDeleteWhat a clever idea1 I have been keeping dissolved soda ash in a spray bottle and tried spraying it on the fabric before I used my screens on the fabric. They're batching now....
ReplyDelete