
A TECHNIQUE DRIVEN Blog dedicated to mastery of surface design techniques. First we dye, overdye, paint, stitch, resist, tie, fold, silk screen, stamp, thermofax, batik, bejewel, stretch, shrink, sprinkle, Smooch, fuse, slice, dice, AND then we set it on fire using a variety of heat tools.
Wednesday, April 27, 2011
Last couple of Days
Last couple of days to sign up for the Surface Design Round Robin. Come on, I know you want to play but are afraid you will mess up. This is experimentation! Take RISKS! LIVE BIG! If you need further encouragement, check out this post where you can see a piece of fabric as it transforms through 5 layers of surface design.
Sunday, April 24, 2011
Airbrush paints for marbling - another source
I've been cruising around the internet in lieu of sleeping (that's what happens when you're a night owl), and found that the Jacquard Airbrush paints can be had at Dick Blick in the 4 oz size for considerably less than they are offered at Dharma Trading Co. They also have "exciter packs" of metallics, transparent, and opaques if folks want to try them. Check it out!
Blick also carageenan is much more expensive than Dharma. So shop around for the best prices.
Blick also carageenan is much more expensive than Dharma. So shop around for the best prices.
Saturday, April 23, 2011
Parfait dyeing-Laura
Since last Monday was my birthday, I took the day off and sewed and did some dyeing. I had posted these pictures on my blog, but forgot to post here.
This first piece was a yellow-ish color to start, which I parfait dyed using khaki in the bottom layer. I had previously carved a stamp and had stamped several designs on it, but the color contrast got a little washed out due to the dye colors I used and the design is hard to see now.

This second piece was a turquoise piece, which I stamped with a starfish that I carved, and then parfait dyed as the second layer--I think I used a pink dye powder.

This first piece was a yellow-ish color to start, which I parfait dyed using khaki in the bottom layer. I had previously carved a stamp and had stamped several designs on it, but the color contrast got a little washed out due to the dye colors I used and the design is hard to see now.


Friday, April 22, 2011
May is the Month for Marbling!
Hi Everyone!
For the month of May, we'll be exploring the ancient technique of marbling.
There are several different mediums that can be used as a base to float the marbling paints. Historically, water was used to float inks and paints on to marble paper. For the purposes of this blog, I'll be using the carageenan base. Using shaving cream has been looked at in our Shibori month, and we'll expand a bit on that as well. Methocel will also be touched upon. If you have used a particular medium in the past, please don't feel bound to using carageenan (although water will not work with fabric!).
Initially I'll present instructions and techniques for the traditional marbling patterns. Then we'll move on to experimentation with free-form marbling.
Below are several links for purchasing supplies. Please explore the possibilities with an eye to what you might like to produce for finished fabric. Dharma Trading Company has an excellent range of marbling supplies, as well as detailed instructions. I recommend getting their "Mini Marbling Kit" (currently discounted 15%!) which will allow you to experiment on a small scale, or the "Marbling Starter Kit". That's what I'll be using in my early examples next month.
Pro Chemical & Dye also has marbling supplies here. They have a "Mini Marbling Kit" as well.
Pro Chemical & Dye also has marbling supplies here. They have a "Mini Marbling Kit" as well.
An integral component of marbling is the tray which holds the carageenan base. This needs to be at least 2" deep in order to properly contain the carageenan, and allows you to move it without risking slopping things over, which can get a bit messy (ask me how I know). The size of the tray limits the size of fabric which can be painted, as the whole piece of fabric is laid over the top of the floating paints. Unless you're interested in doing larger pieces of fabric, an aluminum roasting tray such as can be found at grocery or department stores works very well when supported by a cookie sheet or piece of plywood. Otherwise, any rectangular container that will hold liquids will work. Many artists fabricate their own trays from wood and plywood, then caulk and paint to seal. Such a container, unpainted, can also be used just by laying a heavy plastic inside, taped up and over the edges. Be creative!
There are quite a few publications that have been written for marbling on both fabric and paper. Many of them can be found for very reasonable prices used on Half.com. Here's a partial list focusing on marbling of fabric:
Creative Marbling on Fabric by Judy Simmons (1999, Paperback): A Guide to Making One-Of-A-Kind Fabrics
Marbling on Fabric by Anne Chambers (1995, Paperback)
Marbling by Diane Vogel Maurer, Paul Maurer (1994, Paperback): A Complete Guide to Creating Beautiful Patterned Papers and Fabrics
The Silk Painting Workshop by Jane Venables (1999, Paperback): Painting, Marbling and Batik for Beginners
In the meantime, until we get started playing with the paints, below I've listed a few links to some marbling sites for you to take a look at for inspiration. Enjoy!
Kathy
YouTube videos:
Traditional Turkish marbling on paper (Ebru)
Project Van Unicef - examples of marbling created by children
Some of Elin Noble's fabrics from ProChem's "Alternative Marbling" workshop.
And if you really get into marbling, you can even marble your fingernails!
Other Sites:
Thursday, April 21, 2011
Seemed like a great idea at the time!
I thought I would try a new twist on parfait dyeing. Right! Seemed like a great idea but it fizzled in the execution. I thought I would over-dye black and white fabrics parfait style. I used Yellow (bottom), Blue (middle) and Red ( top) which is obvious since the colors never intermixed much. I used Basic red, golden yellow and intense blue about a 1/2 teaspoon in 250 mils of water with just a pinch of deep black to knock back the boldness of the colors. I also dyed them using a different style. First I just put enough soda ash water in to wet each layer well then added mixed dye. I had almost no color wash out so my dye particles must have all been taken up by the fibers which equals not enough dye powder. Well, maybe not. The colors are medium light values and I am all about intense vibrant colors. At the end I poured what was left of the golden yellow and blue dyes together into one cup and threw in a piece of white. THAT I liked but it was my fav olive in a pale value.


 These are embroidery threads I added


Friday, April 15, 2011
Parfait Dyeing--Quilter Beth
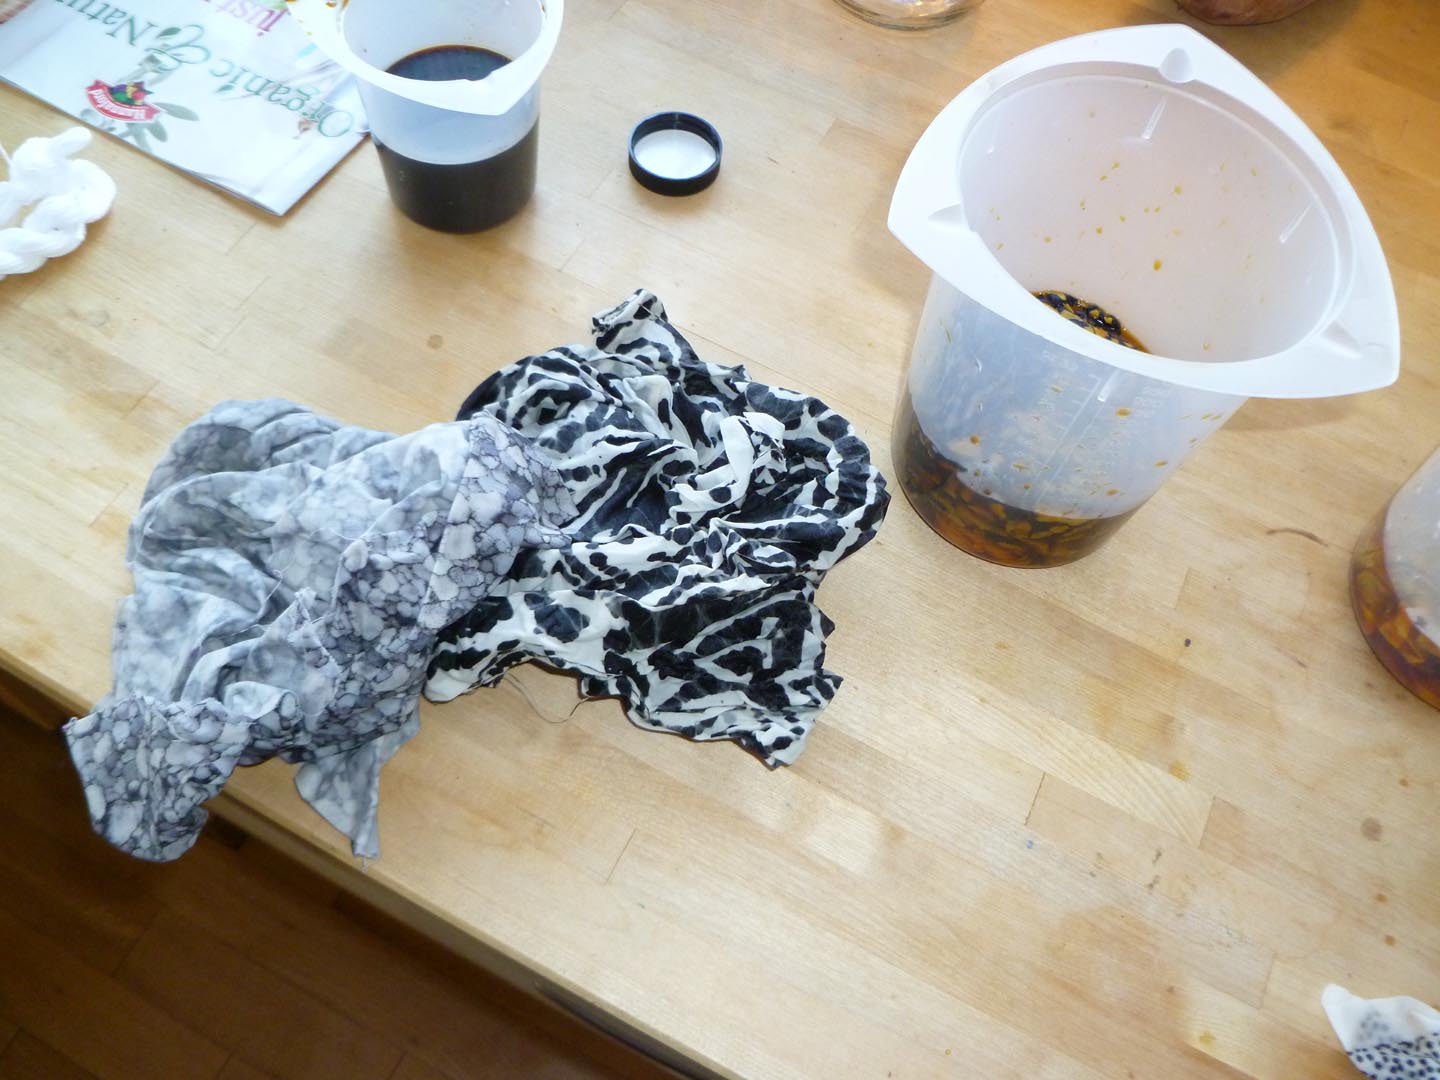
I finally had a chance to try parfait dyeing. I really enjoyed doing it; it was a simple process. I think the outcome would have been more varied if I had used more colors of dye. I just used what I had left over from another dye session—red, a small bit of fuchsia, two blues, and a yellow. The blues were VERY similar. I used two fat quarters of PFD fabric and some of the pieces I had worked on when we did the soy wax resist. ( I just wanted to see what they would look like with this parfait dyeing.)
These are some of the fabrics I started with...

This was a "wipe up" cloth with brush strokes from my dye-mixing brush from my last dye session.


Here is what they looked like in the containers...

On the left--red/fuchsia and blue; top right--the two blues; bottom right--yellow, red, then blue
I used yellow, red, and a blue for these…

This was the orange, soy wax resist piece.

This was a fat quarter of PFD fabric.

This started as off-white gauze with circles.
I used red with the little fuchsia I had, then I added a blue to it for these…

This was the "wipe-up" cloth.

This was another piece of the soy wax resist fabric.
I used the two blues for these…

This was the green, soy wax resist fabric.

This began as a fat quarter of white PFD fabric.
I liked doing this, and I like the outcome. I think I'll be doing this again.
Tuesday, April 12, 2011
Shibori parfait-Laura
I was working on some shibori fabric a couple of weeks ago as part of an on-line shibori workshop, and decided to parfait dye it. Here is a picture of a piece all stitched up (it was about 24" wide x 44" long). I put it in a large glass jar and poured Periwinkle dye over it.

And here it is all unstitched (one picture with flash, one without):


For the second layer, I put in another shibori piece that I stitched circles on. I put some fuchsia dye on the circles, then I poured on some Khaki colored dye onto the whole piece.

Here it is with the stitching all removed.

And here's a picture of the top layer, I just tied some glass globs in randomly on a small piece, and poured the rest of the fuchsia over it.

I think I used too much dye for all second and third layers. If I try this again, I'll use less--since I already had some mixed up, I added the soda ash/salt water mixture to it as Rosalita suggested in her directions. Just used a little too much of it.
Subscribe to:
Posts (Atom)