

This is something I made with my first set of transfers...

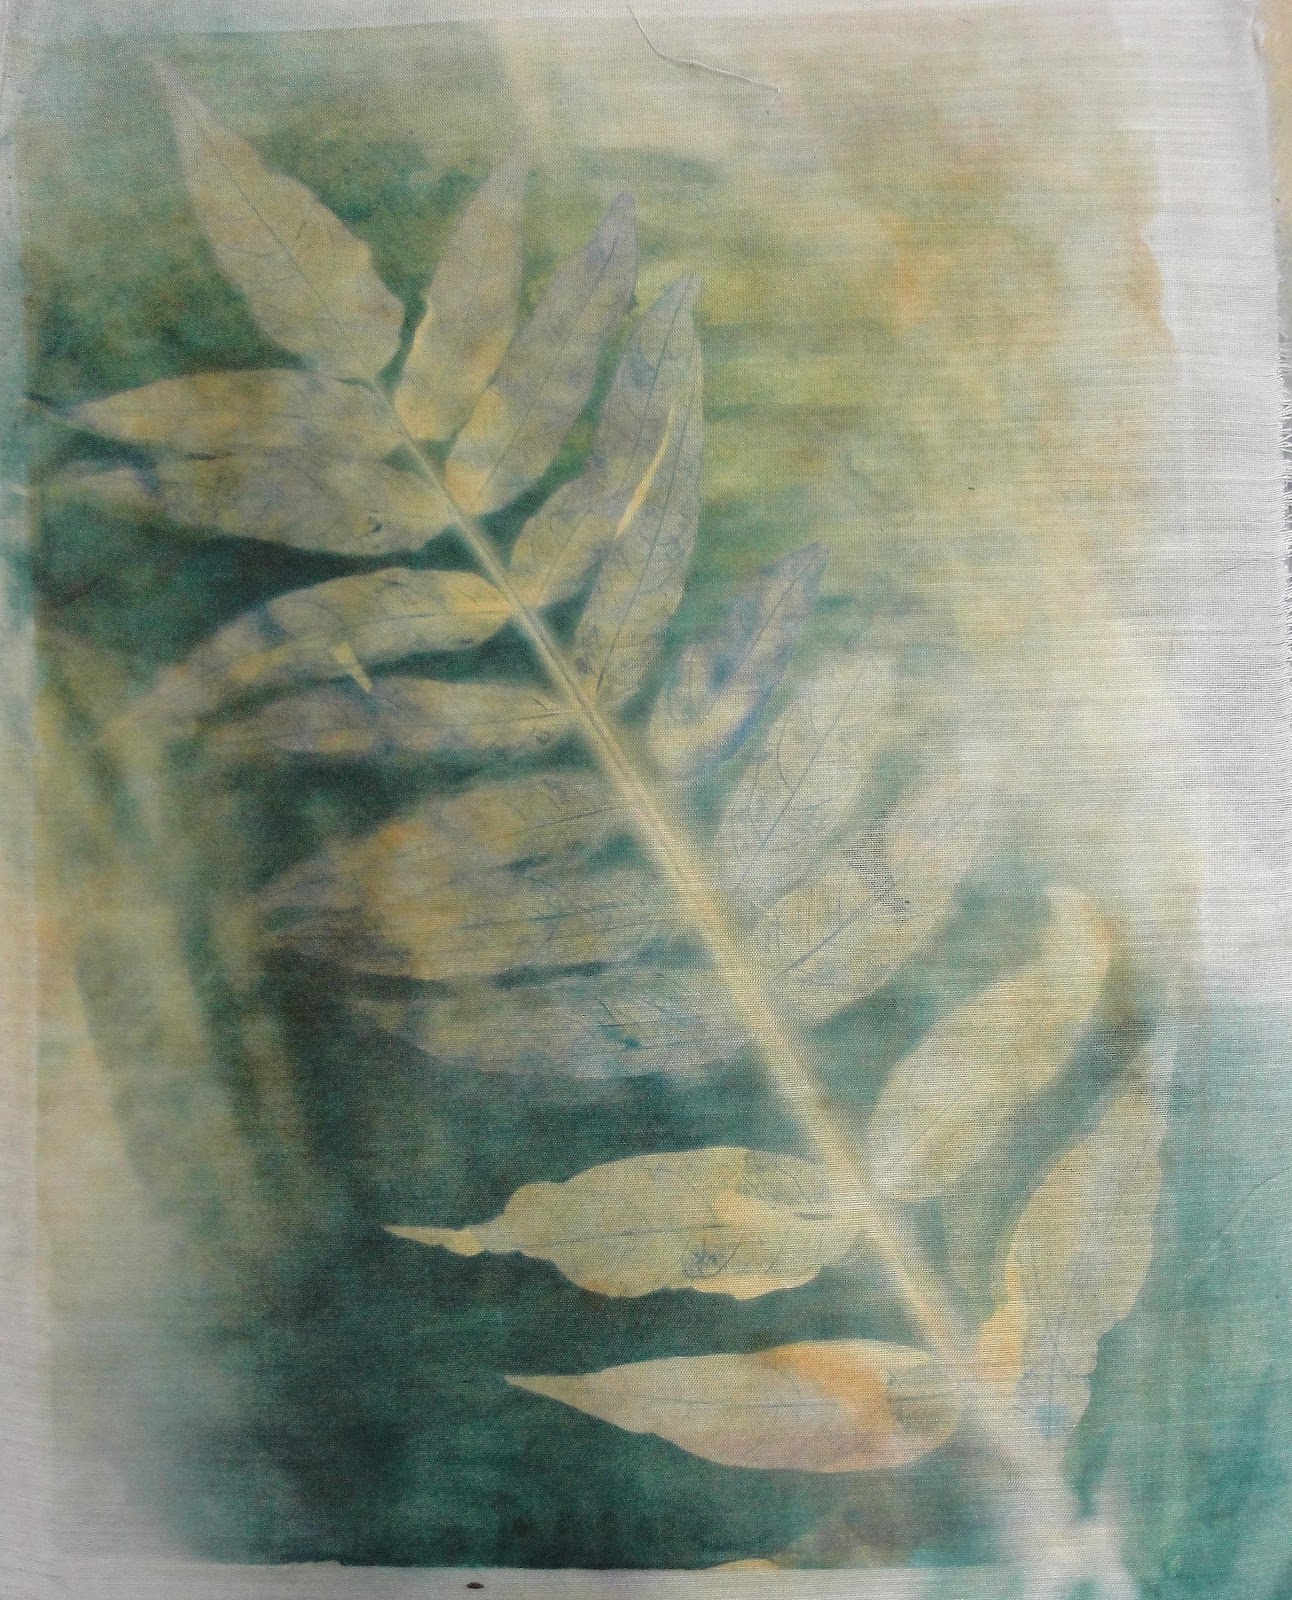
I began by using this mottled yellowy brown background - which I created by first covering my paper with orange transfer paint, then adding stripes of yellow disperse dye over that, and over it all, droplets of brown dispere dye. I then smooshed all the colours together by making a pouncing motion with the flat of my hand. Once it was dry, I ironed it to my fabric. (To get a more intense colouring, I would have had to iron longer - but I wanted this mild version.)

Next, I used this orange/yellow combo (as above) and ironed sections of it over the mottled mustardy-yellow background.

This paper (now dry) is a combination of greens. The same disperse dye green, "au naturel" on the left, mixed with a little black on the right and a little blue on the blackish looking streak/drips on top. (All the mixing was done while wet.) I have to say, this particular paper is my favourite - it produces a nice yellow green, a brilliant blue-green and a leaf green - all in the same paper! I think I've used it on every single piece of fabric I've produced for the Fire tutorials (and that's about 30 pieces of fabric - so far! - which goes to show how many times you can re-use these papers.)

After quilting, I added some pastel dye sticks, watercolour dye crayons and a gold leaf pen to enhance, and then decided to add some beads - for a little sparkle.
Stay tuned - more ferns using different colourations and layers to come - some "prints", and some really lovely (even if I do say so myself!) abstract colour cloths to come in the next weeks.
If you're working along with us, please post your links in the comments!
Kit
Wonderful effect.......Fabulous!!!
ReplyDeleteI love this Kit. You really went WILD then set it on FIRE.
ReplyDeletethanks ladies! :)
ReplyDeleteHi Kit,
ReplyDeleteCongratulations on a stunning piece !
If you would like more information on my MultiSperse Dye Sublimation (MSDS) technique using multiple colour plates and resists employing disperse dyes please see my blog for information http://artquill.blogspot.com - Blog Archive September 3, 2011.
Quilting Arts magazine has published my MSDS technique, colour mixing guide etc in the August/September issue.
Looking forward to seeing more of your disperse dye pieces.
Marie-Therese Wisniowski
Marie-Therese, thanks for dropping by and leaving some great information for us. I'll definitely have a look at it later in the week - and I'm sure our readers will too!
ReplyDeleteCheers,
Lovely!
ReplyDeleteOh, NOW I have to try this!
ReplyDelete